Adobe Photoshop is a versatile photo manipulation tool that anyone can use to alter their own images and photographs. There are many different ways to create different visual effects in Photoshop, some requiring extensive work flows and a multitude of layers. While it can make photo editing seem daunting if you are unfamiliar with Adobe Photoshop, simply knowing a handful of masking tricks can allow you to change things such as skin tone in just a few steps.
Step 1
Open the photograph you wish to alter using Photoshop. You can do this by going to 'File > Open' and locating the image you need through the prompt. Click the 'Open' button and the image will pop into Photoshop.
Video of the Day
Step 2
Select your 'Background' layer in the 'Layers' window and duplicate it by dragging the layer down to the 'New Layer' button. The New Layer button looks like a piece of paper with a folded corner. A new layer called 'Background copy' should appear above your 'Background' layer.
Step 3
Click on the 'Background copy' layer and turn on 'Quick Mask Mode'. You can turn Quick Mask Mode on and off by pressing 'Q' in Adobe Photoshop CS4. In older versions of Photoshop, there are two buttons to toggle Quick Mask Mode located in your 'Tools' window. Press the button looks like a white circle in a dark rectangle to turn it on. Press the button that looks like a white circle in a white rectangle to turn it off. You will know when Quick Mask Mode is on because the layer selection will turn gray.
Step 4
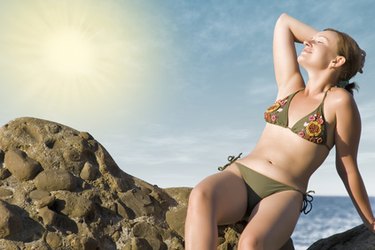
Select your paint tool. Make your foreground color black. Size your brush to reflect the area of skin you need to color. Set the 'Hardness' slider to 80%. Start painting the skin in the photo. The paint will be red. This is normal, as you are painting in Quick Mask Mode. You may need to change your brush size to paint larger or smaller areas.
Step 5
Turn off Quick Mask Mode by pressing 'Q' in Adobe Photoshop CS4 or by selecting the button with the white circle in a white rectangle in older versions of Photoshop. Your image will now be selected and the parts you painted will be deselected. Go to 'Select > Inverse' to invert the selection. The areas you painted will now be selected.
Step 6
Go to 'Image > Adjustments > Curves' in your menu bar. The 'Curves' window will pop up and display a square with a diagonal line through it. Move the Curves window so you can see your image at the same time. Grab the center of the diagonal line and drag it. You will see the skin tone in your photograph change. Move the diagonal line around until the skin tone is the color you want and click 'OK'.
Step 7
Deselect the image by going to 'Select > Deselect'. Use the 'Blur' and 'Smudge' tools around rough selection edges to make the color blend naturally into lips, eyes and around the hairline. Click on the 'Blending Options' scroll-down in your Layers window and select 'Luminosity' to make the tan look more natural.
Video of the Day