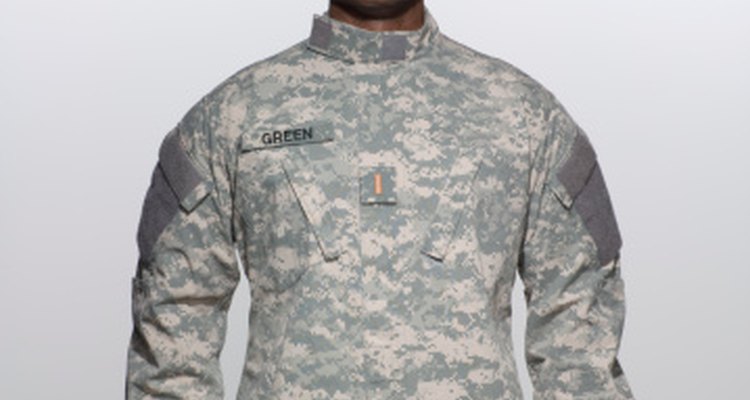
The ACU is the Army Combat Uniform, the digitally camouflaged multi-purpose combat and work uniform of the Army. The ACU replaced the previous woodland camouflaged Battle Dress Uniform, or BDU. Part of the ACU is the patrol cap, a cover that must be worn outdoors. Rank displayed on the patrol cap is sewn into the cap. The ACUs use hook-and-loop attachments to secure additional uniform items such as unit patches, rank, skill tabs and recognition devices.
Purchase appropriate rank insignia to match your personal rank, either from the local base exchange or off the Internet.
Pin the insignia above the bill and below the top of your patrol cap with the straight pins. Make sure the insignia is centered.
Sew the insignia on the cap with matching needle and thread, stitching from the inside of the cap to the back of the insignia so the thread does not show. Remove the straight pins when you are done sewing.
Related Articles

How to Sew the Rank on an ACU Patrol Cap

How to Wear a Collar Brass Class A ...
How to Wear Marine Corps Ribbons & ...
How to Wear Fourragere
Navy Uniform Regulations & Collar ...

How to Make a CPO Hat Box

How to Apply Patches to Baseball Caps
Proper Placement of Medals on a USMC ...

How to Wash a Navy Sailor Hat

Army Class A Uniform Guide
How to Attach Cub Scout Patches

How to Make a Clerical Shirt
How to Dress Your JROTC Uniform

How to Wear a Marine Corps Dress Uniform
How to Stop Sweat from Staining Golf ...
Military Dress Blues Setup Guide

How to Clean an Electric Self Shaver
How to Put on a Clergy Collar

How to Make a Men's Baseball Cap

Proper Sanitizing of Electric Razors
References
Writer Bio
Marcus Scott has been writing on international politics, local news and culture since 2004. He has written articles, op-eds, columns and edited for student organization presses and blogs, including the Roosevelt Institution Defense and Diplomacy blog. In 2005 and 2006 Scott attended the Journalism Education Association national conferences. He earned his Bachelor of Arts in international relations from the University of California, Davis.
Photo Credits
Siri Stafford/Lifesize/Getty Images