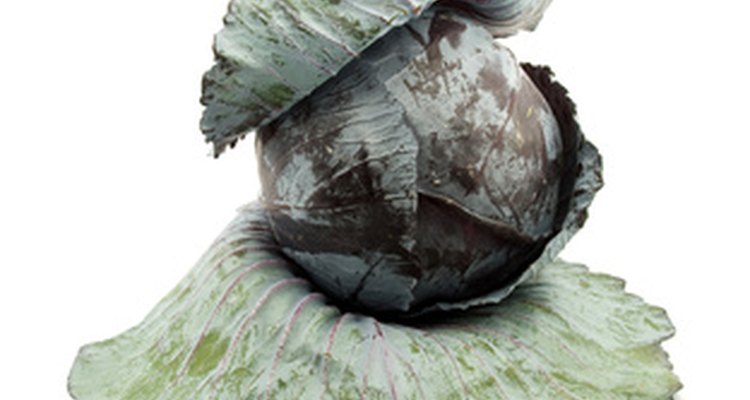
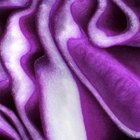
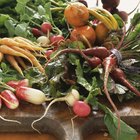
Making your own food coloring is not only quick and easy, but is a great way to avoid adding unknown chemicals to your baking and cooking. Using only water and common red cabbage, you can quickly create a beautiful blue shade to add to frosting, batter or to dye Easter eggs. The resulting food coloring is 100 percent natural, has no foul smell or taste and can replace store-bought blue food coloring in most recipes.
Chop 1 cup of red cabbage
Bring water to boil on the stove top in a medium pot.
Remove pot from high heat and add the chopped cabbage.
Place pot on low heat and simmer for 20 minutes until the cabbage leaves turn from red to dark green and are slightly soft.
Strain cabbage and throw away solids.
Add a small amount (less than 1 teaspoon at a time) of baking soda to the liquid to intensify blue coloring to your desired shade.
Use the liquid, which should now be a deep shade of blue as a dye in recipes or for coloring hard-boiled eggs.
Related Articles
How to Use Beet Root in Baking & ...
How to Make Homemade Liquid Rouge
How to Make Cranberry Juice from Fresh ...
Can You Use Beet Powder for Cupcakes?

How to Dye Faded Clothes
How to Make a Healthy Pancake Syrup
Does Purple Cabbage Turn Blue After ...
How to Cook Yucca Root
Safe Red Food Coloring for Cake Baking
How to Dye Hair With Carrot Juice and ...

How to Make Glow in the Dark Eggs

How Do I Use Rit Dye to Make Turquoise ...
How to Get Your Highlights Brighter

How to Make Hair Stripper

How to Make a White Decorator Icing
How to Freeze Fresh Beets

How to Flavor White Cake Mix With ...
How to Use Herbatint

How to Make Liquid Sugar Concentrate
How to Roast Beetroot
References
Writer Bio
Stephanie Rutherford-Scott has more than 10 years of experience in print and multimedia journalism for Booth and Gannett Corp. Her work has been published by the Associated Press and Gannett News Service in news publications throughout Michigan and the United States. She received her Bachelor of Arts in creative writing and journalism from Western Michigan University.
Photo Credits
red cabbage image by dinostock from Fotolia.com