
How to Seal a Plywood Floor

Using plywood flooring can save you time and money, especially if your dwelling will be used short term, such as a hunting cabin. One way to preserve plywood flooring is to coat it with layers of clear sealant, which will prevent the plywood from becoming damaged by moisture or wear. Sealant can be painted over a plywood floor using tools that are readily available at any hardware store, such as paint rollers.
-
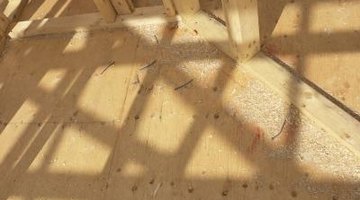
Run an orbital sander over the entire plywood floor to remove any roughness or splintering.
-
Remove sawdust using a shop vacuum.
-
Fill a paint tray with enough clear sealant for the bottom to be 2 inches thick.
-
Coat a long-handled paint roller into the sealant, then roll the sealant over the entire plywood flooring. Allow the sealant coating to dry for six hours.
-
Repeat this process two more times, allowing the sealant to dry for six hours in between each coat.
References
Photo Credits
- Hemera Technologies/AbleStock.com/Getty Images
More Articles