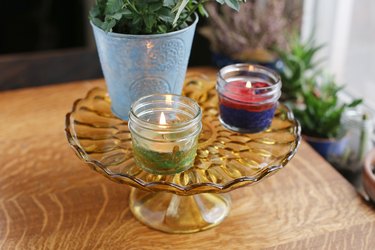
Any house with children is bound to have crayons. Inevitably these crayons will be broken into small pieces making it difficult for children to use for coloring. Instead of throwing the crayons out, recycle them into a fun adult-supervised craft project. You can melt them and create colorful and unique crayon candles.
Video of the Day
Things You'll Need
Crayons
Tape
Wicks
Pot
Wax Boiling Bags
Pencils
Glass Jars
Step 1
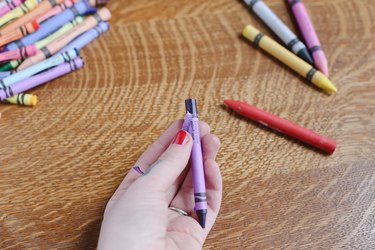
Gather up the old crayons and have the children remove all of the paper. The paper will interfere with the candles so it is important that the crayons be free of their paper wrapping.
Video of the Day
Step 2
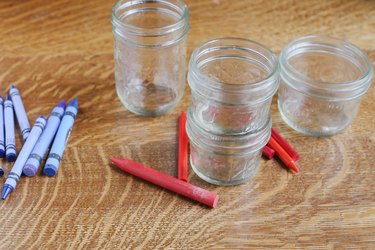
Find glass jars to use for the candles; old baby food, pickle and jelly jars are good choices.
Step 3
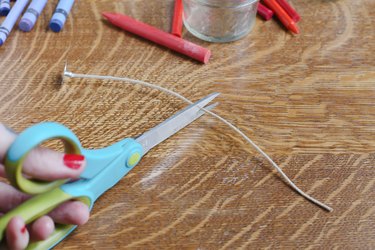
Cut the candle wicks so that they are slightly taller than their respective jars.
Step 4
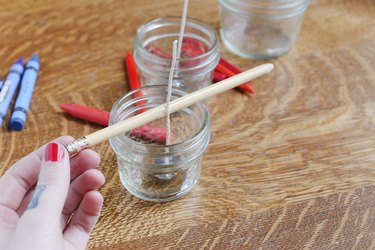
Tape the top of the candle wick to a pencil and then place the pencil over the top of the jar. You don't want to hold the wick until all of the wax dries. The pencil will hold the wick in place freeing you up to make other candles.
Step 5
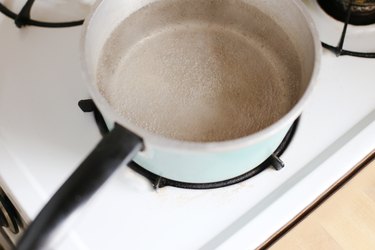
Place a pot of water on the stove and bring to a boil.
Step 6
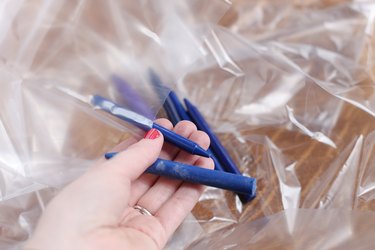
Place the unwrapped crayons into a wax boiling bag. These bags can be purchased at your local craft store, and they make the cleanup process much easier. You will not have to worry about removing wax from your good pots; simply throw away the bags after you are done with your crayon candle project.
Step 7
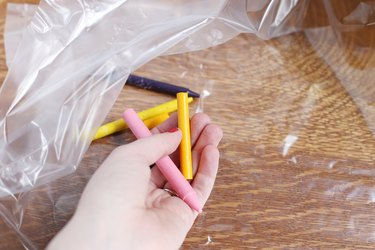
Mix and match the crayons in the bags to create unique color arrangements. If you want purple but don't have purple crayons, mix red and blue. You can also boil individual colors in separate bags to use for layering colors.
Step 8
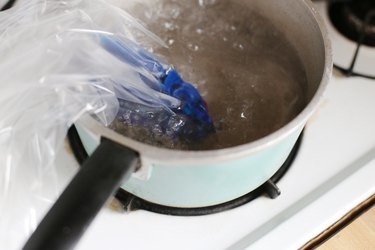
Put the bags in the water and wait for the crayons to melt. Once they do, you are ready to start pouring the candle wax into your prepared jars.
Step 9

Carefully pour the candle wax into the jars. This is where you can get creative and mix and match colors. If you're making holiday-themed candles, mix orange, yellow and white for a candy corn themed Halloween candle. For Fourth of July, place blue on the bottom, white in the middle and red on top.
Step 10
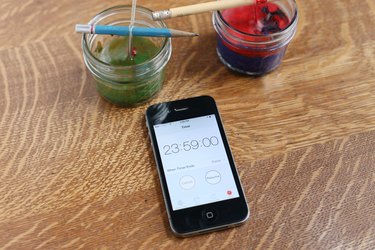
Let the candle jars sit until the wax has completely cooled off and is solid. This will vary depending on the size of the jar but it is a good idea to wait at least 24 hours.
Tip
Get creative and consider adding glitter, beads or other items to the candle wax to give the crayon candle a unique design.
Warning
Children should not create crayon candles without adult supervision.