Things You'll Need
White charcoal pencil
Black charcoal pencil
Black paper
White paper
Gum eraser
Pastels or colored pencils
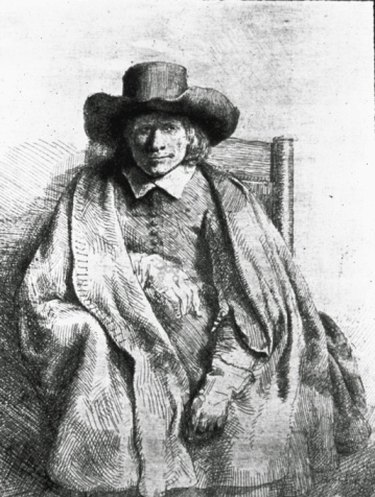
Artists use white charcoal pencils to create drawings on black paper. This type of artwork can appear serene or threatening, depending on the nature of the subject. Black paper creates a nighttime atmosphere, so what an artist chooses to draw on it can become either peacefully dreamlike or nightmarish and sinister. Artists also use white charcoal pencils to enhance drawings made with black charcoal on white paper. The white charcoal is applied on top of the black and in empty spaces to create white and gray highlights.
Step 1
Use your white charcoal pencil to draw on black paper similar to how you would draw with black charcoal on white paper. You will have to reverse your shading techniques. For example, you will want to shade in the center of a round object and fade the color as it moves outward. Round shapes are normally shaded on the outside and fade the color as it moves inward.
Video of the Day
Step 2
Use pastels or colored pencils to add touches of color to your white charcoal drawing. Doing this can give your drawing a surreal or dreamlike quality. Add fine details to your drawing by erasing away small portions of the white charcoal using your gum eraser. You can also add details by using a black charcoal pencil to draw on top of the white charcoal. Use your fingers to gently smear the white charcoal to create mist effects.
Step 3
Use your white charcoal pencil to highlight the drawings you make with a black charcoal pencil on white paper. Use the white charcoal pencil to add thin lines, cover wider areas with white or to add more detail to your drawing. Smudge the black and white charcoal to create milky gray colors.
Video of the Day