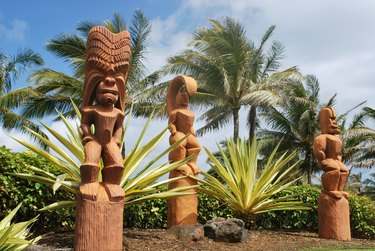
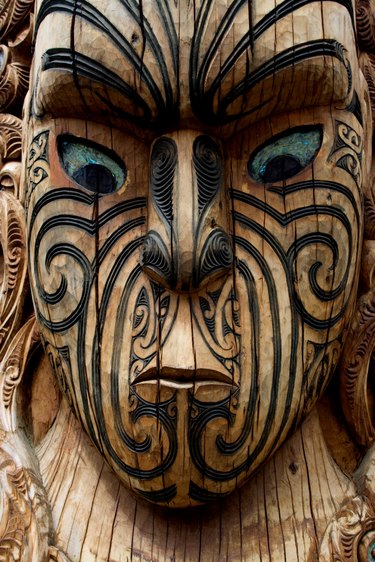
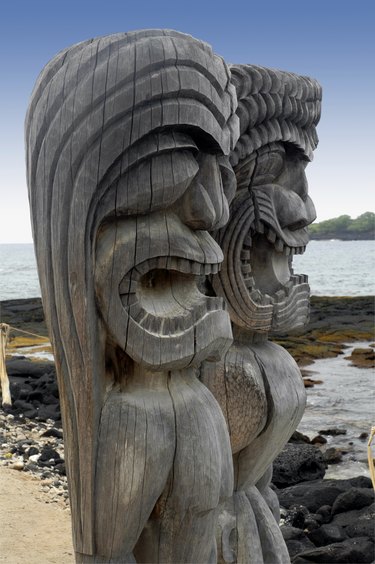
Hawaiian Tiki statues represent the many Tiki gods in Hawaiian and Polynesian mythology. They are carved from wood or stone and are most common in Central Eastern Polynesia. The original Tiki statues were carved by skilled artisans in the Maori tribe, which inhabited the islands until the early 1800s. The statues each have a distinct look that relates to the symbolic meaning and mythological importance of a particular deity.
History and Significance
Video of the Day
Tiki statues were originally carved by members of the Maori tribe as boundary markers for sacred grounds. The name of the statues is derived from the Maori name for the first human male, though the statues most often represent deities. With the introduction of missionaries into Hawaiian society in the early 1800s, Christianity became the dominant religion. Tiki statues have since lost much of their original meaning aside from their historical significance.
Video of the Day
Representations
The statues most commonly represent one of the four significant gods in Hawaiian culture: Kane, Ku, Lono and Kanaloa. Kane is considered the creator of the universe and the ruler of the natural world. Ku is the Hawaiian god of war. His mouth is rendered open as if to suggest the devouring of enemies. Human sacrifices were often made to statues of Ku. Lono is the god of rain and fertility, as well as music and peace. Kanaloa is the god of the sea.
Appearance
Kane's statue is an amalgamation of many aspects of the natural world. He is rendered with a human body, a fishlike mouth and leaflike hair. Ku's statue is the most dominating in appearance, with broad shoulders and a large, menacing head. A Lono statue is identified by its large, “fertile” belly and jovial smile. A Kanaloa statue is easily identified by its squidlike dreadlocks.
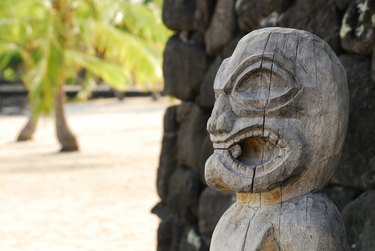
Ki'i
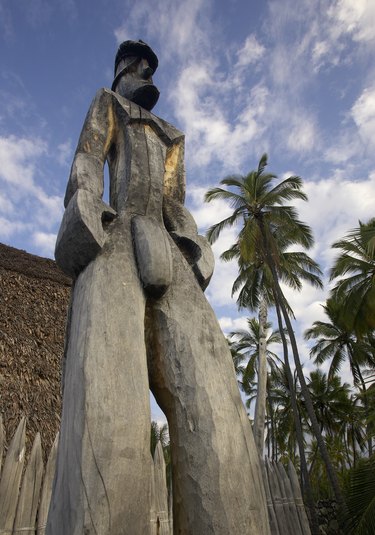
The Ki'i statue at Pu'uhonua o Honauna National Historical Park is one of the largest and most visited Tiki statues in Hawaii. The statue rests at the entrance of a recreated Maori village. The statue is of Tiki, the first human, which explains its humanoid appearance.
Tiki Statues in Popular Culture

Tiki statues became popularized in Western culture in the 1930s with the opening of several Tiki-themed restaurants on the West Coast. This appropriation by popular culture created the opportunity for great aesthetic variance in the appearance of Tiki statues. Many statues seen outside of Central Eastern Polynesia are an amalgamation of or creative deviation from the original statues.