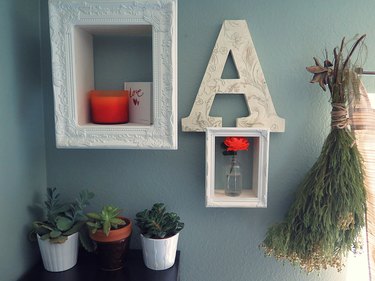
If you're looking to add wall display storage to a space in your home but don't want to add the usual shelves to the wall, these shadow box frames are for you. The frames add a personal touch to any room and serve as storage for office supplies or to display flowers, books or decor. This project is also a great way to recycle old picture frames you have laying around. I made two sizes of shadow box frames with pre-made vintage-inspired frames from the craft store instead of using old frames. You can customize this craft by selecting different types of frame styles, sizes or colors.
Video of the Day
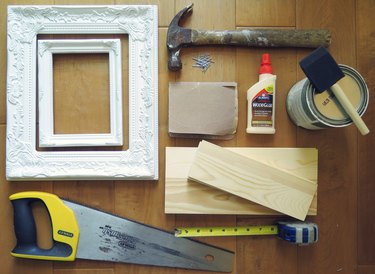
What You'll Need
- Old picture frames, pre-made frames or homemade frames
- Utility craft plywood or pine wood or any sturdy wood boards, 1/4 inches to 1 inch in width depending on what you plan to display in the boxes
- Fine- to medium-grit sandpaper
- Hammer or nail gun
- 1-inch common or finish nails, if you are using a hammer
- Finish or brad nails, if you are using a nail gun
- Paint and primer to match your frame
- Hand saw or skill/miter/table saw
- Wood glue and wood filler, if you need to conceal nail holes
Measuring tape
Video of the Day
Tip
Wider frames are easier to nail the wood boards to.
Select a thicker width board to hold heavier items.
Use spray paint with primer included for a satin finish.
When you purchase wood boards from the hardware store, ask the associate to cut down the wood to the right length.
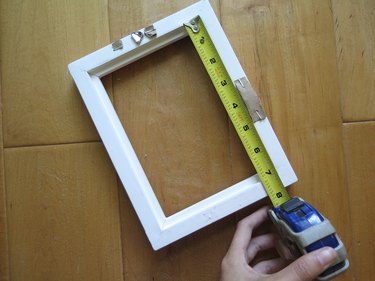
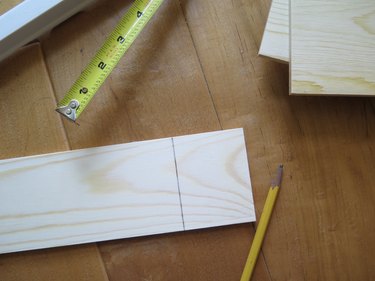
Step 1: Measure the Longest Side of the Back of the Frame
Measure the longest side of the frame so you know how much to cut your wood boards down. I measured the ledge on the backside of the frame where the photo or artwork usually sits because my craft wood pieces perfectly fit the width of the ledge. If you are using a wider frame, you can measure the back of the frame instead of the ledge, depending on how wide your wood boards are.
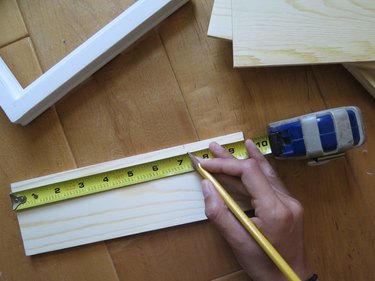
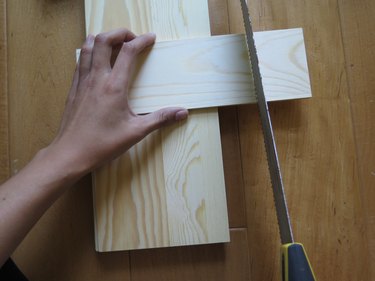
Step 2: Cut Down the Wood Board
Once you have your measurement, mark it on the wood board, then extend that mark into a straight line across the entire board so you know where to cut. If you are using a hand saw, place your wood board on the edge of a table or on top of a wood or metal block. Before cutting, hold down the side of wood that you are not cutting firmly against the table or wood/metal block. Continue to hold firmly while sawing. If you have to saw manually, it may take a while to cut the piece of wood. Using a power saw will cut the wood in a few seconds depending on thickness of wood. Repeat this step so you have two pieces of the same length.
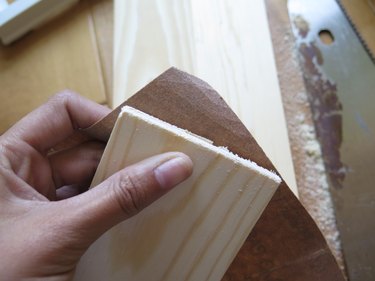
Step 3: Sand the Edges
If the edges of your wood board are rough, sand them down with sandpaper.
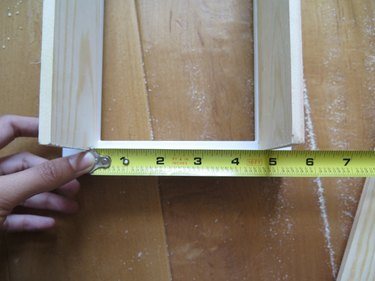
Step 4: Measure the Shortest Side
Once you have cut down two pieces of wood for the longest sides of the frame, measure the length between those two boards. Follow steps 2 through 3 to cut down the last two wood boards to fit in between the two long boards.
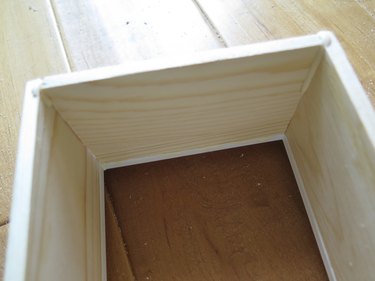
Step 5: Place the Boards Together
Place the boards together to create the box to make sure they fit.
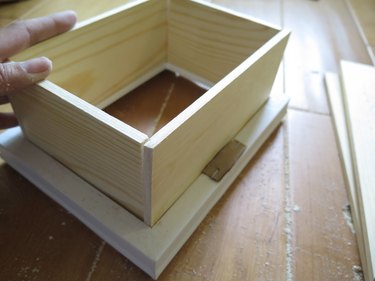
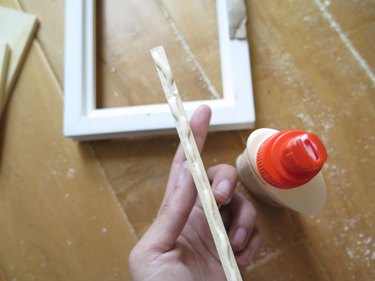
Step 6: Glue the Wood Boards Together
Because I was affixing the wood boards to the ledge within the frame, I glued the two longest wood boards in place first, then glued in the shorter boards. Wipe off any excess glue from the boards. If you are using thicker or bigger boards, you can glue the boards to each other first to create the box before attaching them to the frame.
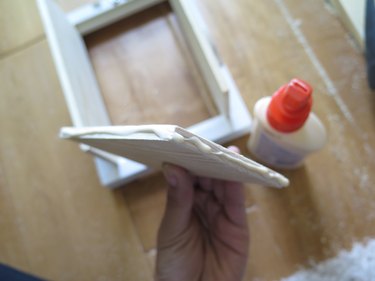
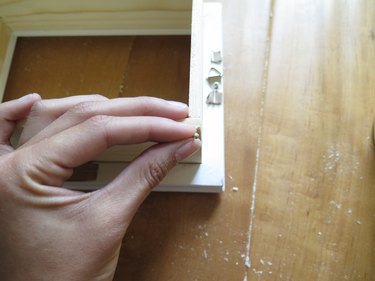
Step 7: Nail the Boards Together
Nail the boards together to secure the box.
Tip
If you're using a nail gun, it may leave an indent in the wood where the nail went through. Fill those holes with wood filler.
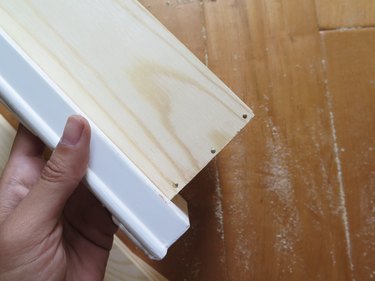
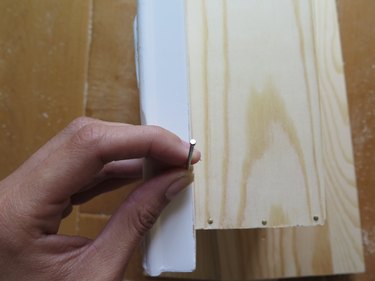
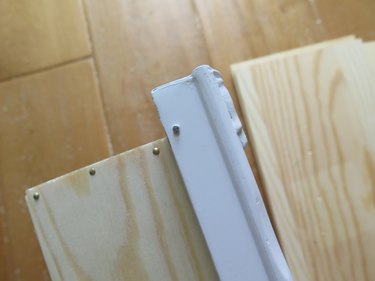
Step 8: Nail the Box to the Frame
Use nails and a hammer or use a nail gun to secure the wooden box to the frame.
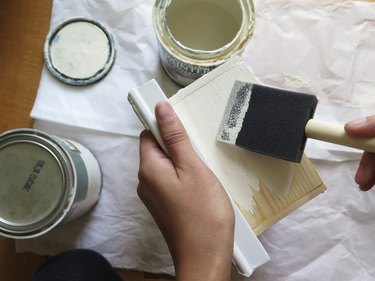
Step 9: Paint the Wood Box
Paint the box outside and inside to match the frame. If the frame needs to be repainted, then paint the entire shadow box. I only had paint from a can so it took time to paint with a paint brush. If you have a spray paint can, it will be much easier and quicker to paint your entire shadow box frame.
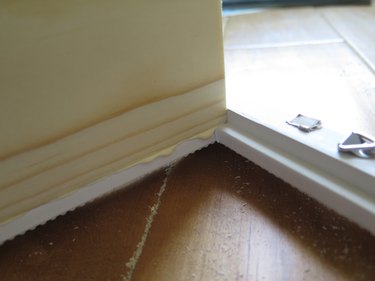
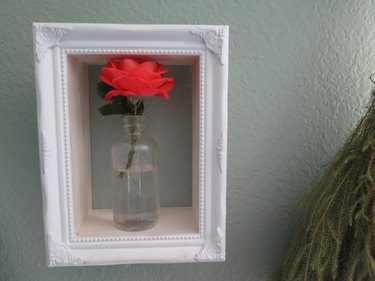
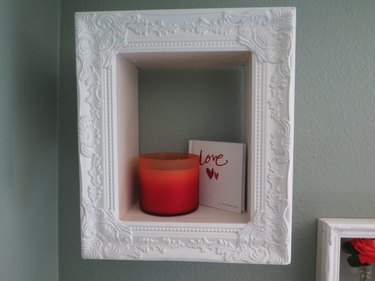
Step 10: Hang the Shadow Box Frames and Display Decor
To avoid nail holes in the wall, use adhesive strips on all four sides of the box. Avoid placing extremely heavy objects in the shadow box.

Warnings:
Always be cautious when using any tools such as hammers, nail guns and saws.