
Graber Bicycle Rack Instructions
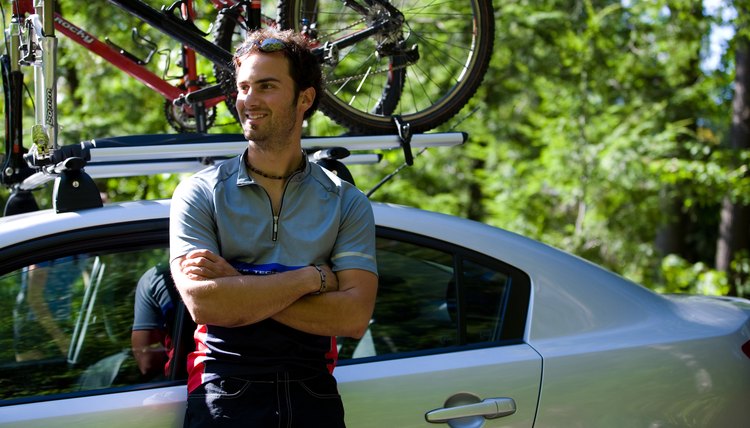
Bicycling provides an excellent cardiovascular workout as well as an opportunity to explore mountain trails or nearby towns. Most bikes are too large or unwieldy to fit inside a car, making transportation difficult. A Graber bike rack holds your bike securely to the outside of your vehicle, allowing you to transport up to three bikes at a time. Before using your new bike rack, take the time to install it correctly so you can stay safe on the road.
Spread the foam rollers as far apart as possible on the rear legs of your bike rack. Push the rollers apart, rotating them as needed to facilitate movement.
Place the padded front leg of your rack on your car's rear bumper. The bike support hooks should face out, away from the car.
Squeeze the adjustment levers on both sides of the rack's rear leg. Hold these levers in, and move the rear leg into position 1 or 2 if your car is a sedan, or position 3 or 4 for a hatchback. Look for the position guide markings along the sides of the levers.
Fasten the two top straps over the top hinge of your car trunk. With the trunk closed, hook each strap around the edge of the trunk lid that's closest to your rear window. Place the two straps at opposite ends of the trunk edge, maximizing the space between the straps.
Hook the two lower straps to the lowest point of your trunk lid. These straps should fasten to the edge of the trunk closest to the rear license plate.
Secure the two side straps around the sides of your trunk lid.
Tighten the straps using the built-in buckles to remove any slack. Check all six straps to make sure they are tight before proceeding.
Pull the adjustment knob, located along the side of the bike support handle, to lift or lower the bike support handle. Adjust this handle as needed to ensure proper clearance between your bikes and the ground.
Place the bikes onto the hooks located along the bike support handle. Fasten the top portion of each bike frame to the handle, then add straps to secure the bikes to one another for added protection.
Tips
Clean your car before installing your new bike rack. Any debris caught under the rack or padding may scratch your vehicle.
Cover your bike pedals to protect your car's finish. When carrying three bikes on your Graber rack, cover the pedal that's closest to the car to avoid scratches.
References
Tips
- Clean your car before installing your new bike rack. Any debris caught under the rack or padding may scratch your vehicle.
- Cover your bike pedals to protect your car's finish. When carrying three bikes on your Graber rack, cover the pedal that's closest to the car to avoid scratches.
Writer Bio
Emily Beach works in the commercial construction industry in Maryland. She received her LEED accreditation from the U.S. Green Building Council in 2008 and is in the process of working towards an Architectural Hardware Consultant certification from the Door and Hardware Institute. She received a bachelor's degree in economics and management from Goucher College in Towson, Maryland.