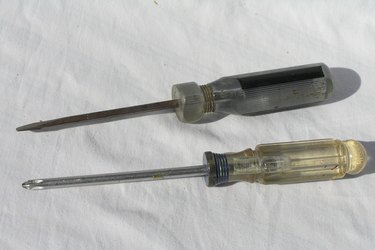
To use a screwdriver, you must match the screwdriver tip to the fastener's head. The most commonly used are the flat-head and Phillips-head screwdrivers. A screwdriver allows you to tighten a screw by turning the driver clockwise and loosen it by turning counterclockwise. It has a tough steel shaft with a bit on the end of the blade attached to a square, round or hexagonal plastic, metal or wooden handle. The screwdriver -- categorized by its bit type -- has a shaped tip that engages the fastener, which is what allows you to turn the screw.
Examine the Screw's Head
Video of the Day
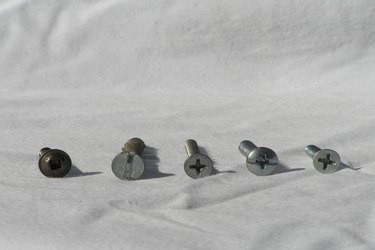
Examine the head of the screw or fastener to match it to the correct screwdriver. Fastener heads may have a single slot, a slotted cross, a hex-shaped indentation, a star pattern and other shapes. The most common head types are the single slot for a flat-head screwdriver or a slotted cross for the Phillips screwdriver. A star-shaped slot requires a Torx screwdriver, while other heads may have a square indentation or another shape. The indentations in the head of the screw must match the screwdriver if you want to fasten it safely and correctly.
Video of the Day
A Snug Fit
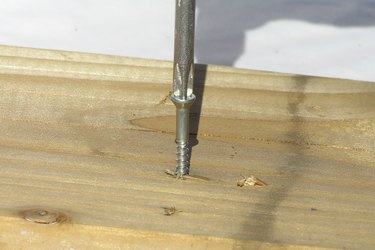
Insert the tip of the screwdriver into the head of the fastener to verify it securely fits. If the screwdriver tip does not match the fastener indentations with a tight fit, the screwdriver can slip off the screw as you tighten it. Align the shaft of the screwdriver to the same angle as that of the screw to ensure the application of proper force.
Hold the Screwdriver Near Its Tip
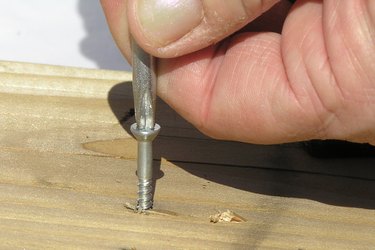
Grasp the handle with your dominant hand and the tip with your other as close to the head of the screw as you can. Apply enough force to turn the screwdriver clockwise to tighten the screw and the opposite direction to loosen it. Don't apply more force than is necessary or the screwdriver could slip from the fastener's head. Keep the shaft of the screwdriver aligned with the shaft of the screw as you tighten or loosen it for the best results.
Other Considerations
Screwdrivers also come in multiple lengths and tip sizes. For instance, if you have to remove a screw from a tight spot, you need a screwdriver with a small handle and shaft to fit in the available space. Screwdrivers with tips that are too big for the fastener's head can chew up the head, damaging it and making it unusable. The right-sized screwdriver does not extend beyond the indentations in the screw's head. When working with hard woods, drill a small starter hole to prevent the wood from cracking as you fasten the screw, and verify you have the right screw for the job. Wood screws have spiral threads and a pointed tip while screws for fastening inside a nut or metal shaft have even threads and a flat end, as they do not need to bite into the wood.