
How to Remove Super Glue From a Lock

Super Glue is famous for creating strong bonds fast. Surfaces that come in contact with Super Glue, whether intentional or not, quickly become adhered. If Super Glue has accidentally -- or purposefully -- found its way into or onto your lock -- it'll need to be removed.
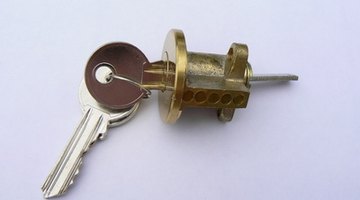
The ability of your lock to function properly is dependent upon complete removal of the Super Glue.
Things You Will Need
- Cotton swabs
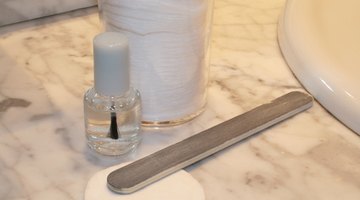
- Nail polish remover with acetone
- Nail file
- Sandpaper
- Flathead screwdriver
Tip
You may substitute straight acetone from a hardware store, but wear gloves and open windows for ventilation. Wear protective gloves and goggles when working with Super Glue and cover surfaces you don't want glued with aluminum foil.
Warning
When a large amount of Super Glue has been squirted into the inner workings of your lock you may have to call a locksmith.
-
Dip a cotton swab in nail polish remover that contains acetone. Rub the acetone on the Super Glue on or in your lock. Add more nail polish remover as needed or, if possible, pour directly onto your lock.
-
Wipe softening Super Glue with clean cotton swabs.
-
Sand or file remaining Super Glue residue with a nail file or sandpaper. Rub back and forth to wear off the glue.
-
Chip off any last traces of Super Glue residue from the outside or inside of a lock using a Flathead screwdriver. Be careful to chip only at the glue and not damage the lock.
The Drip Cap
- Super Glue is famous for creating strong bonds fast.
- Chip off any last traces of Super Glue residue from the outside or inside of a lock using a Flathead screwdriver.
- Be careful to chip only at the glue and not damage the lock.
References
Writer Bio
Mary Ylisela is a former teacher with a Bachelor of Arts in elementary education and mathematics. She has been a writer since 1996, specializing in business, fitness and education. Prior to teaching, Ylisela worked as a certified fitness instructor and a small-business owner.
Photo Credits
- lock image by Alison Bowden from Fotolia.com
- lock image by Alison Bowden from Fotolia.com
- pflege image by Jens Klingebiel from Fotolia.com
More Articles