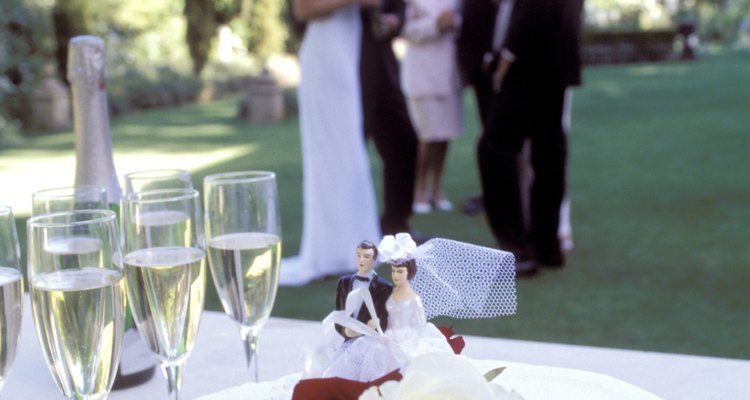
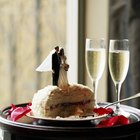
Purchasing every accessory that you need for your wedding can get expensive. Save money by making your own wedding cake stand out of fabric that perfectly coordinates with your color scheme. Create a large, single-tier cake stand using materials available at your local craft or fabric store. Your imagination is the limit, so design a stand that is as original as you are. Give your cake stand to the bakery before your big day, and they can arrange the rest.
Heat up the hot glue gun. Apply hot glue to the top of one of the pieces of Styrofoam and immediately place the other Styrofoam piece on top of it. Allow the glue to dry completely.
Cut a few pieces of double-sided carpet tape and stick them onto the bottom of the cake plate.
Press a plastic cake plate onto the top of the Styrofoam pieces firmly to keep it from sliding around.
Lay the fabric over the cake stand. Pull the fabric taut and pin it underneath the cake stand. Trim any excess fabric.
Glue the lace trim around the top border of the cake stand and attach it with the hot glue gun. Trim any excess lace.
Glue on any additional decorations that follow your wedding theme, such as silk rosettes, bows or greenery.
Related Articles
How to Make Mini Cakes
How Early Can You Make a Wedding Cake?

How to Decorate Fake Cakes
How to Keep Cake Moist Overnight ...

How to Make Your Own Wire Cake Topper

Calories in Fairy Cake
How Long After You Bake Should You Put ...
How to Make Your Own Round Acrylic ...

How to Garnish a Cake
How to Make a Fake (Faux) Cake
How to Defrost a Frozen Cake With ...
How to Make a Dome-Shaped Cake
Freezing a Cake With Buttercream ...
Nutrition Facts for Tres Leches Cake
Disney Princess Cake Ideas

How to Design Your Own Wedding Cake ...

How to Make Your Own Wedding Chair ...
How to Keep Chiffon Cake From Shrinking
How to Keep a Wedding Cake with ...

How to Make Fondant Camouflage
References
Writer Bio
Kimberly Dyke is a Spanish interpreter with a B.A. in language and international trade from Clemson University. She began writing professionally in 2010, specializing in education, parenting and culture. Currently residing in South Carolina, Dyke has received certificates in photography and medical interpretation.
Photo Credits
Pixland/Pixland/Getty Images