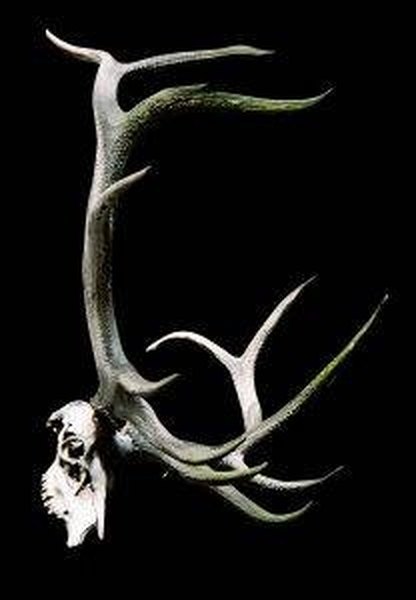
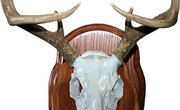

If you've been hunting and finally gotten your dream buck with a beautiful rack, then you probably want to mount those antlers somewhere in your home or office for display. While the actual mounting of the antlers is best left to professionals, you'll need to prepare the antlers before you bring them to the mounters. Here is how you can prepare deer antlers for mounting.
Items you will need
Small, sharp knife
Pot
Bleach
Varnish
Scrub pad
Remove any leftover pieces of skin, fur or membrane from the base of the antlers with a knife.
Bring a large pot of water to boil. Place the antlers in and boil for at least 10 minutes to kill any bacteria.
Remove the antlers from the boiling water.
Use a solution of half water and half bleach to scrub the antlers and skull base lightly to remove any dirt and deodorize the skull.
Let dry completely.
Apply a very thin coat of varnish to the antlers to set the color.
Writer Bio
Kay Ireland specializes in health, fitness and lifestyle topics. She is a support worker in the neonatal intensive care and antepartum units of her local hospital and recently became a certified group fitness instructor.