Laptop computers generally have built-in pointing devices such as touch pads that you can use to navigate the operating system on the go. However, touch pads and pointing sticks are small and generally far from ergonomic. At home, you might like to connect a full-sized mouse for greater comfort. Computer mice connect in a variety of ways, and you should be able to find a mouse what works with whatever peripheral ports your laptop has. As a general rule, any mouse that works with a desktop computer also works with a laptop.
Step 1
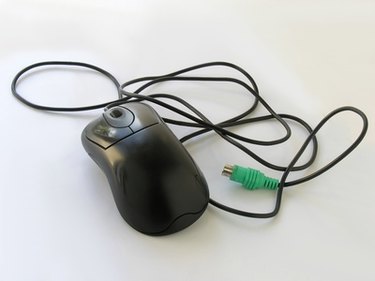
Connect a PS/2 mouse to the PS/2 mouse port with the computer turned off. Generally, a laptop with PS/2 ports has two: one for a mouse, and another for a keyboard. To determine the correct port, use the one that is color-coded green or look for a port with a mouse-shaped icon next to it. After turning the computer on, the operating system will detect the mouse and you can begin using it. If you have a PS/2 mouse, but your laptop has no PS/2 ports, look for a PS/2-to-USB adapter and follow Step 2.
Video of the Day
Step 2
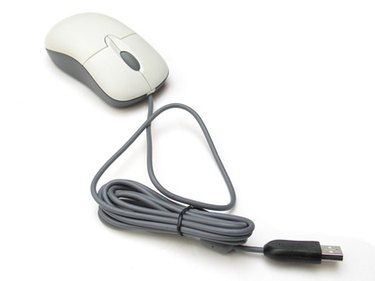
Connect a USB mouse to an open USB port with the computer turned off or on. If the mouse has a cord, the operating system detects it and it becomes usable immediately. If the mouse has more than two buttons, you may need to install driver software from the manufacturer to make the extra buttons usable.
Step 3
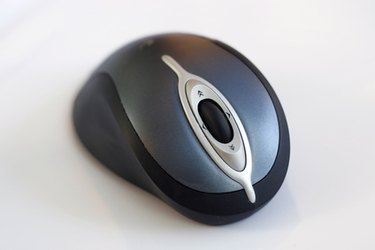
Connect a wireless USB mouse by plugging the receiver into an open USB port. In most cases, the computer detects the USB receiver as a mouse, which means that you do not need to install special software. Push the "Connect" buttons on the receiver and the mouse to sync the devices, and begin using the mouse.
Step 4
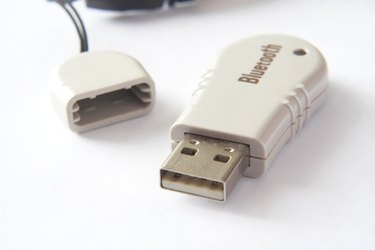
Connect a wireless Bluetooth mouse by turning your laptop's internal Bluetooth adapter on and flipping the power switch on the mouse. Generally, the computer will have a "B"-shaped Bluetooth icon in the system tray. Double-click this icon and look for an option to "discover new devices." All Bluetooth mice are not the same, and you may need to consult the manual for installation instructions. For example, some mice may only remain "discoverable" for a few seconds after they are turned on. After your computer finds the mouse, you may need to enter a passcode to begin using it. The default passcode for Bluetooth devices is usually "0000." After entering the passcode, the mouse is ready to use. In most cases, you only need to complete this process once. In the future, the mouse will sync with the computer automatically when you turn it on.
Video of the Day