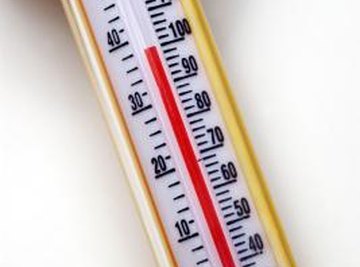

Making a thermometer is a simple and fun activity for teaching children about temperature. This thermometer does not measure exact degrees, but will allow children to experiment with how changes in temperature affect a thermometer. The effects of heat and cold that move mercury within a traditional thermometer will cause the liquid in your homemade thermometer to move, as well. As the temperature around your homemade thermometer increases, the liquid inside will expand and rise; as the temperature decreases, the liquid will reverse its expansion and go back down.
- Clear Plastic Bottle
- Rubbing Alcohol
- Tap Water
- Clear Plastic Drinking Straw
- Permanent Marker
- Red Food Coloring
- Modeling Clay
With young children who find it difficult to comprehend the bottle markings, you may want to make several thermometers and place them in a variety of environments simultaneously. You can then compare all of the bottles together side by side.
Do not allow children to drink the mixture in the bottle. Be sure to dispose of the bottle properly to avoid accidental re-use.
Fill the bottle 1/4 of the way full with water.
Pour rubbing alcohol in until the bottle is half full.
Add a drop or two of red food coloring to simulate mercury.
Place the straw in the bottle, but do not let it touch the bottom. Press a small amount of modeling clay on top of the straw and use the clay to seal the edges of the bottle's top. The clay will hold the straw in place and prevent it from touching the bottom of the bottle.
On the side of the bottle, use a permanent marker to label how high the liquid inside your thermometer is at room temperature.
Change the bottle's environment to see how temperature affects the "thermometer" inside. Place the bottle inside a refrigerator, freezer, bowl of ice or other cold place, and let the bottle cool off. The mixture inside will go down and take up less space in colder temperatures. Mark the side of the bottle to document how far down the liquid has fallen.
Make other adjustments to the temperature around the bottle and observe how your thermometer reacts. Place the bottle near a hot area, such as a heater, radiator or oven with its door cracked open. You could also simply hold the bottle and allow your body heat to warm it. As the temperature around the bottle increases, the liquid inside will expand. Because the liquid no longer fits in the bottom of the bottle, it will begin moving higher up the straw. Be sure to mark the bottle to show the level where the liquid rises in the warm environment.
Things You'll Need
Tips
Warnings
About the Author
Angela Powell Watson has written for dozens of print and online resources, and recently published her first book. Watson holds a Bachelor's degree in Early Childhood Education and Art from Hood College, a Master's degree in Curriculum and Instruction from Western Maryland College and National Board Certification as an Early Childhood Generalist.
Photo Credits
Thinkstock/Comstock/Getty Images