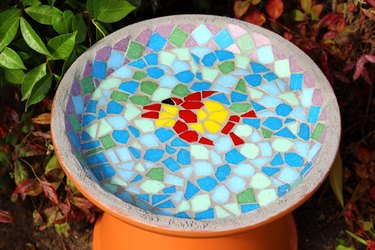
Mosaic tiling might seem complicated to do, but it is actually quite easy, even for a beginner. And this mosaic bird bath made with a terra cotta saucer as a base is a great project to get you started. The birds in the neighborhood will certainly appreciate it.
Things You'll Need
12-inch terra cotta saucer
Terra cotta sealer
Large piece of paper
Pen
3/4-inch glass tiles
Tile cutter
Towel
Tile adhesive
Pre-mixed grout
Plastic gloves
Sponge
Rag
Grout sealer
10-inch terra cotta pot

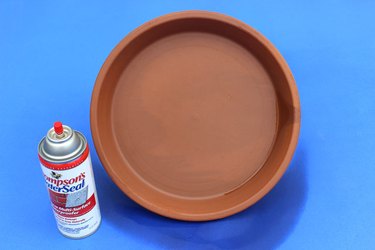
Step 1: Seal the Terra Cotta Saucer
Terra cotta is porous, so it needs to be sealed to not only withstand the elements outdoors, but hold standing water. Apply two layers of terra cotta sealer to both the top and bottom of a 12-inch clay saucer, paying attention to the package directions for drying and cure times. Terra cotta sealer comes in both spray and liquid formulas. Also, you can use a sealer made especially for terra cotta, or use a general waterproof sealer that protects a variety of surfaces. Just check on the label to make sure it's good for terra cotta as well.
Video of the Day
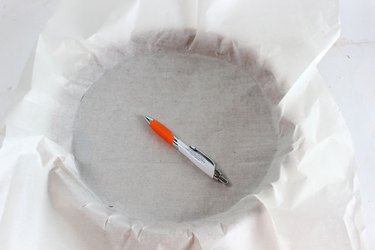
Step 2: Make a Template
Place a piece of white paper in the saucer and trace around the inside edge with a pen to make a template for the tile artwork. With a template, we can experiment with the design on the paper before committing to the saucer. After drawing the circle, take it out of the saucer.
Step 3: Cut Tiles
Glass tiles are available at art supply and crafts stores in bags or jars. They are usually 3/4-inch in size. While you don't need to cut the tiles, cutting them into irregular shapes creates a more interesting design. And smaller pieces can be used to fill in bare spots. Use a pair of tile cutters, which you can also find at crafts stores, to cut the tiles into your desired shapes. They work like giant fingernail clippers. Be sure to wear eye protection, and surround the tile with a towel as you're cutting so glass pieces do not fly across the room.
Warning
Glass shards will likely break off while cutting, so handle with care when touching cut pieces.
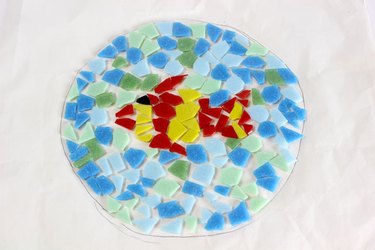
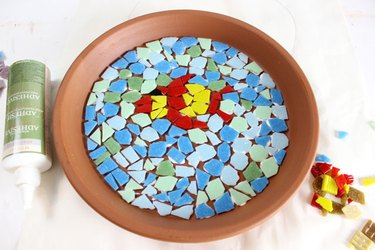
Step 4: Arrange Your Tile Pieces
Using the template as a blank canvas, create a design with the tiles. You can create an abstract design, which is easiest, or be more ambitious and draw an object. The great thing about using the template is you can play around with the design.
Step 5: Glue the Pieces
Working with one tile piece at a time, transfer the design to the terra cotta saucer, gluing the pieces down with tile adhesive. You can find mosaic tile adhesive at the crafts store next to the actual tiles. Other permanent adhesives like epoxies can work as well; just check that they're waterproof.
Tip
As you're transferring your tiles to the saucer, go ahead and make adjustments to the design if you'd like. It's not set in stone — well, not yet anyway.
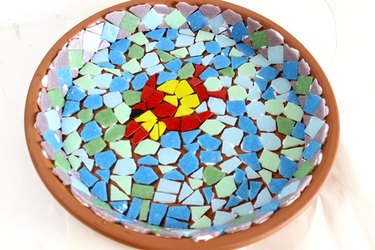
Step 6: Tile the Inside Wall
After the main design of the saucer is complete, glue tile pieces to the inside wall. I did not use a template for this area, as I decided on a simple repeat pattern. The key to tiling the wall is to work from the bottom up, as gravity will cause the tiles to slide down, even with adhesive on the back. By positioning the bottom tiles first, the higher ones can be supported by the lower ones.
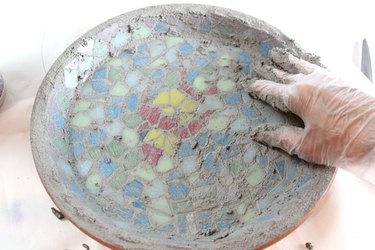
Step 7: Apply Grout
Pre-mixed grout comes in a variety of colors. I chose a light grey to help the lighter-colored tiles stand out. Put on some plastic gloves and spread grout across the tiles, pushing the grout into all the nooks and crannies. Work the grout up to the rim of the saucer.
Tip
Use your hand as a "squeegee" to remove excess grout. You want an even layer of grout that is flush with the tiles.
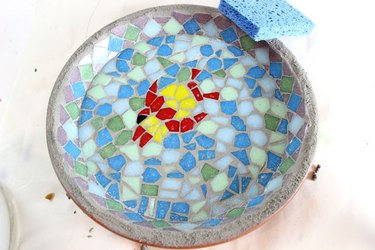
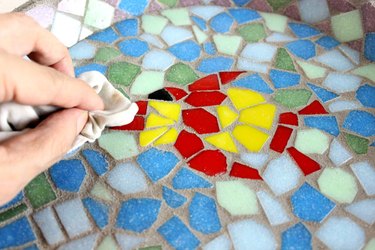
Step 8: Wipe with Sponge
Run a damp sponge across the surface to remove excess grout that is sitting on top of the tiles. Keep the sponge rinsed clean as you wipe. As you clean the tiles, your beautiful design is revealed.
Step 9: Buff the Tiles
After the grout has dried for about four hours, use a damp rag to wipe off any remaining haze on the tiles. The grout has hardened at this point, so you can really scrub with the rag, if necessary.
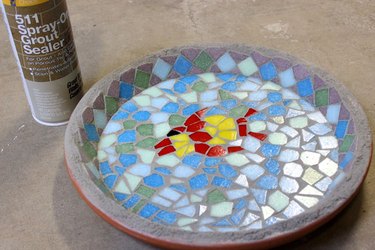
Step 10: Apply Grout Sealer
Protect the grout from moisture by applying two coats of grout sealer to the surface. Grout sealer comes in both aerosol and liquid formulations. I prefer the spray-on grout sealer, as it provides an even, no-mess coverage. Allow the grout sealer to dry for 24 hours before using the bird bath.
Warning
Work in a well-ventilated area with eye and mouth protection.
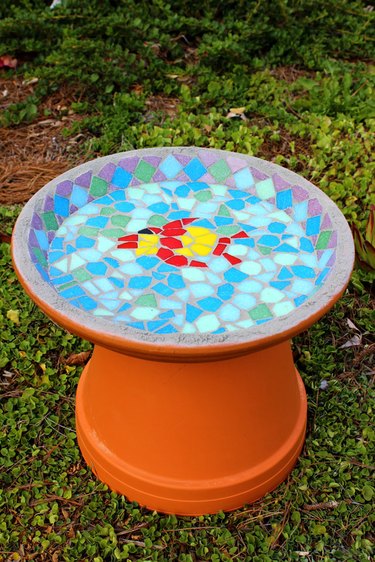
Step 11: Elevate the Bird Bath
Place the completed birdbath on an upside down 10-inch terra cotta pot to elevate it off the ground. Fill the bird bath with water, and you're ready to invite the neighborhood birds over for a swim party.
Video of the Day