Home Sweet Home
Hacks, Tips & Tricks
Squeaky Clean
DIY Decor
Carpentry & Remodeling
Maintenance & Repair
Green Thumb
All Home Sweet Home
Chow Down
Main Dishes
Sweet Treats
Snacks
Copycat Recipes
Drinks & Cocktails
Sides & Appetizers
Veggie Faves
Food Hacks
All Chow Down
Get Crafty
Sew Simple
Fun Crafts
Art Projects
All Get Crafty
Let’s Celebrate
Valentine's Day
St. Patrick's Day
Easter
Mother's Day
Father's Day
4th of July
Back to School
Halloween
Thanksgiving
Christmas
New Year
Weddings
Baby Showers
Birthdays
Parties & Events
Gifts
All Let’s Celebrate
JOIN OUR NEWSLETTER
JOIN OUR NEWSLETTER
Home
Let's Celebrate
Halloween
Halloween
By
Anna Buckley
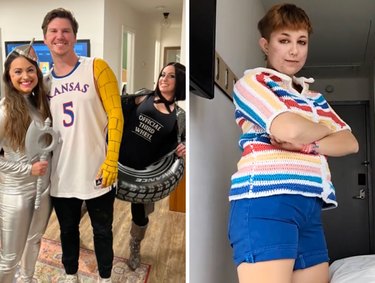
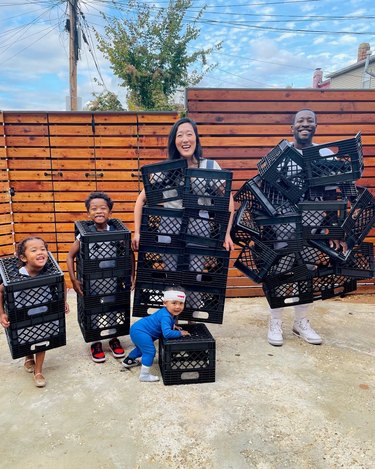
3-Person Halloween Costume Ideas From Creative TikTokers
Let's Celebrate
By
Anna Buckley
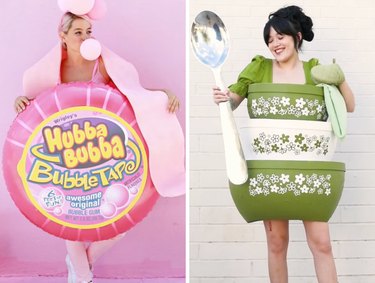
Halloween Costumes Inspired By the '70s, '80s, '90s & Beyond!
Let's Celebrate
By
Anna Buckley
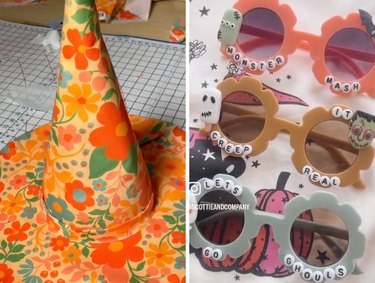
Bewitching Last-Minute Halloween Accessories From TikTok Crafters
Let's Celebrate
By
Sophie Boudreau
Baby Bump Halloween Costumes for Parents-To-Be
Let's Celebrate
By
Kirsten Nunez
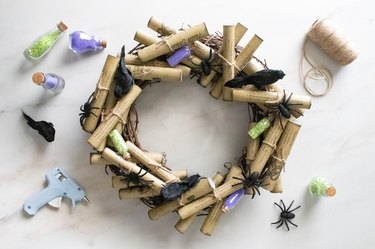
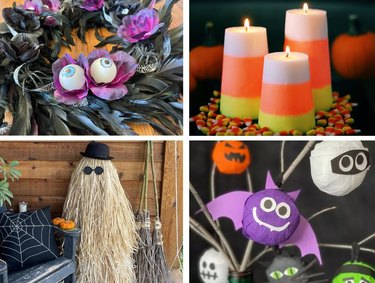
Scrolls, Potions, Spiders, Oh My! A Spellbinding Halloween Table
Let's Celebrate
By
Beth Huntington
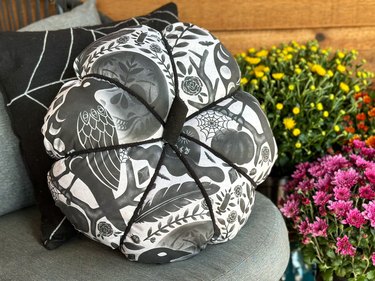
Easy Pumpkin Pillows Made From Fabric & Yarn
Let's Celebrate
By
Anna Buckley
Creepy, Cute & Creative Halloween Wreaths of TikTok
Let's Celebrate
By
Rachel Syens
Halloween Costume Ideas: Barbie, Carmy, Wednesday, Oh My!
Let's Celebrate
By
Bianca Fernandez
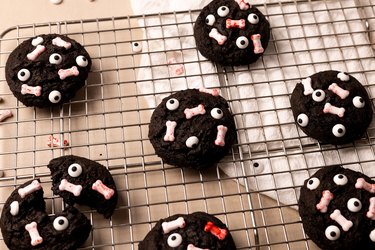
Monster Mash Cookies Topped With "Eyeballs"
Let's Celebrate
By
Sophie Boudreau
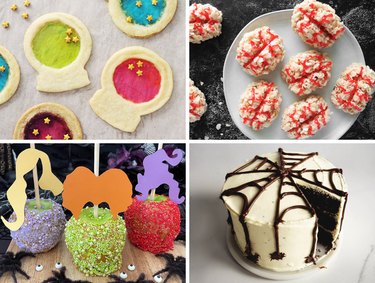
Best of ehow: Halloween Treats Galore!
Let's Celebrate
By
Kirsten Nunez
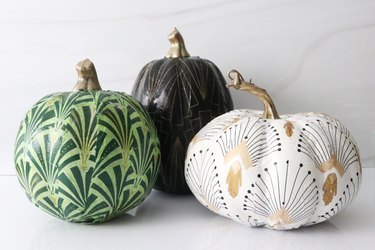
Art Deco Pumpkins for a Very Vintage Halloween
Let's Celebrate
By
Beth Huntington
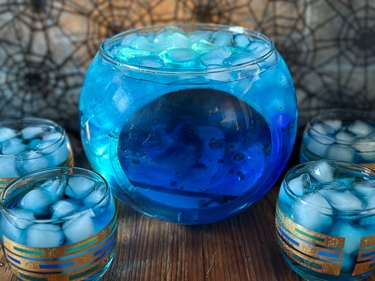
A "Haunted Mansion" Punch Bowl to Serve Spellbinding Sips
Let's Celebrate
By
Sophie Boudreau
Best of ehow: Our Cutest, Creepiest Halloween Crafts
Let's Celebrate
By
Sophie Boudreau
Quirky Halloween Costumes, From Hot Cheetos to Sardines
Let's Celebrate
By
Beth Huntington
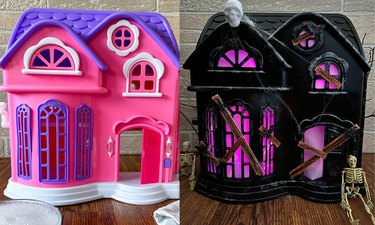
A DIY Haunted Dollhouse Just in Time for Halloween
Let's Celebrate
By
Beth Huntington
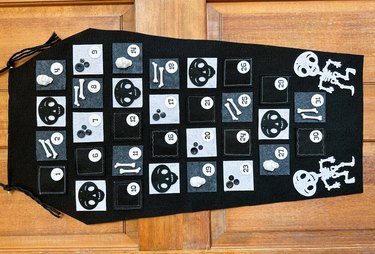
A Halloween Countdown Calendar Full of Tricks & Treats
Let's Celebrate
By
Kirsten Nunez
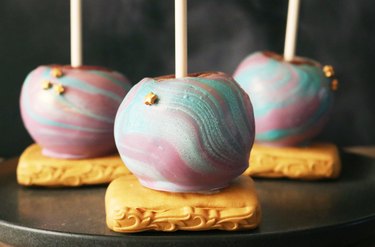
Crystal Ball Candy Apples for a Magical Fall Treat
Let's Celebrate
By
Kirsten Nunez
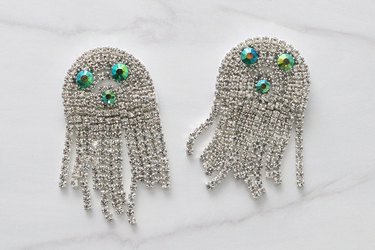
Boo-tiful DIY Halloween Earrings, From Candy Corn to Cauldrons!
Let's Celebrate
By
Kirsten Nunez
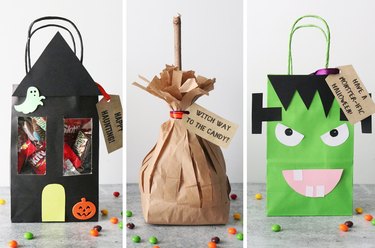
3 Mini Treat Bags for a Sweet Halloween
Let's Celebrate
By
Anna Buckley
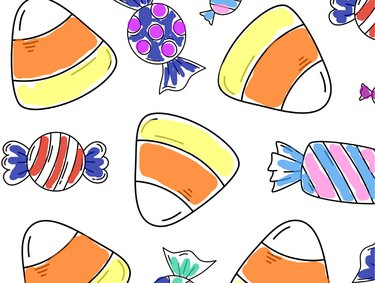
Printable Halloween Coloring Pages & Activities for All Ages
Let's Celebrate
By
Kirsten Nunez
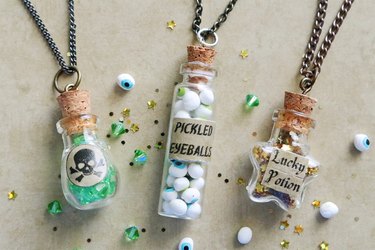
Potion Bottle Pendants Brewed Up in Time for Halloween
Let's Celebrate
By
Bianca Fernandez
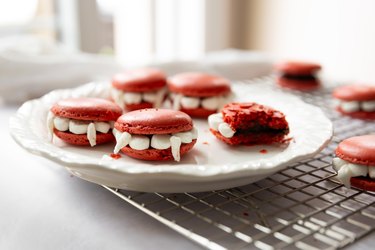
Dracula Macarons to Sink Your Teeth Into
Let's Celebrate
By
Rachel Syens
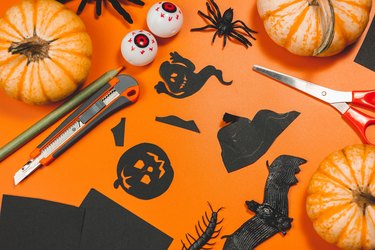
Halloween DIYs for Every Vibe, From Cute Costumes to Eerie Eats
Let's Celebrate
By
Anna Buckley
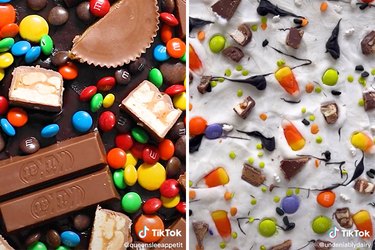
What to Do With Leftover Halloween Candy (According to TikTok!)
Let's Celebrate
By
Anna Buckley
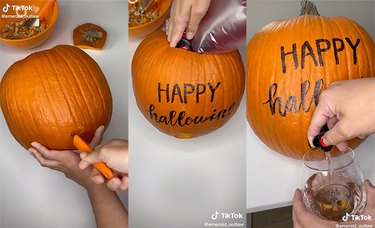
A Brilliant TikTok Hack: Pumpkin HalloWINE
Let's Celebrate
By
Beth Huntington
Throw a Mad Scientist Lab Party!
Let's Celebrate
By
Beth Huntington
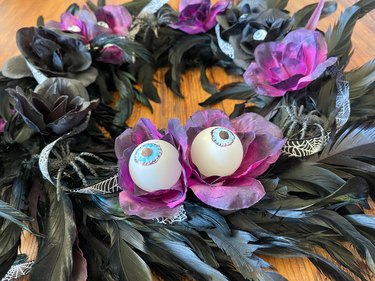
An Eye-Popping Halloween Wreath Idea
Let's Celebrate
By
Anna Buckley
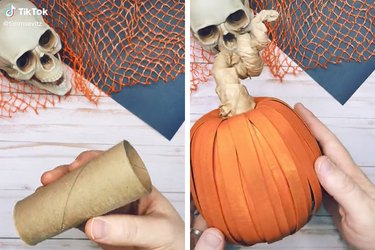
Toilet Paper Roll Pumpkins From TikTok
Let's Celebrate
By
Kirsten Nunez
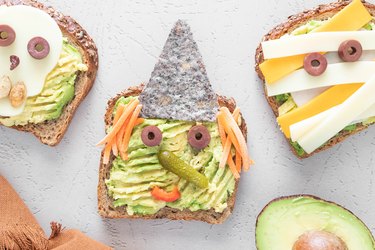
A Magical Lunch Idea: Halloween Avocado Toasts!
Let's Celebrate
By
Kathryn Walsh
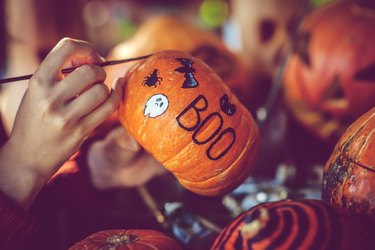
No-Carve, No-Mess Ways to Decorate a Pumpkin
Let's Celebrate
By
Stephanie Valente
Creator Spotlight: Homemade Halloween Costumes with Carrol Chang
Let's Celebrate
By
Kathryn Walsh
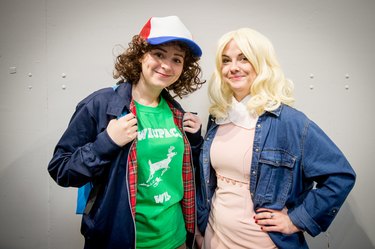
Easy DIY Costumes Inspired by TV Shows
Let's Celebrate
By
Anna Buckley
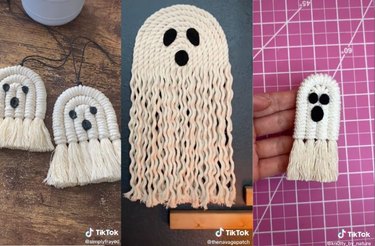
These Boo-tiful Macrame Ghosts Are All Over TikTok
Let's Celebrate
By
Kirsten Nunez
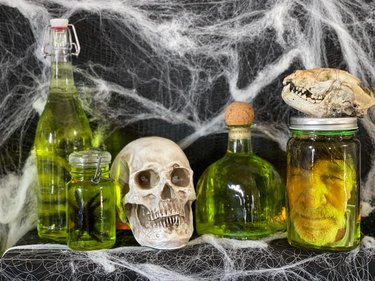
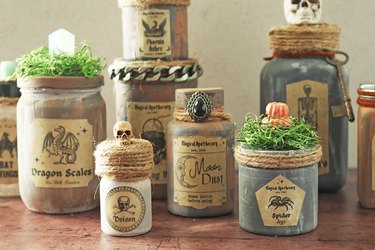
Bewitching DIY Halloween Potion Bottles
Let's Celebrate
By
Beth Huntington
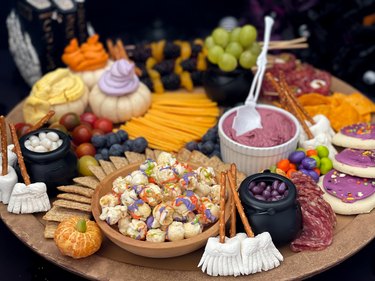
Now Brewing: A Hocus Pocus Charcuterie Board!
Let's Celebrate
By
Kathryn Walsh
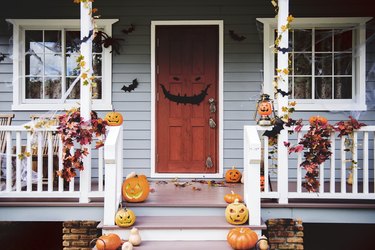
Ding Dong! Halloween Door & Doorbell Inspo Is Here
Let's Celebrate
1
2
3
4
5
>
Report an Issue
Contact*:
Severity*:
High
Normal
Low
Description*:
Screenshot loading...
Cancel
Submit