Things You'll Need
Mink coat, stole or jacket
Stitch-remover tool
Sharp scissors
Teddy bear pattern
Straight pins
Needles
Heavy duty thread
Sewing machine (optional)
Forceps
Tweezers
Pliers
Stuffing
Embroidery thread, black or brown
Ribbon, 1 yard, 2 inches wide
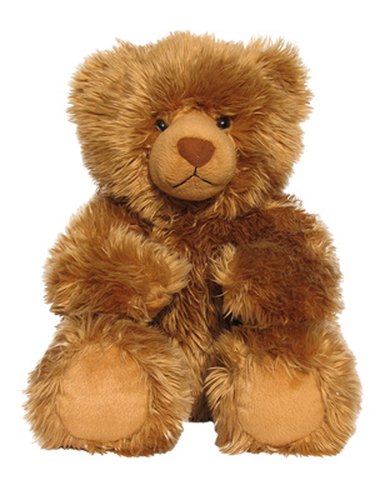
Many old mink coats, stoles and jackets hidden away in attics and closets are kept for sentimental reasons. Wearing real fur has become a political no-no in many circles, and often the garments are out-of-date. You now can transform Grandma's old mink coat into cuddly teddy bears to pass on to grandchildren and great-grandchildren. With a simple pattern and some basic sewing skills, that old mink coat can warm a heart as a cherished teddy bear.
Step 1
Dismantle mink coat. Remove lining carefully. Set aside for other projects.
Video of the Day
Step 2
Remove stitches holding sleeves, collars and pockets with a stitch ripping tool. Remove stitches carefully to prevent ripping the fur pelt.
Step 3
Choose a teddy bear pattern with simple, clean lines. Review supply list provided with teddy bear pattern for the amount of fabric or fur needed to complete the teddy bear.
Step 4
Examine mink pelts for any worn or thin areas. Avoid these areas when laying out the teddy bear pattern.
Step 5
Place the mink pelt fur-side down on a flat surface. Place teddy bear pattern pieces on the pelt. Check that the pattern pieces are placed with the pile going in the correct direction, the direction in which the fur lies. Place straight pins along the outer edge of the pattern pieces to hold them against the fur pelt for cutting.
Step 6
Cut teddy bear pattern pieces with sharp scissors so as not to fray or damage the mink pelt.
Step 7
Sew teddy bear pattern pieces together as directed by pattern manufacturer. Sew pieces wrong-side out using a straight stitch either by hand or by machine. Choose sharp needles and heavy duty thread. Replace needles as often as needed.
Step 8
Cut off any excess seam allowance and clip curves to eliminate the excess bulk and produce a smooth seam when the part is turned right-side out for stuffing.
Step 9
Turn teddy bear pieces right-side out using forceps, tweezers or pliers. Exercise care when turning the pattern parts out. Old fur is fragile and can tear easily.
Step 10
Stuff parts and assemble teddy bear as indicated by the pattern. Gently brush any excess fur from teddy bear.
Step 11
Design face. Practice eye placement with black-headed stick pins. Embroider nose and an upside-down "Y" for a mouth with black or brown embroidery thread. Add ribbon or bow around neck.
Tip
To further personalize your mink teddy bear, add a piece of jewelry that belonged to the person in your family who owned the mink. Fashion clothes for the bear from a dress or blouse of a loved one.
Warning
Protect your teddy bear from moths and keep it clean as bugs are attracted to food residue. A good cedar block will help teddy avoid moths. Seal teddy in a plastic bag with the cedar block. Keep teddy in the bag overnight. Remove teddy from the bag and place him somewhere he can air out like an outside deck or porch.
Video of the Day