
How to assemble the IKEA Expedit Bookcase
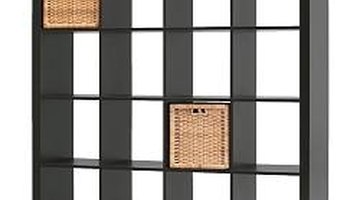
IKEA makes some very functional, affordable and easy to assemble furniture. The IKEA Expedit bookcase comes in many different colors (beech, birch, black-brown and white) and sizes (8, 16 and 25 squares).
Things You Will Need
- Flathead Screwdriver
- Boxcutter
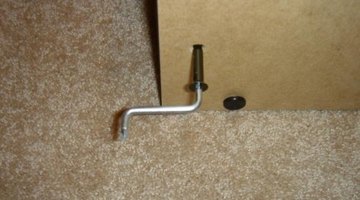
- Allen Wrench (supplied in box)
Tip
Make sure you read the directions. Do not tighten the outside the screws too tightly on the outside pieces during the final steps of assembly. This can sometimes cause problems since the shelves do not always line up. Make sure you have two people during assembly. This is very difficult to do with just one person.
Warning
The big 25 square shelving unit is almost impossible to setup with just one person.
-
Purchase the IKEA Expedit online at http://www.ikea.com or at your local IKEA store. To find a store near you in the United States go here http://www.ikea.com/ms/en_US/ikny_splash.html.
-
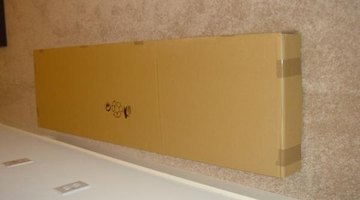
Place the box on the floor in the area where you want to setup the bookcase. Make sure you have enough room to assemble the bookcase on the floor.
-
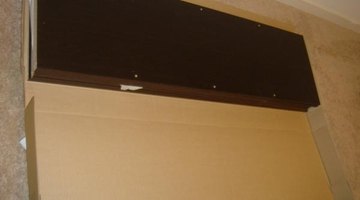
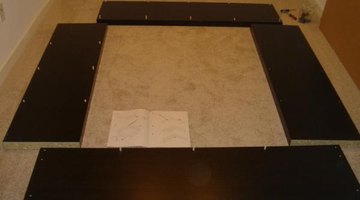
Open the box and begin removing the pieces and spreading them out on the floor.
-
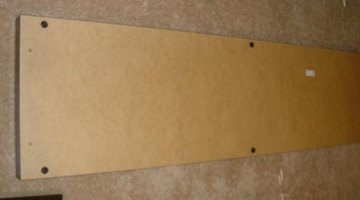
Take the bottom piece and affix the plastic feet to the bottom of the panel.
-
Take the 4 main outside pieces and lay them out where in a square on the floor. Insert the small woodden dowels into the pre-drilled holes. These dowels are included.
-
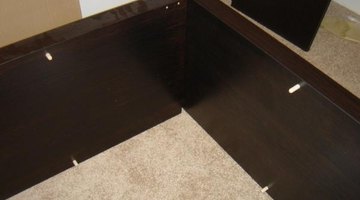
Connect the first two corner pieces and screw them together using the screws that were supplied.
-
Tighten almost all the way with supplied allen wrench.
-
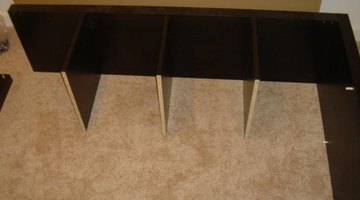
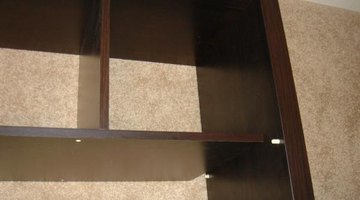
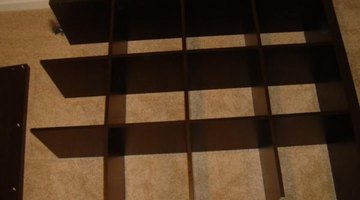
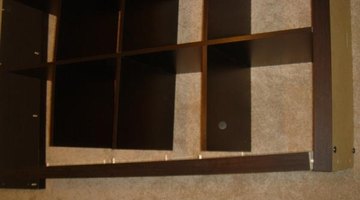
Begin adding the inner shelves. These shelves have pre-drilled holes that fit into the wodden dowels attached to the outside pieces.
-
Attached the long inner plank to start the next row of shelves. Connect the top end of the plank to the outside shelf by fitting the pre-drilled hole into the dowel that is attached.
-
Repeat the process until you have all of the inner shelves added. All inner shelves should be connected to the inner planks with a wooden dowel. The wooden dowel should go through the entire plank and connect the inner shelves on both sides.
-
Add the remaining outside pieces but DO NOT screw them in yet. NOTE: If you screw them in too soon you will not get all of the outside pieces to line up correctly and you will be here all night. Get them attached loosely as you connect all of the pieces. Once they are all connected and roughly aligned you can begin tightening them.
-
Tighten all of the pieces and slide the bottom of the bookcase close to the wall. With two people raise the bookcase and stand it upright. You are Done!


The Drip Cap
- IKEA makes some very functional, affordable and easy to assemble furniture.
- Purchase the IKEA Expedit online at http://www.ikea.com or at your local IKEA store.
- Make sure you have enough room to assemble the bookcase on the floor.
- Take the bottom piece and affix the plastic feet to the bottom of the panel.
- Add the remaining outside pieces but DO NOT screw them in yet.