
How to Ship a Bike by FedEx
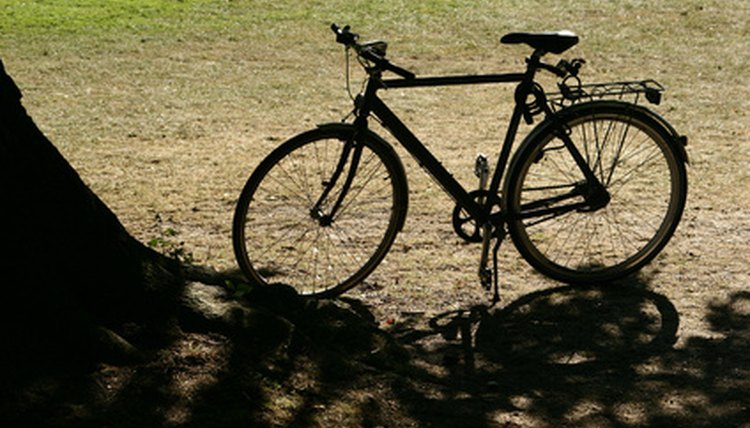
In spite of the fact that bikes are cumbersome, they are not as difficult to ship as you might think. Many people need to transport their bikes for a vacation or a move, but airlines charge high fees, so they choose FedEx to ship their bikes. Once you box up your bike, you can arrange the shipping of the bike entirely online through FedEx's website.
Get a bike box. Either take your bike to a local bike shop, or measure your bike's height and length and give it to the bike shop employees to purchase a bike box. The bike shop employees will help you choose the right box for your bike. Boxes are inexpensive and usually run about $5.
Place the bike in the box. If you brought your bike to the shop, pack it up there. The bike shop employees will help you package your bike.
Go to FedEx's website (www.fedex.com) and choose the "Prepare Shipment" option found under the "Ship" menu tab. You will first be asked to sign into the site under your account or create a FedEx account if you do not already have one.
Fill in the fields in the "Prepare Shipment" page. You will have to enter in your information, the destination address, the weight of the bike and dimensions of the bike, then you will have to pay for the shipping with your credit card. You also have the option to arrange FedEx to come and pick up your bike so you don't have to drop it off. This is done through the "Schedule Pickup" option, and the site will guide you through the steps. Once you pay for the shipping, a shipping label will be created--print it out.
Affix the shipping label to the box. Securely tape up the ends of the box with packing tape. Either bring the bike to a FedEx location to be shipped, or give it to the FedEx delivery person when he arrives to pick it up.
Tips
Keep the tracking number from your shipping label so you can track the progress of the bike through its shipment. If you aren't sure of the weight of the bike, 35 lb. is typically a fair estimate for the package.
Resources
Tips
- Keep the tracking number from your shipping label so you can track the progress of the bike through its shipment. If you aren't sure of the weight of the bike, 35 lb. is typically a fair estimate for the package.