


Shimano gears are differentiated by cost and performance and are standard equipment on all kinds of bikes. Mountain bike gear types include the Deore, Deore SLX, Deore XT and XTR. Road bike gears include the Tiagra, 105, Ultegra and Dura Ace groups. Other specialty gears include Zee and Saint for downhill and trick bikes, and Di2 and D12 for road bikes with electronic shifting.
Gear Terminology
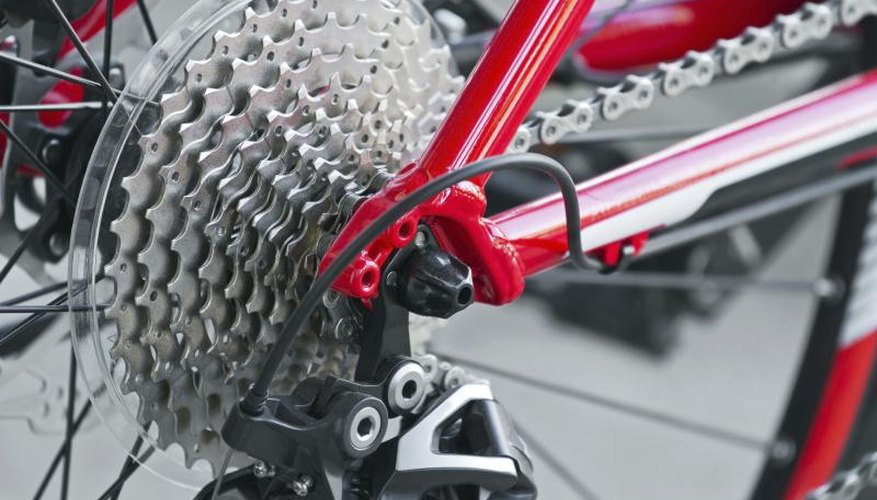
Common references to front gears includes the term "ring" instead of gear. Two front gears assembled together with pedals and a crank is referred to as a double, or a compact double. Three gears together are commonly referred to as a triple. Back gears, when grouped together, are commonly referred to as a cassette. Gear ratio or range is a technical term that can be complicated, but a simple generalization can be explained by gear size or tooth count; big gears or high tooth counts on the front designate a faster bike. Big gears on the back are for better climbing.
Mountain Bike Deore, and Deore SLX
The Deore group is typically Shimano's most affordable mountain bike gearset. Low gear ranges for triple cranksets are 42, 32 and 22, which are designed for easier climbing. Another set, the 48, 36, 26, is geared higher for more speed. The cassette consists of 9 or 10 individual gears with four typical ranges: 11-to-28, 11-to-32, 11-to-34, and 12-to-36. The Deore SLX is a bit lighter and more expensive than the Deore and is geared lower. If you're unsure about the range, check the side of the gear, where the tooth count typically is stamped.
Mountain Bike, XT and XTR
The Deore XT and XTR are mid-range gears for mountain bikes. They're lighter, and shift faster and cleaner than the Deore or Deore SLX. The differences are due to different gear alloy, and the way the teeth are machined. The typical XT and XTR gearset has cassettes with 9, 10 or 11 gears available -- as opposed to only 10 gears on the Deore. XT and XTR cranksets are available in compact doubles or standard triples. If you love to explore trails, but don't want to rule out racing, the XT gearset will do them both. If you're serious about racing, spend the extra money for the XTR -- and you can't blame poor performance on the gears.
New Kids on The Block
Specialty MTB gears include the Shimano Zee and Saint, which consist of reinforced, single, double or triple cranksets for downhillers and trick riding. These gears are thicker, stiffer and manufactured with heavier alloy to absorb punishment. They won't shift as smooth, but they can take a beating that would bend or break standard mountain bike gears.
Tiagra Road Gears
Road bike gears are thinner, lighter and more delicate than mountain bike gears that are designed to undergo higher torque. Tiagra is a good example of affordable road bike gearing. The typical Tiagra crankset is available in a double or triple. The Tiagra rear cassette is typically available with 9 or 10 gears in three ranges 11-25, 12-30, and 12-28. Tiagra is a good choice for bikes that occasionally get dirty or wet, such as commuter bikes, because they are not as delicate as more expensive gears.
Road Bike 105
Moving up in cost and performance, Shimano 105 is considered an entry level, race-ready gearset that's ideal for cruising long stretches of blacktop. 105 gears have similar ratios to the Tiagra, but 105 gears are lighter and shift cleaner than the Tiagra because they're made with higher-grade alloy, and machined with more precision. 105 could be considered the working standard for Shimano road gears. The 105 crankset is offered in a double or triple. Unlike the more affordable Tiagra, the 105 rear cassette is available with 11 gears instead of 10.
Ultegra
Ultegra is standard gearing for racing, or for cyclists who can afford to spend more for better performance. Ultegra gears are made with stiffer alloy than the 105 to ensure that the gear doesn't flex when under pressure. The Ultegra lineup has similar gear ratios to the 105 with a double or triple crankset, and 10 or 11 gears on the cassette.
Dura-Ace
Dura-Ace is a professional's choice for gearing. It's the lightest gear available because of advanced alloy, and is machined to the highest degree. Dura Ace has additional bearings and coated parts for less friction. Dura-Ace gears are expensive and typically found on high-end road bikes when cost is not an issue. With gear ratios similar to 105 and Ultegra, Dura Ace gears are the gold standard for road bikes.
Electronics
DI2 and Di2 are electronic distinctions of existing Shimano gears, with the same cranksets and 11-speed cassettes as Ultegra or XTR. The only difference is the interface between shifters; the Di2 and D12 rely on electronic shifting instead of cables.
References
Writer Bio
Specializing in hardwood furniture, trim carpentry, cabinets, home improvement and architectural millwork, Wade Shaddy has worked in homebuilding since 1972. Shaddy has also worked as a newspaper reporter and writer, and as a contributing writer for Bicycling Magazine. Shaddy began publishing in various magazines in 1992, and published a novel, “Dark Canyon,” in 2008.