Zippers can be one of the most intimidating techniques for someone new to sewing. But honestly, there is nothing to fear. Putting in a zipper really isn't as hard as it looks. Once you learn the tricks, you'll be confidently sewing zippers into everything from dresses and pants to bags and pillows.

Video of the Day
Watch the video tutorial
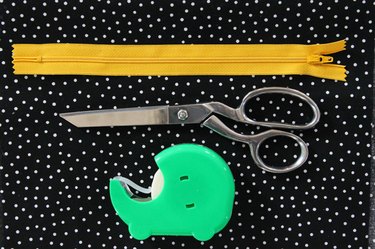
Things You'll Need
Zipper (2 inches longer than needed)
Iron and ironing board
Transparent tape
Zipper foot
Seam ripper
Sharp scissors
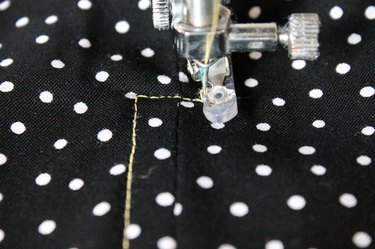
Step 1
With the right sides of your fabric together, sew the zipper opening with a basting stitch and a 1/2-inch seam allowance.
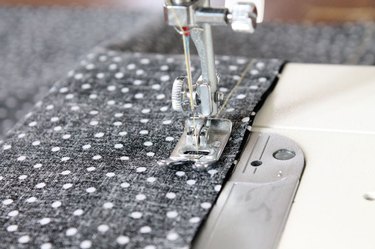
Tip
A basting stitch is the longest stitch length on your machine.
Step 2
When you get to the end of the zipper opening, back stitch a few times and continue to sew the rest of the seam with a medium stitch length.
Step 3
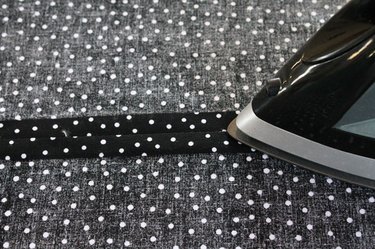
Press the entire seam open with an iron.
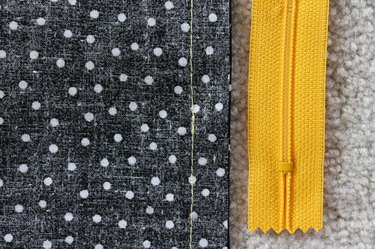
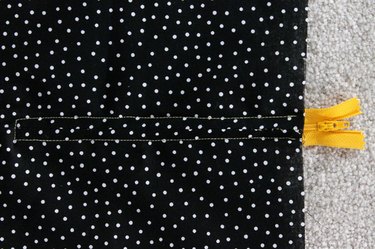
Step 4
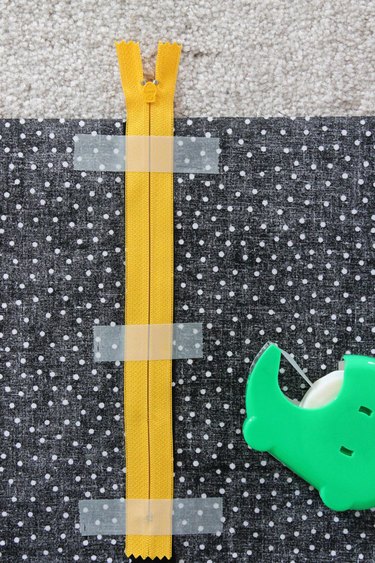
Turn your fabric so the wrong side is facing up. Place the right side of the zipper onto the seam allowance, with the top of the zipper extending past the edge of the fabric. By extending the zipper, you eliminate the problem of having to sew around the bulky zipper pull. You will trim the extra zipper tape later. The bottom of the zipper should be even with the end of your basting stitches, and the teeth of the zipper should be lined up with the seam line. Use transparent tape to hold the zipper in place.
Step 5
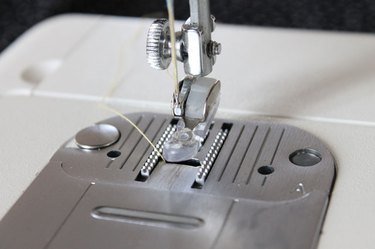
Take the regular foot off of your machine and replace it with a zipper foot.
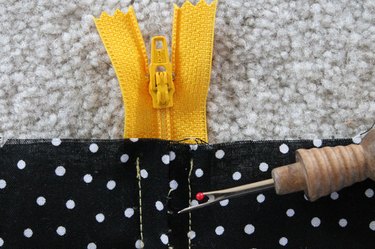
Step 6
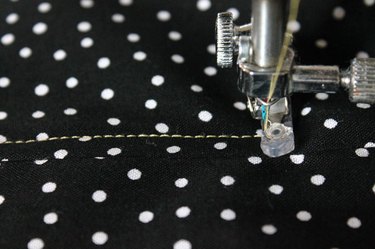
Turn your fabric over to the right side (with the zipper taped under the fabric) and sew 1/4 inch from the edge of the zipper seam. When you get to the end of the basting stitches, leave the needle down in the fabric, lift the presser foot, turn the fabric, put the presser foot back down and sew across the bottom of the zipper stop. You may want to mark this spot with a pin.
Step 7
When you get 1/4 inch away from the zipper seam, leave the needle down again, lift the presser foot, turn the fabric, and put the presser foot back down.
Step 8
Sew back up the other side of the zipper seam.
Step 9
Use a seam ripper to remove the basting stitches along the seam.
Step 10
Remove the transparent tape.
Step 11
Open the zipper a few inches.
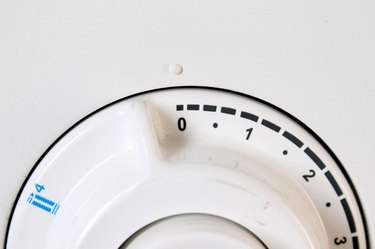
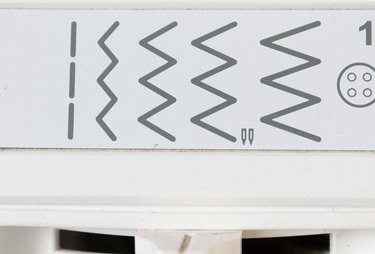
Step 12
Change the settings on your machine to the zero stitch length and the medium zig zag stitch.
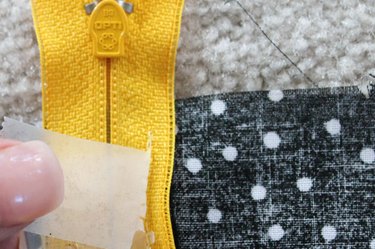
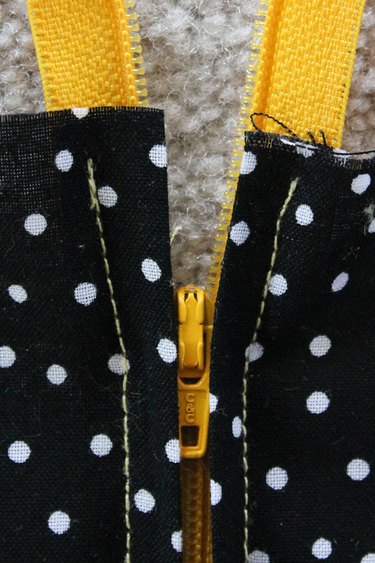
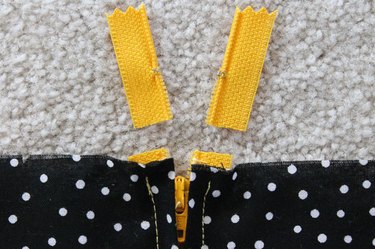
Step 13
Use the zero length zig zag stitch to sew across the teeth on both sides of the zipper to create a new zipper stop. This will also prevent the zipper pull from coming off the teeth when you cut off the excess zipper tape.
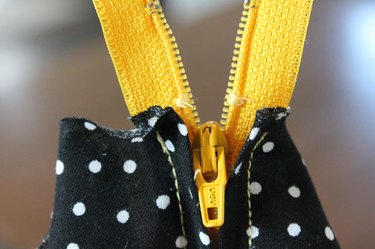
Step 14
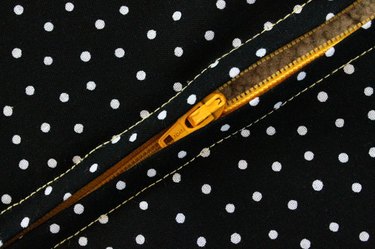
Use a sharp pair of scissors to cut off the excess zipper tape above the stitches.
See, there's nothing to be afraid of -- that's all there is to it. Now get out there and show those zippers who's boss!