
How to Change Freewheels on a BMX Bike
BMX bicycles use a small single-sprocket freewheel to drive the rear wheel of the bike. As you become more proficient at riding your BMX bike, you may want to change the rear freewheel to a different gear ratio. The freewheel may also need replacing due to normal wear and tear. Removing a BMX freewheel requires a special tool that fits into the freewheel, allowing you to turn the freewheel with a wrench to loosen it from the wheel hub. Changing freewheels is a relatively simple task that, with the proper tools, takes just a few minutes to accomplish.
Release the rear brake cable or depress the valve on the inner tube to let some air out of the tire. This will make it easier to get the tire through the brakes.
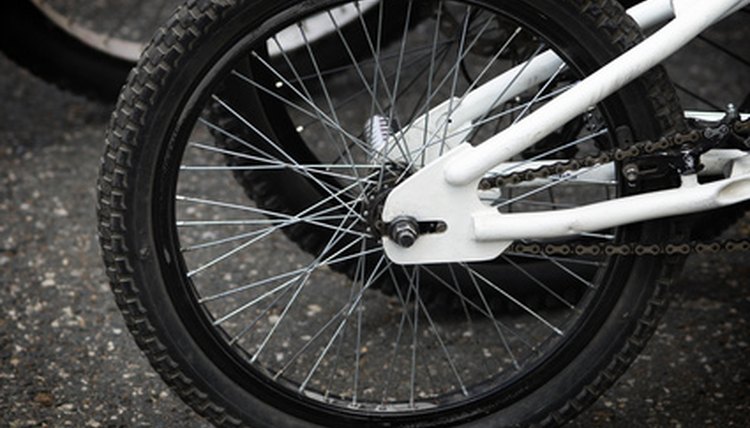
Loosen both axle nuts on the rear wheel of the bike with the adjustable wrench. Remove the drive chain from the freewheel sprocket and remove the rear wheel from the bike frame. Remove the axle nut on the freewheel side of the wheel.
Insert the freewheel remover tool in the slots in the freewheel. Set the tread of the rear wheel on the ground and hold the wheel steady with one hand. Place the adjustable wrench on the flats of the freewheel remover tool. Rotate the freewheel remover tool counterclockwise.
Remove the wrench and freewheel remover tool when the freewheel loosens. Rotate the freewheel, by hand, counterclockwise to remove the freewheel from the wheel hub.
Thread the new freewheel onto the wheel hub until finger-tight. Avoid cross-threading the freewheel, which can damage the hub and the freewheel.
Replace the drive chain on the freewheel sprocket and reinstall the wheel on the bike frame. Center the wheel to the frame and replace and tighten the axle nuts. Replace the brake cable or pump up the tire to the proper pressure.
Ride the bike to tighten the freewheel.
References
Writer Bio
In Jacksonville, Fla., Frank Whittemore is a content strategist with over a decade of experience as a hospital corpsman in the U.S. Navy and a licensed paramedic. He has over 15 years experience writing for several Fortune 500 companies. Whittemore writes on topics in medicine, nature, science, technology, the arts, cuisine, travel and sports.