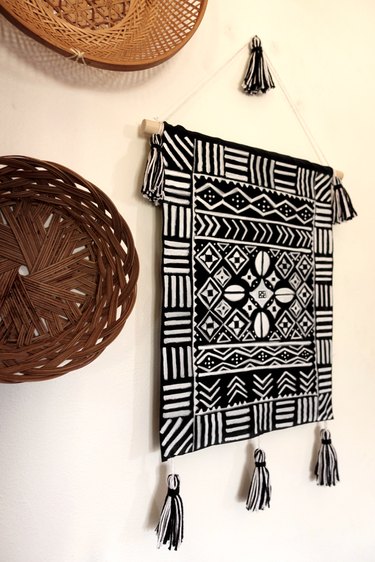
Authentic Malian bògòlanfini, a.k.a. "mudcloth," is a hand-woven textile dyed by using fermented mud, hence the name. It's a time-honored, painstaking art, dating back to the 12th century, and the symbolic patterns -- beautiful in their simplicity -- carry great cultural significance for the artisans who craft them. Of course owning a true piece of Malian-made mud cloth is ideal, however you make your own mudcloth-inspired painted wall hanging that'll allow you to enjoy the lovely aesthetic while you're saving up for the real deal (which, for good reason, can cost a pretty penny). Don't be intimidated -- this project is easier than you think, and we've even included a downloadable PDF design for you to follow if you're so inclined. Whether you choose an uber minimalist pattern (like these cushions) or a more intricate one, the results will be beautiful.
Video of the Day
Things You'll Need
Dark-colored woven cotton fabric (canvas or quilter's cotton). Suggested colors: black, dark brown, or indigo
Acrylic paint pen(s) -- in white and/or lighter earth tones
Tailor's chalk
Images (online or printouts) of authentic or mud-cloth-inspired patterns for reference and/or download our own mudcloth-inspired design.
5 or 6 yarn tassels in coordinating color(s), buy them or make them yourself (it's easy!)
Basic sewing supplies or fabric glue for a no-sew version
1/2 inch wood dowel 2 to 3 inches longer than the desired width of your wall hanging
Parchment paper or pressing cloth
Cotton/hemp rope, strong cotton twine/yarn, or other natural fiber cordage
1/2 - 3/4 inches diameter wood dowel, 2 inches wider than the finished wall hanging
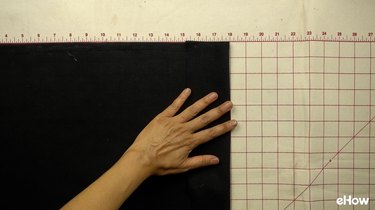
Step 1: Cut Fabric
Decide what size you'd like your finished wall hanging to be, then add 1 inch to the width and 3 1/2 inches to the height. Cut your fabric to the dimensions you calculated.
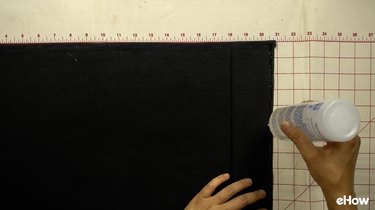
Step 2: Finish Edges
Start with the side edges. Fold 1/2 inch towards the back of your wall hanging, then press.
Finish the side hems by either stitching down the folded portion by machine or hand, or gluing it down with fabric glue (shown below).

Now, do the same with the bottom edge.
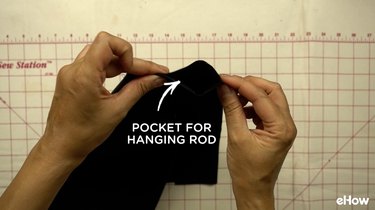
Step 3: Make Rod Pocket
To make a rod pocket along the top edge, fold back approximately 3 inches and press.
Then, as you did with the side edges, either stitch or glue down the very edge of the folded portion. You should now have a roughly two-and-a-half-inch wide pocket along the top edge where you'll be able to insert your hanging rod.
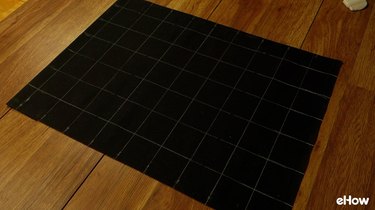
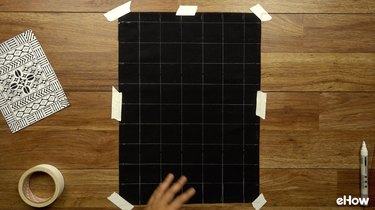
Step 4: Draw Chalk Guidance Grid
To help ensure that your pattern repetitions are well-placed, use tailor's chalk to create a temporary guidance grid. Start about one inch below the top edge.

Our grid consisted of 2-inch squares, which is a good size for each pattern repetition. If you'd like to follow our downloadable PDF pattern, you'll need to create a 7 x 9 grid, as shown.
Tip
If you want a symmetrical design and are using alternating pattern repetitions, we advise you to choose finished dimensions that will allow you to create an odd number of pattern repetitions both vertically and horizontally -- as we've done with our 7 x 9 grid shown.
Step 5: Prepare For Painting
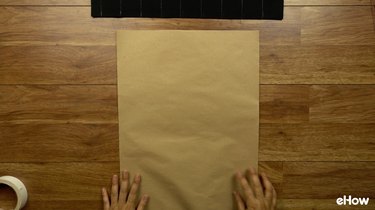
To protect your work surface from any paint that might seep through the cloth, cut a piece of paper of the same or slightly smaller dimensions as your wall hanging, then place it underneath.
Using masking tape, affix your wall hanging to your work surface. If your fabric is heavy and doesn't have the tendency to shift around while you work on it, this may not be needed. However, if your fabric is lightweight (like quilter's cotton) we advise that you secure it in place before painting.
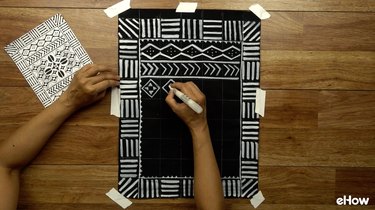
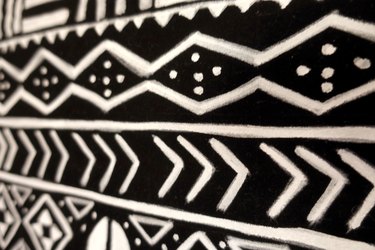
Step 6: Paint It
Here's the fun part -- drawing on your design with a paint pen. Have your chosen design on hand -- either printed out or in front of you onscreen -- for easy reference. If you'd like to recreate the same design used in this tutorial, download our PDF pattern.
Use your grid as a guide for where each pattern repetition should be placed. Remember that it doesn't have to be perfect and that the beauty of mudcloth lies in its imperfect, handmade qualities. You may even choose to draw only one or two pattern repetitions (like these chic cushions) to make it a super simple project. Above all, have fun!
In order to achieve thicker, more opaque lines on the fabric, you'll need to re-draw over them two or more times in order to layer the paint. When you're done, allow it to dry completely (a few hours to be safe) before moving on to the next step.
Tip
We encourage you to research authentic bògòlanfini patterns online, not only for inspiration, but to learn the symbolic meaning behind some of the designs.
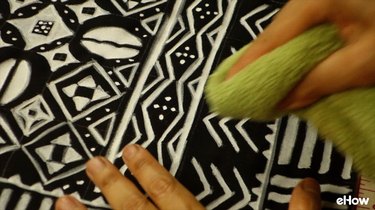
Step 7: Erase Chalk Marks
A dry microfiber cloth works especially well for this job, but you can also use a sponge, slightly dampened if necessary.
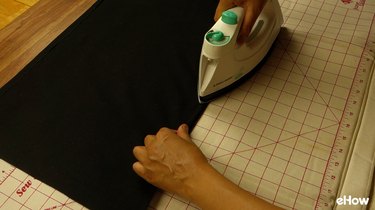
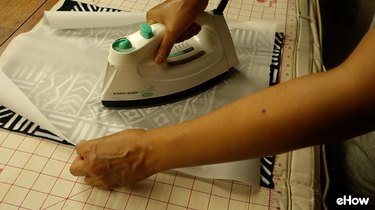
Step 8: Heat Set Your Painted Design
On an iron-safe surface, cover your wall hanging with a piece of parchment paper or a pressing cloth, and press the entire surface with an iron on a cotton setting. DO NOT use steam! This will set in your paint as well as smooth out any wrinkles created while the paint dried.
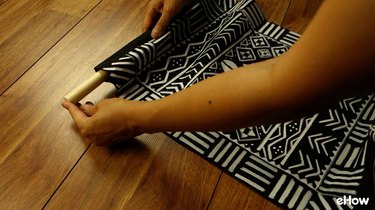
Step 9: Attach Hanging Rod
Insert the wood dowel into the rod pocket.
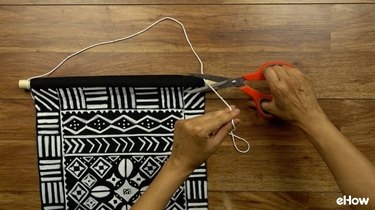
Take a piece of natural cordage (cotton, hemp, etc.) and tie a knot to one end of the rod.
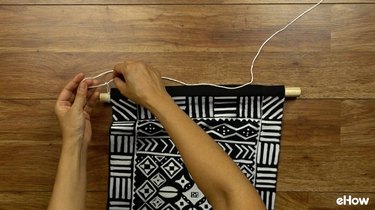
Repeat at other end, leaving some slack in between. Snip off excess.
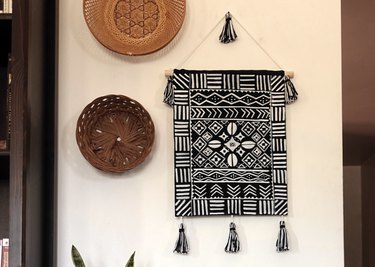
Optional: for some added flair, tie a yarn tassel on each end of the rod, and another at the center of the hanging cord.
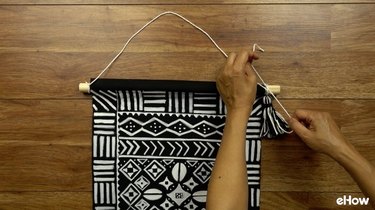
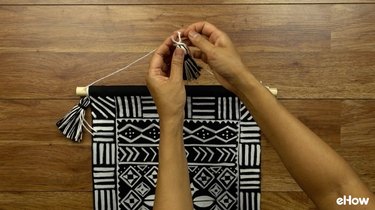
The tassel tied to the cord will also hide the hardware you'll use to hang your piece.
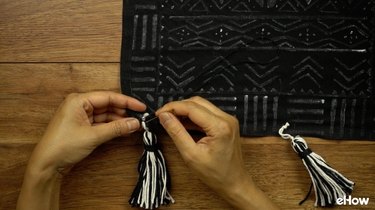
Tip
You can buy tassels at a craft store, or you can make your own yarn tassels in perfectly-coordinating colors following this easy tutorial.
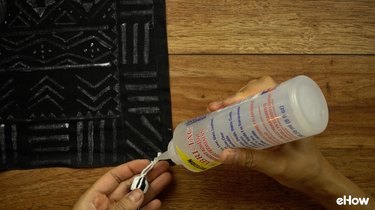
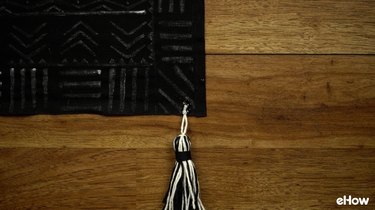
Step 10: Attach Bottom Tassels
Attach 3 to 4 (or more) evenly-spaced tassels along the bottom of your wall hanging. How many you use depends on your personal preference as well as the size of your hanging. For ours, we thought 3 worked nicely.
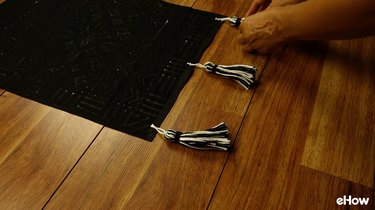
You can either stitch them on or attach them using a dab of fabric glue. If gluing, allow it to dry completely before hanging up.
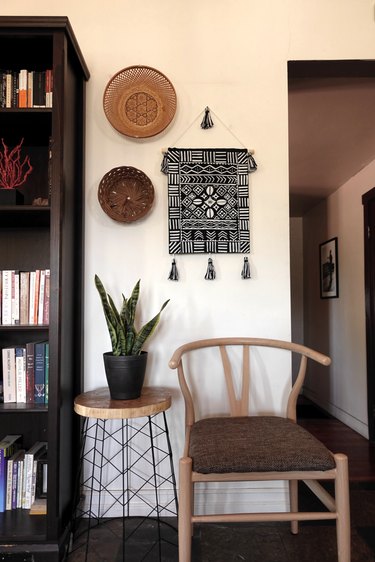
You're gorgeous one-of-a-kind mudcloth-inspired wall hanging is now complete.
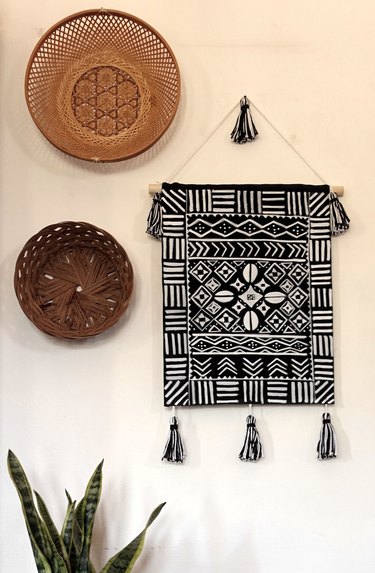
We think these would make lovely and rather impressive gifts for any textile-loving friends and family in your life.