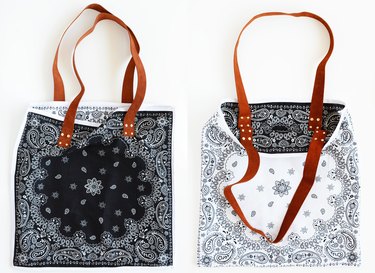
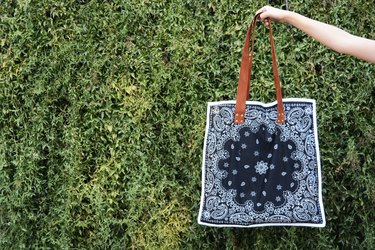
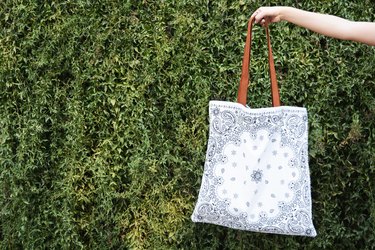
Bandanas are making a comeback. You can tie one around you neck, in your hair or on the strap of your purse. But to really take this trend to the next level, you are going to want to make a super stylish reversible bandana bag. With sturdy leather straps, and a bold black and white combo, this is my new go-to bag.
P.S. Did you know that bandanas only cost 99 cents at most craft and fabric stores? (You're welcome!)
Video of the Day
Video of the Day
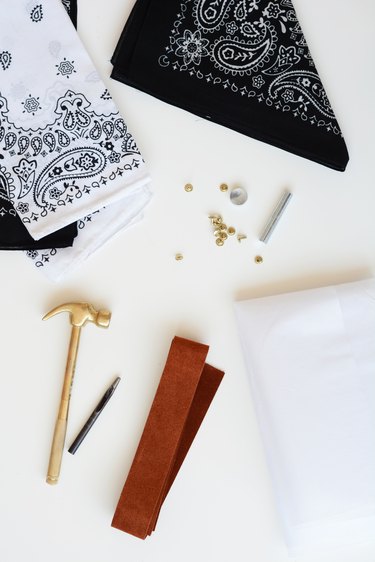
Things You'll Need
4 cotton bandanas (2 for the inside and 2 for the outside)
16 small brass rivets
Rivet setting tools (Usually comes with the rivets)
Hammer
Sewing machine and white thread
Scissors
Bias tape or seam binding tape, 4-yard length package (1)
30-inch lengths of leather (2) (I used
1½-inch-wide brown suede)
Leather punch
Lightweight iron-on interfacing, 40-inch length and 20 inches wide
Iron
Cutting board
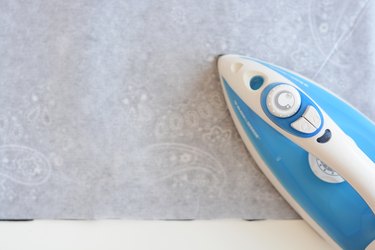
Step 1: Cut the interfacing to size.
Interfacing comes in a few widths; the widest available in most fabric stores is 40 inches wide. Cut the interfacing into two 20-inch squares.
Step 2: Iron the interfacing onto the bandana.
Steps 2 and 3 can be interchangeable, but I do think it is easier to start with ironing on the interfacing and then trimming the bandana to the 20 x 20-inch size. Place the interfacing shiny side down on the back of the black bandana (or whatever color bandana will be the outside color of your bag). Center the interfacing on the bandana.
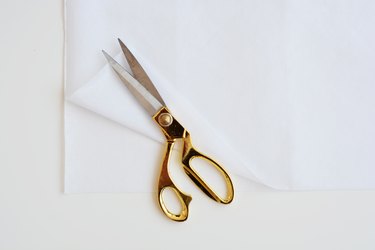
Step 3: Trim the bandana to the size of the interfacing.
Try to center the interfacing on the bandana as much as possible and then trim away the excess fabric so that the bandana is exactly 20 x 20 inches.
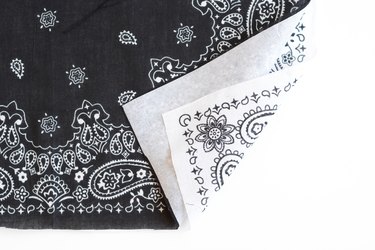
Step 4: Cut the inside bandana to size.
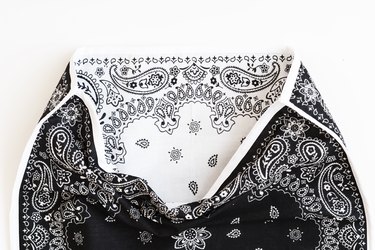
Now lay the black bandana that is now attached to the interfacing onto the white bandana (making sure the right sides are facing out) and trim the white bandana to the 20 x 20-inch square.
Repeat steps 2, 3 and 4 with the other side of the bag.
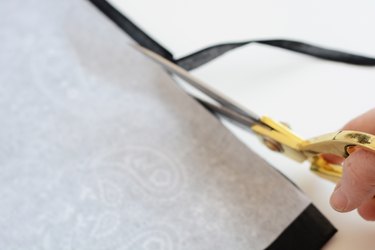
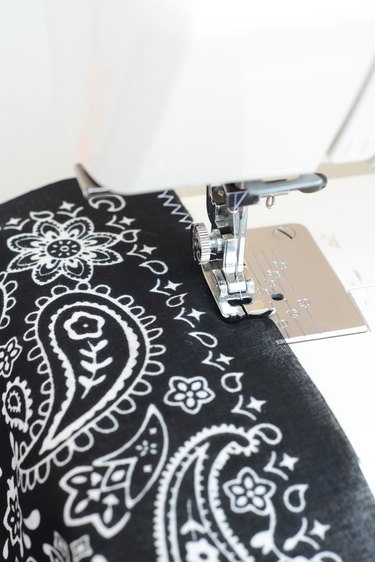
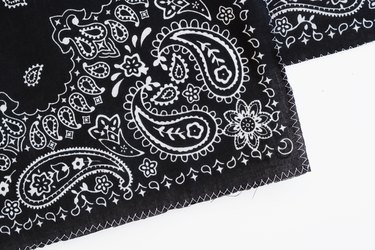
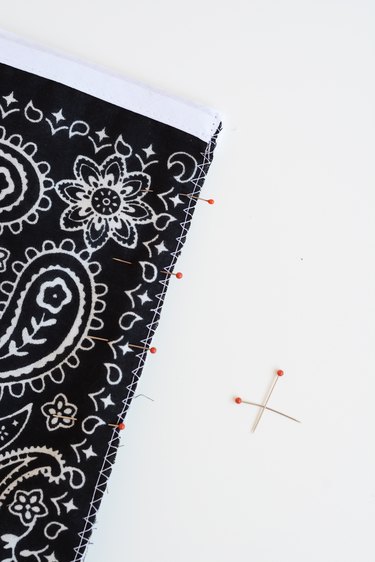
Step 5: Zigzag-stitch the two bandanas together.
To keep these two bandanas in place, use a zigzag stitch on your sewing machine and stitch all the way around the two pieces.
And then repeat with the other side of the bag.
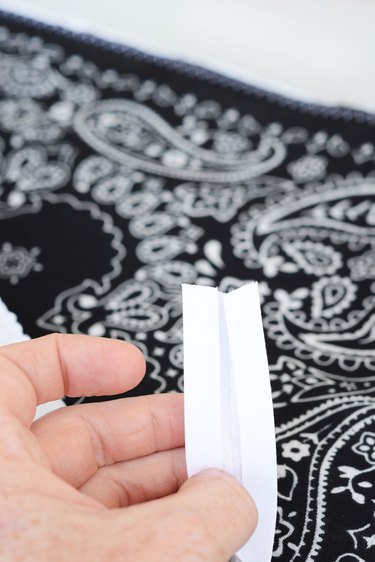
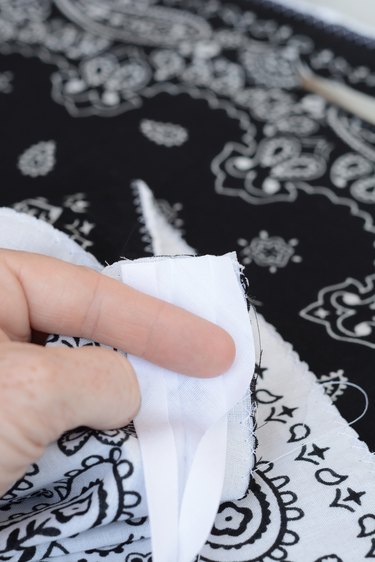
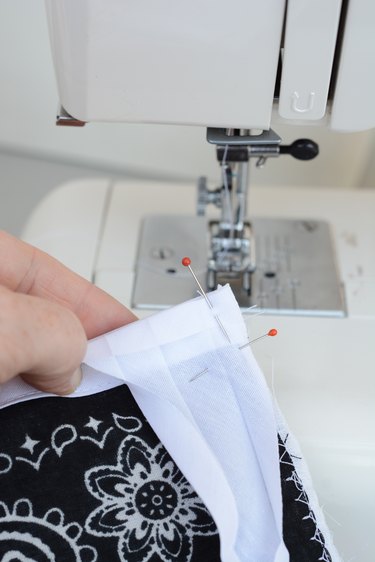
Step 6: Open the bias tape.
If you've never attached bias tape before, there is a trick that you need to know. Open the bias tape and you will see that one fold is just slightly bigger then the fold on the other side of the tape. It might be hard to see in this picture but the fold on the right-hand side of this tape is a little narrower than the other side.
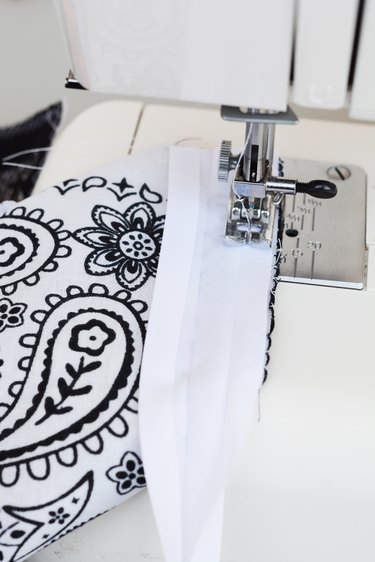
Step 7: Line up the bias tape with one edge of the bandana.
You are going to first add a strip of bias tape to the top (or opening edge) of the bag. Unfold the bias tape all the way, keeping the smaller folded side on the right-hand side (as shown). Line up that edge with the inside edge of the bandana (the white side for my bag). Pin in place.
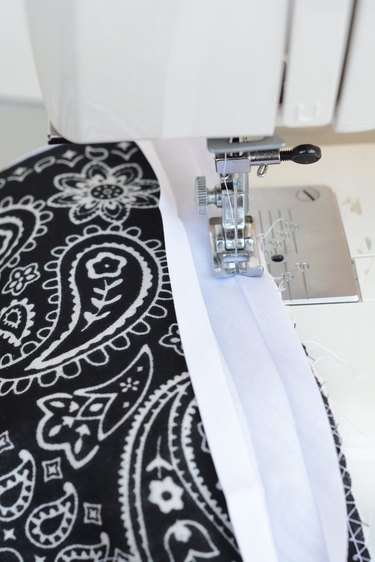
Step 8: Sew the bias tape onto the top edge of the bag.
Using a straight stitch, follow the fold line closest to the right-hand side of the bias tape, and stitch down the tape to the length of the bag opening.
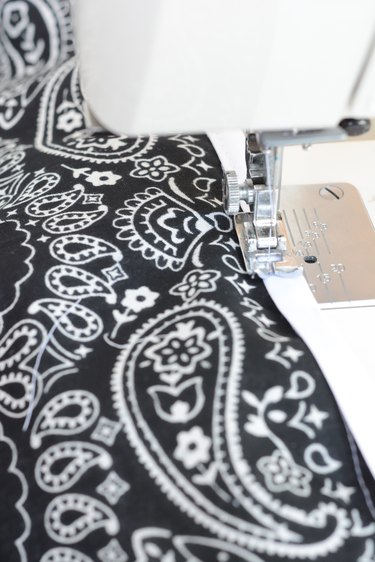
Step 9: Fold the bias tape over the edge of the bandana.
Once you've stitched down the bias tape, you can now fold it over the the other side of the bag.
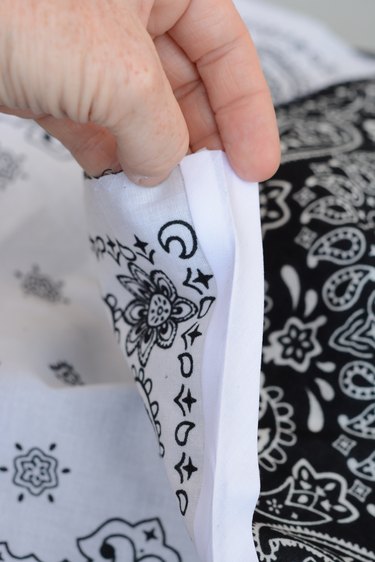
Step 10: Stitch down the bias tape.
Now you can stitch down the bias tape on the outside of your bag and it will be neat and tidy and nothing has to be pinned.

Repeat steps 7 through 10 on the other side of the bag.
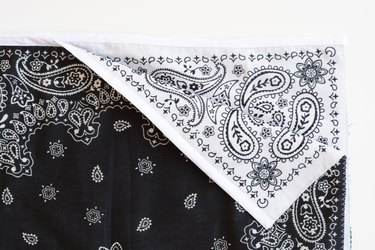
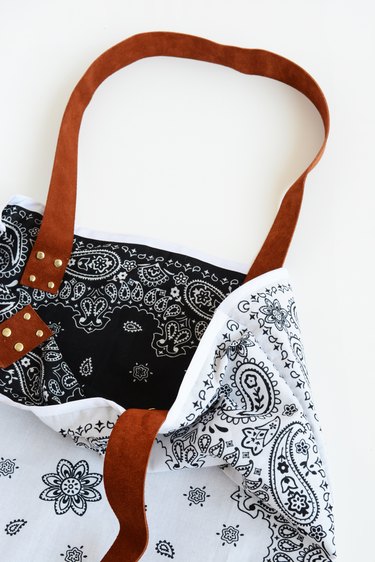
Step 11: Pin the two sides of the bag together.
Line up the top edges of the bag and make sure that both black bandanas are on the outside and both white bandanas are on the inside.
Step 12: Fold over the top of the bias tape and pin it down.
Now you are going to attach bias tape to the two sides and bottom edges of the bag. Start at the top right-hand corner and fold down the bias tape 1/4 inch. Pin it in place.
Step 13: Sew the bias tape around the three sides of the bag.
Follow steps 7, 8 and 9 and attach the bias tape all the way around the three sides of the bag. When you get to a corner, simply fold the bias tape at a 90-degree angle. The corners will turn out slightly curved when the final fold is made (but, I think this looks clean and professional).
Step 14: Fold over the bias tape and sew it down.
Following step 10, attach the bias tape all the way around the bag. When you get to the end (the top left-hand corner of the bag), trim the bias tape 1/4 inch longer and fold it in before you finish sewing the end.
Now you have a bag — a bag without handles, but it's a bag — with 3 sides and an opening.
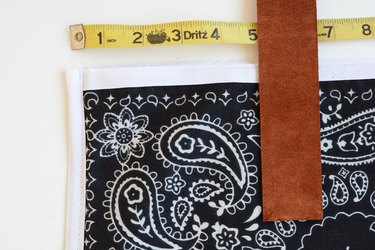
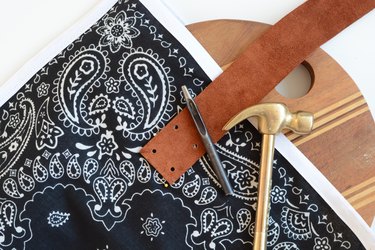
Step 15: Cut the leather straps to length and punch the holes for the rivets.
Cut the two leather straps, each to 30 inches long. Then, using a small leather punch that will fit your rivets, punch four holes on each end of the strap. I spaced my holes 1 inch apart from each other and 1/4 inch from the edges of the leather.

Step 16: Measure where the straps should be placed on the outside of the bag.
I placed my handles 5 inches from either edge of the bag and 4 inches down the bag.
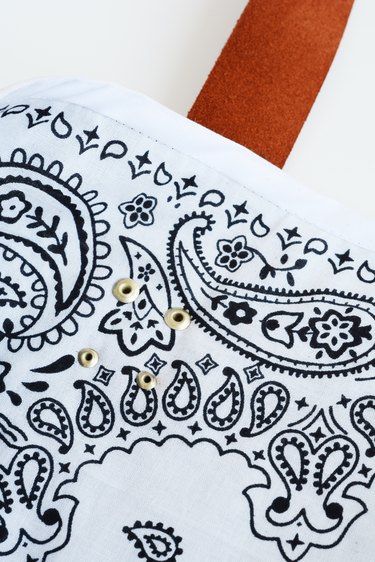
Step 17: Punch holes through the bag where the straps will be attached.
Once you have the handle lined up where you would like it to be on the bag, punch holes through the bag to match the strap holes.
Step 18: Hammer the rivets in place.
Follow the instructions on the rivets you have purchased, but most work the same. Snap the front of the rivet to the little cap on the back and then use the tools provided to hammer the rivet together securely.
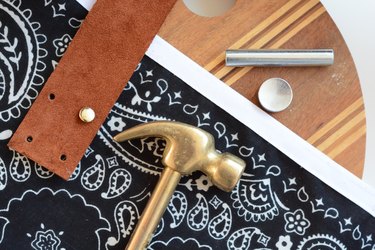
This is what the rivet will look like on the inside of the bag. Nice and neat!
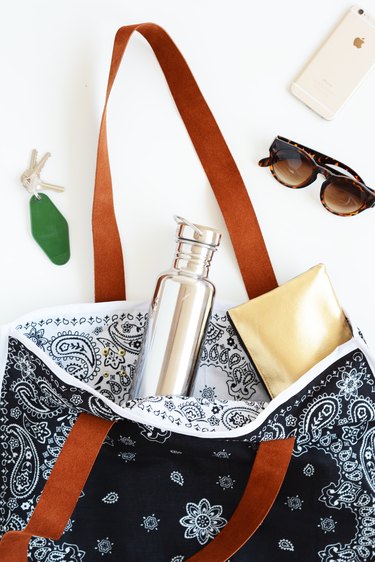
This bag is my go-to beach bag, overnight bag, shopping bag, I've-got-too-much-for-a-little-purse bag! I love it! The black the white combo goes with everything. And I think the ladies in my family might be getting these for Christmas. I love a good homemade gift.
Bandanas come in every color under the sun. Wouldn't a fun pop of red inside the bag be fun? Or just pick colors that work well for the season, like pretty pastels for summer and more earthy tones for fall.