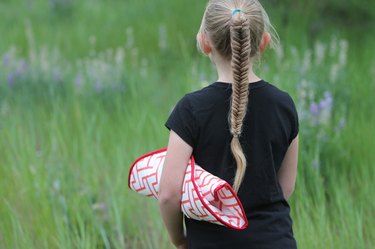
The kids are out of school, the weather is warm and it's finally time for all of those fun activities in the great outdoors. There's nothing like the joyful sounds of wild abandon as kids run through sprinklers, fly through the air on a rope swing or sail off on their bikes down the road. But there are also those moments in the hot summer months when kids will want to just sit quietly and relax. To provide lightweight and waterproof padding for anywhere a kid might want to sit, you can make one of these cute vinyl seat cushions from an old tablecloth. If you were a Girl Scout, you might remember this type of seat referred to as a "sit upon" (or, something to "sit upon" to stay clean). Whatever you choose to call them, these seats are so easy to make, you could make one for all the kids in the neighborhood.
Video of the Day
Things You'll Need
Measuring tape
Push pin
Pencil
Tagboard or paper for a pattern
Scissors
Straight pins
Vinyl tablecloth
Quilt batting
Bias tape

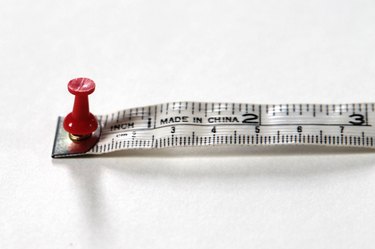
Step 1: Attach Measuring Tape to Tagboard
To create a circle pattern, first place the push pin through the end of the measuring tape and into the center of the tagboard sheet.
Video of the Day
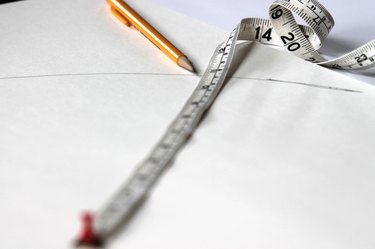
Step 2: Create a Circle Pattern With the Measuring Tape and a Pencil
Place the pencil along the 11-inch mark on the measuring tape and hold it there to draw on the tagboard as you move the measuring tape around in a circle. This will create a 22-inch circle to use for the seat cushion pattern.
Step 3: Cut Out the Circle Pattern
Cut out the circle you drew on the tagboard sheet to create a pattern to use again and again.
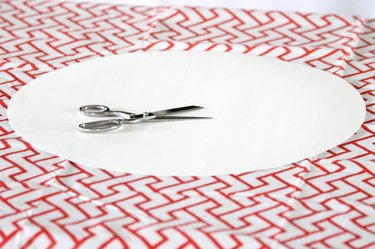
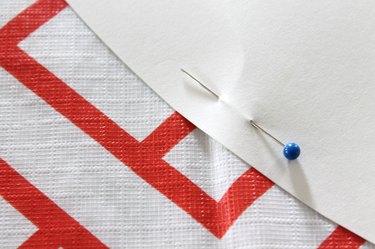
Step 4: Pin the Pattern to the Vinyl Tablecloth
Use straight pins to attach the circle pattern to the vinyl tablecloth.
Tip
If you don't have a vinyl tablecloth with a pattern you like, you could also use oilcloth or a shower curtain to make the waterproof seat cushion instead.
Step 5: Cut Out Three Circles
Use the pattern to cut out two circles from the vinyl tablecloth and one circle from the quilt batting.
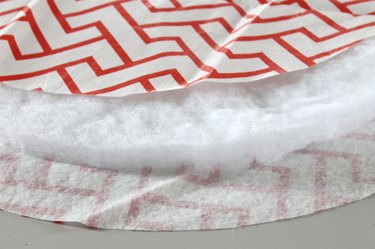
Step 6: Place the Three Circles Together
Sandwich the quilt batting circle between the two vinyl circles. Be sure to place the vinyl with the right sides facing out.
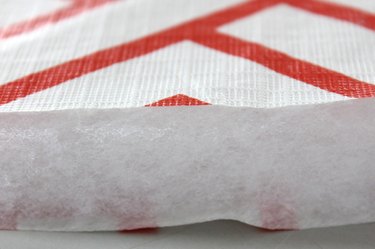
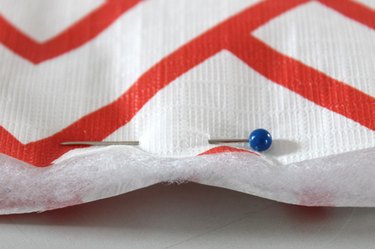
Step 7: Pin the Three Layers Together
Use straight pins to attach the three layers along the outer edge of the circle.
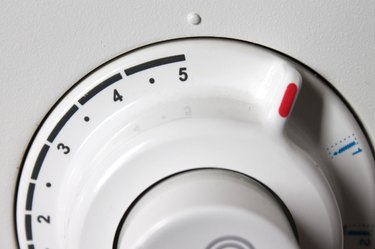
Step 8: Adjust Your Sewing Machine to the Longest Stitch
Adjust your sewing machine's stitch length to the longest stitch.
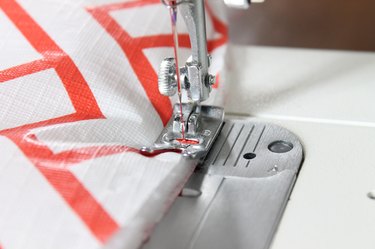
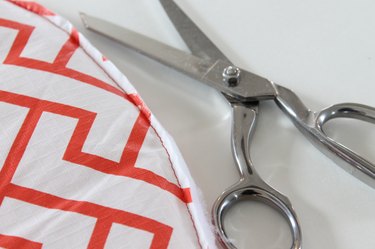
Step 9: Sew Along the Edge of the Seat Cushion and Trim the Seam Allowance
Use a basting stitch to sew the three layers together along the edge of the seat cushion, with a 1/4-inch seam allowance. Then, use scissors to trim the seam allowance to 1/8 inch.
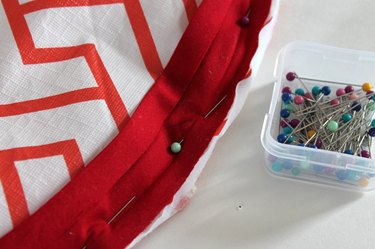
Step 10: Attach the Bias Tape to the Edge of the Seat Cushion
Open your bias tape and pin around the edges of the seat cushion, lining up the raw edges of the bias tape with the raw edges of the seat cushion.
Tip
If you don't happen to have any bias tape, you can make your own in any color or pattern you'd like.
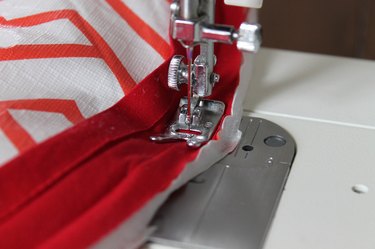
Step 11: Sew the Bias Tape
Adjust your sewing machine to a medium-stitch length and sew along the line created by the first fold. Be sure to remove the pins as you sew.
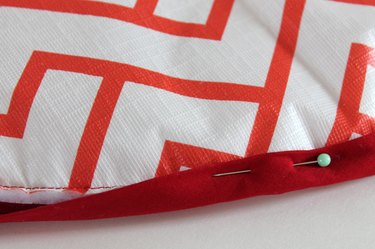
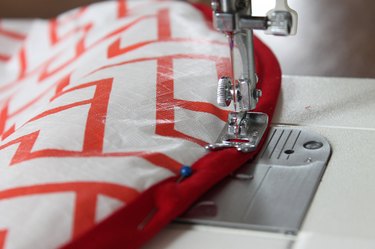
Step 12: Pin the Bias Tape to the Other Side of the Cushion and Sew
Refold the bias tape and bring it around the entire edge of the seat cushion. Pin it in place so the raw edges are inside the bias tape. Then, sew along the inside edge of the bias tape. Be sure to remove the pins as you sew.
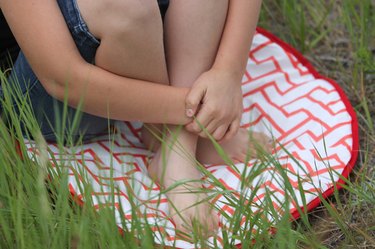
Step 13: Take Your Seat Cushion Outside
Now, armed with their "sit-upons," your kids can keep clean and dry no matter where they choose to sit outside.