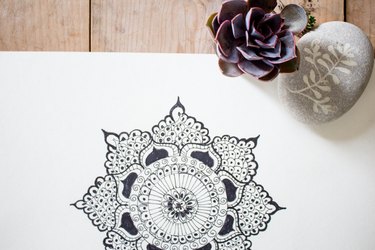
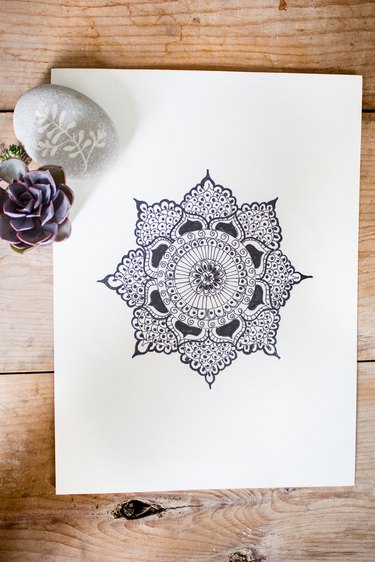
Mandala means "circle" or center point. They often convey balancing elements, symbolizing unity and harmony. Nowadays, mandalas have become part of what many call therapeutic coloring pages.
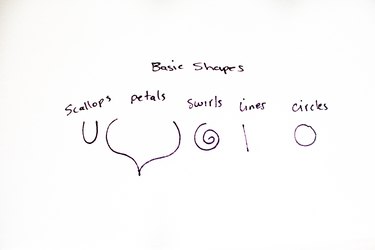
For this particular mandala, we will be using simple figures such as scallops (or 'U' shapes), petals, swirls, lines and circles.
Video of the Day
Video of the Day
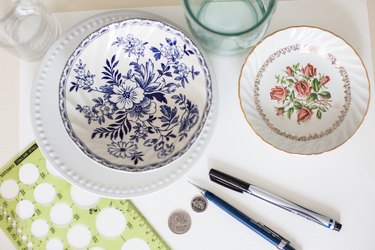
Things You'll Need
Different size plates, cups or glasses to form circles
Pencil
Eraser
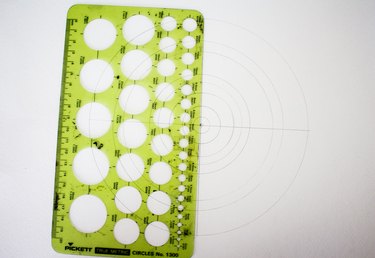
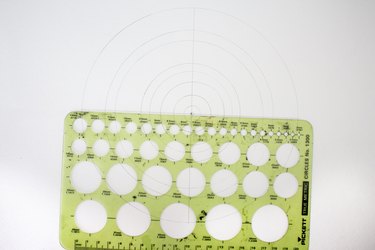
Ruler
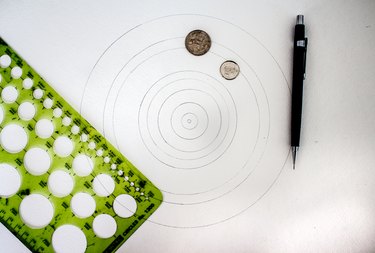
Coins or Deleter circle ruler
Paper
Fine point marker
Ultra fine point marker
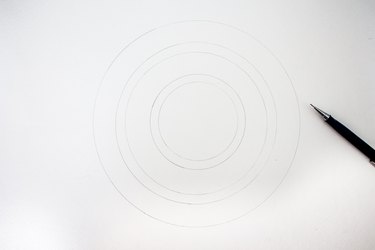
Step 1
Turn your largest plate upside down and trace a circle around it.

Step 2
Using smaller plates, cups or glasses, draw additional circles of varying sizes inside the initial circle.
Tip
Alternatively, you can use a compass to draw the circles.
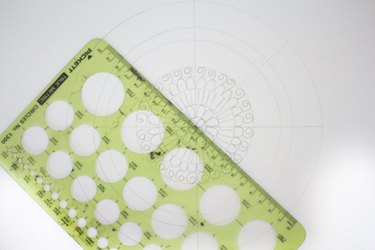
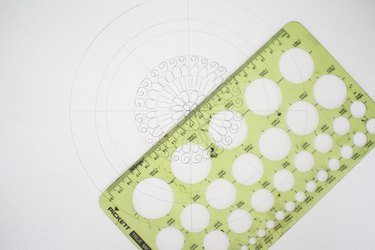
Step 3
Use a Deleter circle ruler or coins to draw smaller circles towards the center.
Step 4
Use a ruler to determine the center of the circle and draw a vertical line through it.
Step 5
Use your ruler to draw a horizontal line through the center of the circle.
Step 6
Starting at the top left, draw a diagonal line through the center of the circle to the bottom right of the circle.
Step 7
Draw a second diagonal line, this time from the top left, through the center, to the bottom left of the circle.
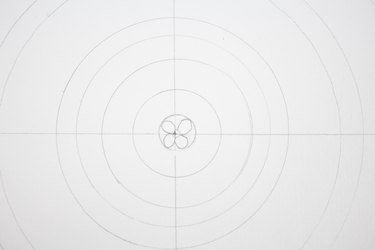
Step 8
Mark the center point and draw in four equal scallops around the inside of the smallest circle.
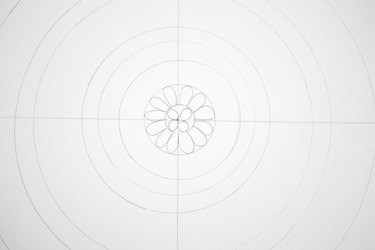
Step 9
Proceed to next circle and continue to draw scallops around the inside of the circle.
Step 10
Proceed to the next circle and draw simple lines around the inside of the circle.

Step 11
Move onto the next circle and proceed to draw more scallops.
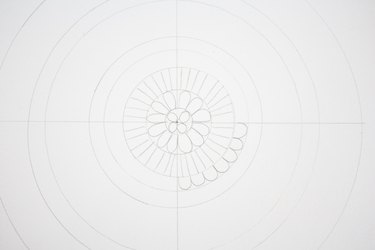
Step 12
In the next circle, draw simple swirls until the circle is complete.
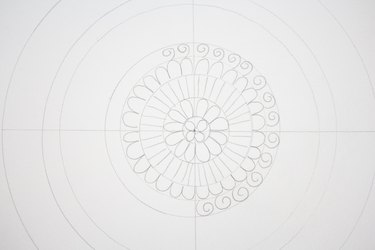
Step 13
Draw a petal shape inside the next circle between the marked lines.
Step 14
Continue to draw petals all around the circle.
Step 15
Draw a smaller petal inside the initial petal and repeat until all petals have an inner and outer appearance.
Step 16
Draw yet another outline of petals. Continue all around the circle.
Step 17
Draw simple lines between the outer and inner petals.
Step 18
Draw another petal in between previous petals.
Step 19
Fill the petals with small overlapping scallops.
Step 20
Draw small circles inside the scallops.
Step 21
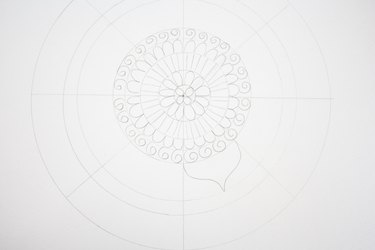
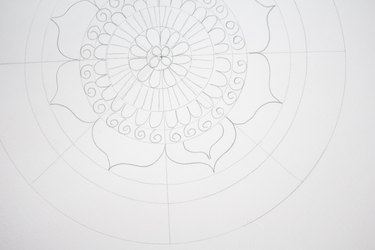
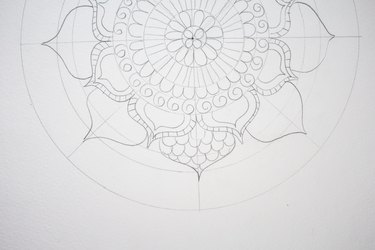
Draw scallops around the outer petals.

Step 22
Using an ultra fine point marker, trace pencil drawings.
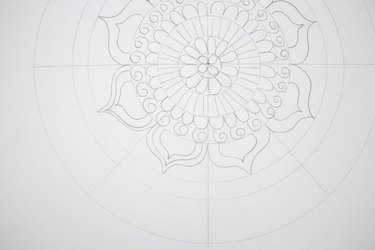
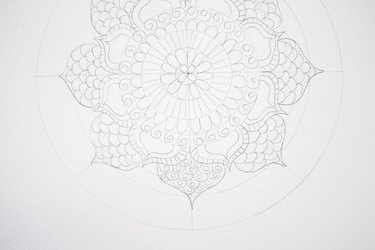
Step 23
Continue tracing the pencil drawings.
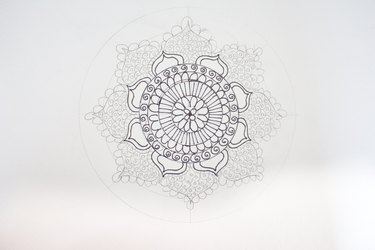
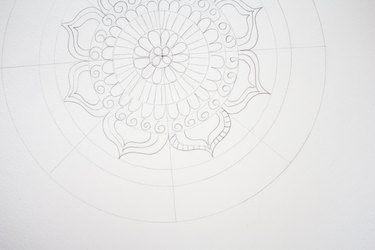
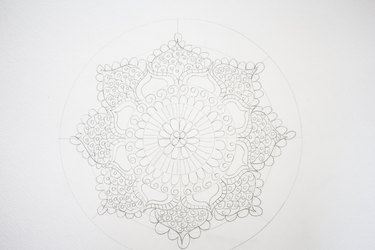
Step 24
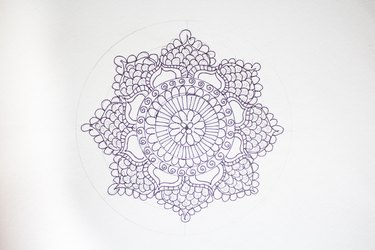
Continue until the entire piece is outlined with marker.
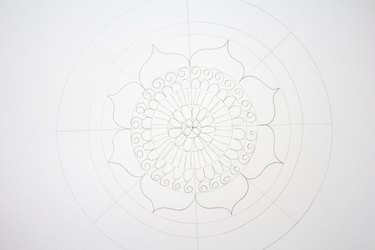
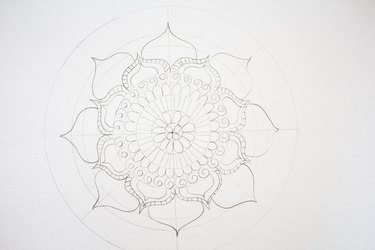
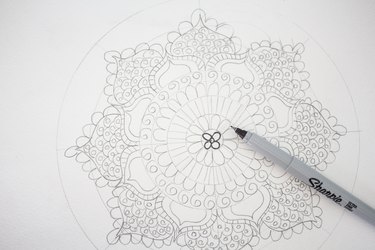
Step 25
Using a fine point marker, fill in the inner petals.
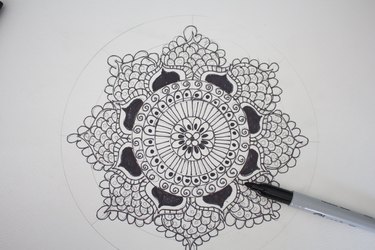
Step 26
With a fine point marker, fill in the circles and outline outer petals as desired.
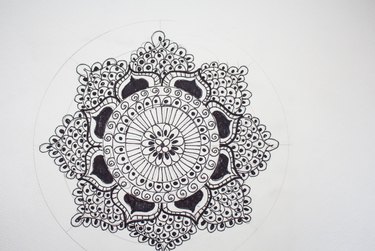
Step 27
With a fine point marker, outline outer scallops and draw a line at the tip of the scallop. Continue all around the mandala.
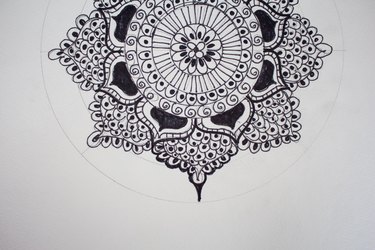
Step 28
Allow the ink to dry completely and erase pencil marks.
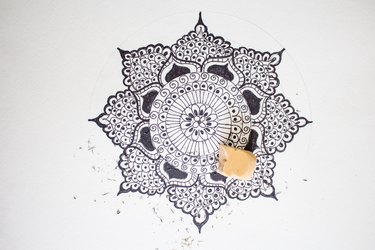
Step 29
And you are done. You can make it as complicated or as simple as you wish.

All-in-One Guide
Here is a diagram for you to print out and use as a guide.
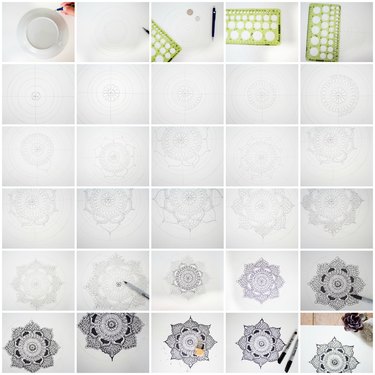

These don't have to be perfect. Stick to simple lines and drawings... and have fun.