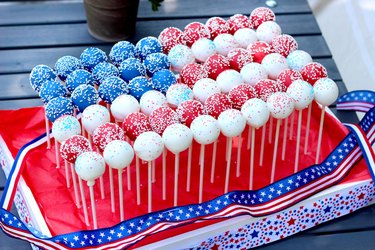
Celebrate the stars and stripes in delicious style with these cake pops, dipped in red, white and blue and displayed in a flag formation. They make a festive edible centerpiece for the 4th of July, Memorial Day, Veteran's Day, or any patriotic occasion. And while Old Glory may wave until the dawn's early light, these tasty cake pops will be so popular they might not last to the end of your celebration.
Video of the Day
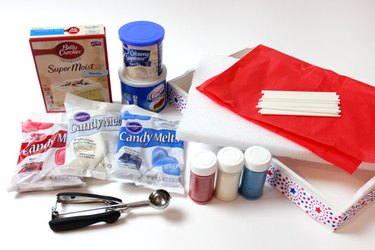
Things You'll Need
Packaged cake mix (two boxes)
Canned frosting
Cookie dough scoop, 1¼-inch diameter
Candy melts in red, white and blue
Vegetable shortening
Treat sticks, 6 inches in length
Sprinkles in red, white and blue
Sheets of styrofoam, at least 1-inch thick
Rectangular tray, at least 10 inches x 14 inches
Tissue paper
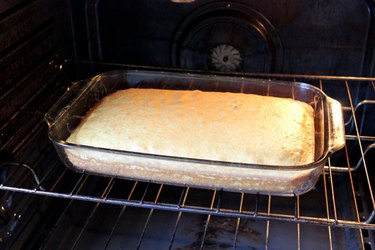
Step 1: Bake Two Cakes
Using two packages of cake mix, bake two separate cakes according to the the instructions on the box. You can choose any flavor you wish, though vanilla cake is easier to work with because the light color does not show through after you dip the cake pops. Allow the cakes to cool for about an hour.
Video of the Day
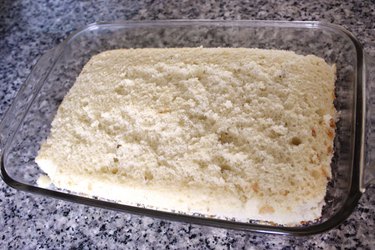
Step 2: Scrape Off the Browned Edges
Remove the browned edges on the top, sides and bottom of the cake with your fingers or a knife. (You can save these discarded pieces to nibble on while you're making the cake pops.) Scraping off the browned portions will help your cake pops have a consistent color and texture throughout. Eliminating them does reduce the amount of cake you have to work with, which is why two cakes are necessary.
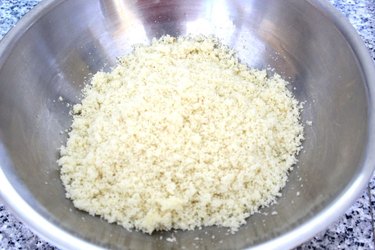
Step 3: Crumble the Cake
Use your fingers to crumble the cake into a fine consistency. They will look like moist bread crumbs.
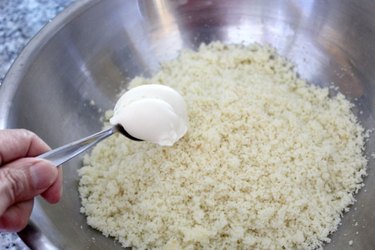
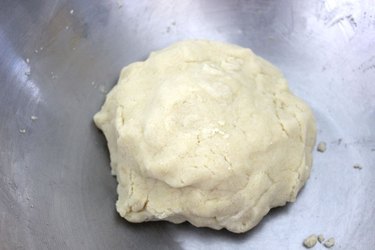
Step 4: Mix in Frosting
To the bowl of cake crumbs, gradually add prepackaged canned frosting, kneading the mixture with your hands until all the crumb texture has disappeared and it looks like a mound of cookie dough. I used vanilla frosting to keep the mixture a consistent color. How much frosting you need depends on how moist your cake is. I added three heaping tablespoons of frosting per cake mix.
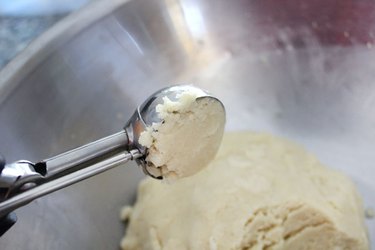
Step 5: Roll Into Balls
Use a small, 1¼-inch diameter cookie dough scoop to create identical sized balls of the cake mixture. Roll each ball of cake between your hands to get an even globe shape. Then place them in a pan in the freezer for about one hour to harden.
Tip
One of the most common mistakes in making cake pops is forming balls that are too large. Each should be just larger than a quarter. Remember that they will increase in size when they are dipped in their coating.

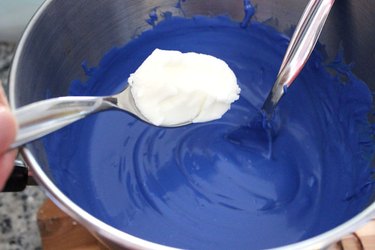
Step 6: Melt the Coating
Candy melts, which you can find in the baking aisle at your local crafts store, will create an even coating for your cake pops. One 12-ounce package each of red, white and blue candy melts is sufficient to cover the cake pops in this centerpiece. Melt one color at a time according to the package instructions, either in the microwave or in a double boiler. I prefer the double boiler method, in which the candy melts are stirred in a bowl above a pot of hot water (but never above direct heat). The melted mixture tends to be thick. To thin it — and to make it's easier to coat your cake pops — add two teaspoons of vegetable shortening. Stir until the shortening is melted and well blended.
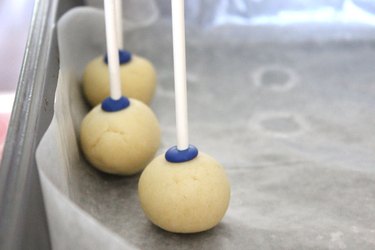
Step 7: Insert the Sticks
Remove the rolled cake pop balls from the freezer. For each cake pop, dip about ½ inch of the treat stick into the melted coating, and insert the stick half way into each ball. This step helps lock the cake pop ball into place so it doesn't slide off, as the coating on the stick will harden and act like a glue. Place the cake pops back in the freezer for another 15 minutes.
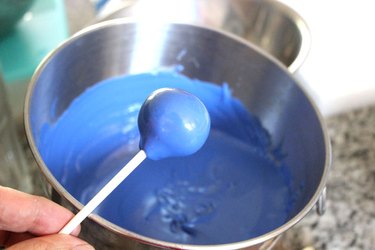
Step 8: Dip the Cake Pops
Keep the cake pops in the freezer, and remove them one by one as needed. Holding each cake pop by the stick, dip the cake pop ball in the melted coating, turning the ball until every side is coated. Tap the cake pop gently on the side of the pan to shake off excess coating, continuing to turn it to get an even coating.
Tip
When shaking off the excess coating from the cake pop, hold the cake pop upright so the cake ball does not fall into the pan of melted coating.
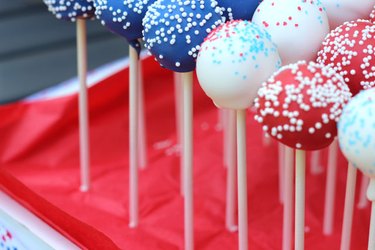
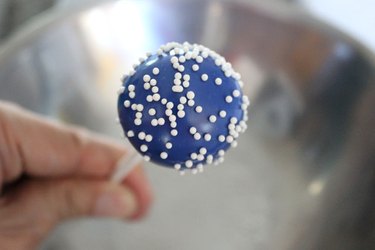
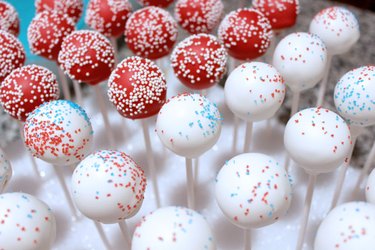
Step 9: Add Sprinkles
While the coating is still wet, scatter candy sprinkles on the cake pop. On the blue and red cake pops, add white sprinkles. On the white cake pops, add red and blue sprinkles.
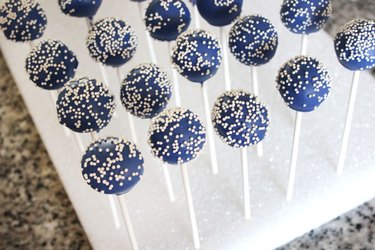
Step 10: Allow to Set
Insert the sticks upright in styrofoam to allow the coating to fully dry. Space the cake pops far enough apart so that they don't touch. When you're through dipping the cake pops in one color, move on to the next color until you have red, white and blue cake pops.
Tip
Do not place the finished cake pops in the refrigerator. Condensation will cause the coating to get sticky.
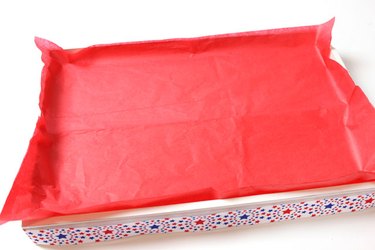
Step 11: Prepare the Tray
Cut a piece of styrofoam to fit snugly in a large rectangular tray. Then cover the styrofoam with a piece of tissue paper.

Step 12: Arrange the Cake Pops
Insert the sticks of the cake pops into the styrofoam — going through the tissue paper — to arrange them into a flag formation. Now that the coating on the cake pops has dried, you can position them so that they are close to or touching adjacent ones. For this centerpiece, there are 15 blue cake pops, 20 red ones, and 25 white ones.