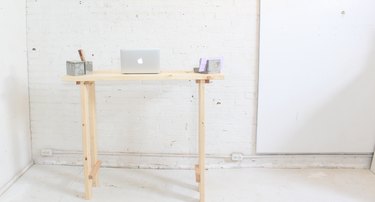
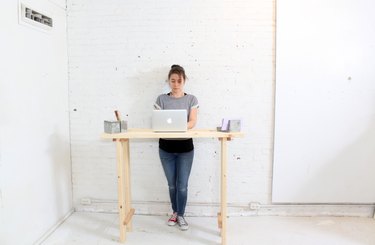
Standing desks are in, no doubt about it. But, would you really use one? Absolutely, if you just give it a chance. This simple design is an easy way for beginning builders to practice their skills and try out the new(ish) concept. And, hey, if you don't like it as a desk, it could just as easily serve as a bar!
Things You'll Need
2 x 6 boards, 8 feet long (2)
2 x 4 boards, 8 feet long (2)
1 1/2 x 1 1/2 inch balusters, 36 inches long (3)
Pencil
Tape measure
Speed square or carpenter's square
Circular saw
Orbital sander
Sanding pads (220-grit)
Dusting rag
Danish oil
Applicator brush or cloth
Cordless drill
Drill bit
1 1/4 inch wood screws or drywall screws
2 1/2 inch wood screws or drywall screws
Tip
Not all standing desks are created equal! The measurements I use are specifically for my height of 5'3"-ish. So, if you are significantly taller, you will need to figure that part out on your own. I decided on a height of 40 inches because that's the height at which my elbows naturally bend and I can rest my arms on the desktop without hunching over.
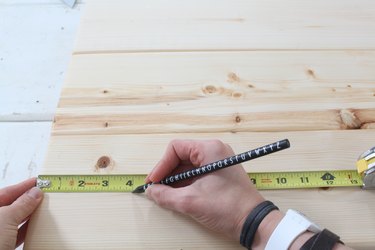
Step 1
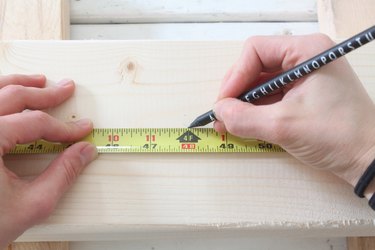
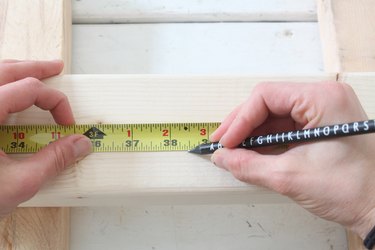
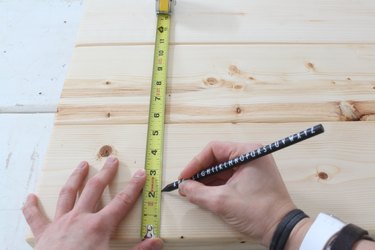
Using a tape measure and a pencil, make a mark at 4 feet on each of the 2 x 6s. These three boards will form the horizontal top of your desk.
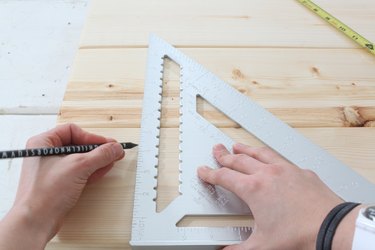
Step 2
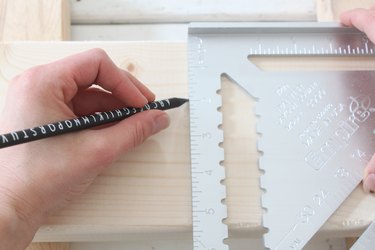
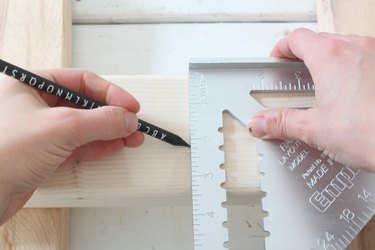
Use a square to draw a straight line at the 4-foot mark, perpendicular to the edge of the board. This will be your cut line that guides your blade.
Step 3
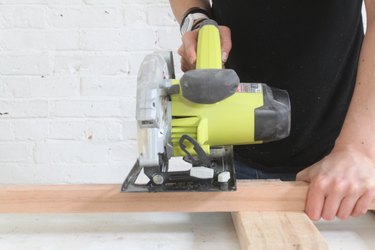
Use a circular saw to cut along that line.
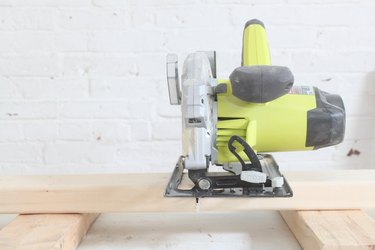
Cut all three 2 x 6s to length, using a circular saw. The saw blade should be set at a depth just a bit deeper than the thickness of the boards.
Step 4
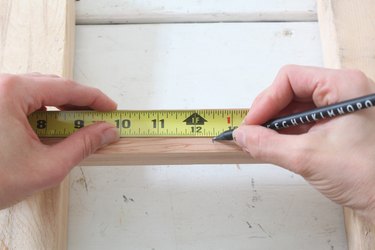
Make a mark at 38 1/2 inches on each 2 x 4 to create the four legs of your desk.
Tip
Remember to factor in the width of the desktop when you are figuring out the finished height of the standing desk. In this case, I wanted a 40-inch height. The desktop is 1 1/2 inch thick so the legs only need to be 38 1/2 inches long.
Step 5
Use a square to draw a cut line at the mark.
Use a circular saw to cut both 2 x 4s. Repeat steps 4 and 5 with the leftover 2 x 4.
Step 6
Mark the balusters at 12 1/2 inches. You will cut a total of six pieces. Four pieces will be used as cleats to hold the legs to the bottom on the desk surface, while the other two will be cross braces installed between the pairs of legs.
Step 7
Use a square to mark cut lines.

Step 8
Use a circular saw to cut the balusters to length.
Repeat steps 6, 7, and 8 until you have six pieces at 12 1/2 inches in length.
Step 9
Sand all pieces with an orbital sander
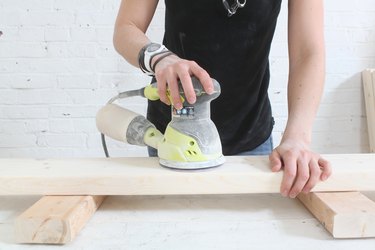
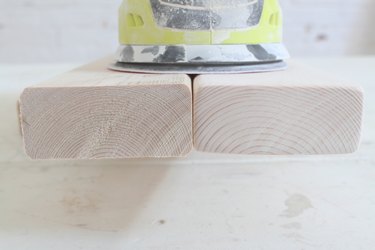
Step 10
While sanding, pay special attention to the exposed ends of the boards.
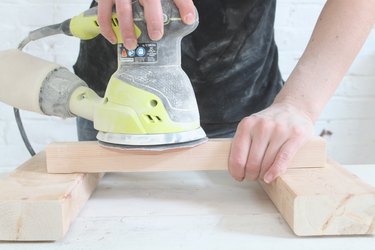
Step 11
Sand the baluster pieces with an orbital sander. Be sure to hold or clamp the pieces tightly. They are so small and light that they will move around a lot with the sander if not held properly.
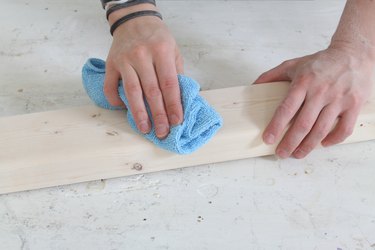
Step 12
Use a dusting cloth to remove all sawdust from every piece of wood.
Step 13
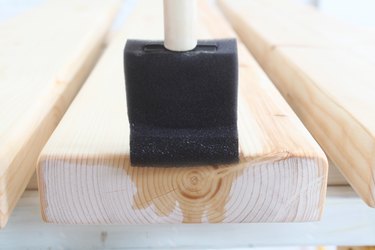
Apply one coat of Danish oil using a brush or clean cloth.
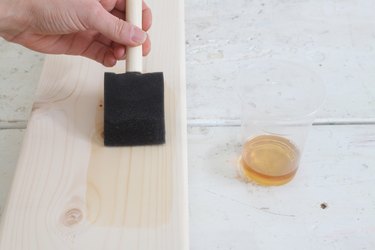
Step 14
Pay special attention to the ends of the boards.
Step 15
Lay the 2 x 6s on your work surface. Line them up so all the ends are matching and keep them as close together as possible. Make a mark at 4 inches in from the end. This will be the depth of the overhang.
Step 16
Use a square to draw a line at the 4-inch mark.
Step 17
Make another mark at 2 inches in from the side.
Use a square to draw a line at the 2-inch mark that parallels the side of the desktop. This will mark the end of the cleats you will install on the bottom of the desktop.
Step 18
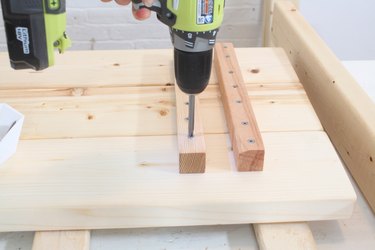
Line up the first baluster piece with the lines from steps 16 and 17. Make sure it's square and exactly parallel to the end of the table. This cleat should span all three of the 2 x 6s. Use your power drill to drill two pilot holes on one end of the cleat. The pilot holes will prevent the screws from splitting the cleat when driven. Use 1 1/4 inch screws to attach the baluster to the 2 x 6.
Drill the holes in a pattern of 2, 3, 2 (see photo in step 22). Remember to pull the boards as tightly together as possible while attaching the cleat. This will help to eliminate gaps in your desktop.
Step 19
Use a scrap piece of 2 x 4 as a temporary spacer to set the distance between the outside and inside cleat.
Step 20
Drill pilot holes on the inside cleat in the same 2, 3, 2 pattern. These pairs of cleats will secure the vertical legs of your desk.
Make sure that the scrap 2 x 4 is squeezed as tightly as possible between the cleats.
Step 21
Screw down the inside cleat.
Repeat this process on the opposite side. Remove the spacer blocks from between the pairs of cleats.
Step 22
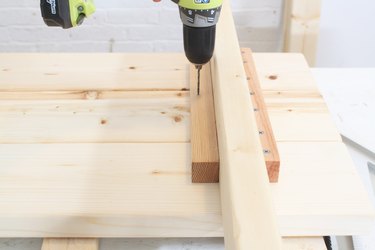
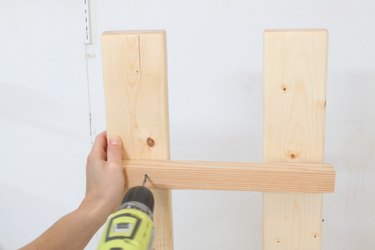
Set one of the 2 x 4 legs upright into the groove between the cleats; make sure the leg is perfectly perpendicular to the tabletop, using your square to assure a right angle. Drill pilot holes through the side of the cleat into the leg.
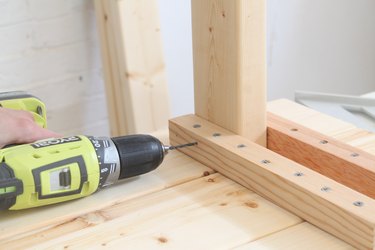
Double check to make sure that you aren't drilling into the screws on the opposite side.
Step 23
Use the 2 1/2 inch screws to attach the legs; two screws from the inside out and one screw from the outside in.
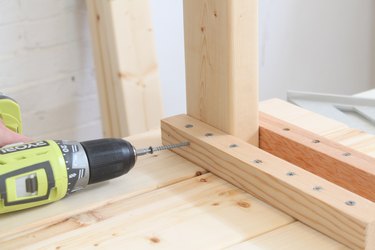
Repeat this process for the remaining three legs. Make sure each leg is perfectly perpendicular to the tabletop.
Step 24
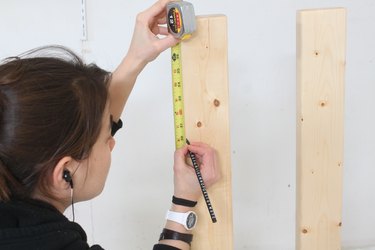
Measure 30 inches from the desktop and make a mark on each leg. These marks indicate where the cross braces will go.
Step 25
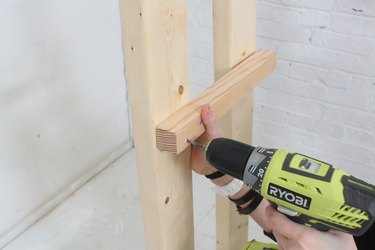
Align a cross brace with these marks and drill the first pilot hole.
Step 26
Use a 1 1/4 screw to attach the cross brace to the leg.

Step 27
Now that the brace is held in place, it will be much easier to keep it on its marks while drilling the next three pilot holes and driving screws to attach the braces.
Repeat this process on the opposite side.
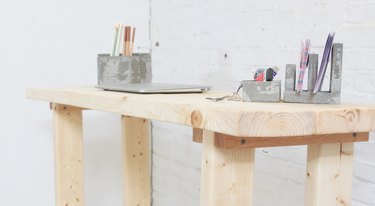
And... you're finished! Flip that desk and get partying! Or working. Or whatever.

Video of the Day