I have long been lusting over this marble and gold shelf from CB2, but I knew that I could create something similar that's a little more budget friendly. So, I set off to find the supplies to create a DIY Faux Marble Shelf, and it turned out to look almost identical to the original! You only need a few supplies and an hour to create this project for under $20, and it's very user-friendly.

Video of the Day
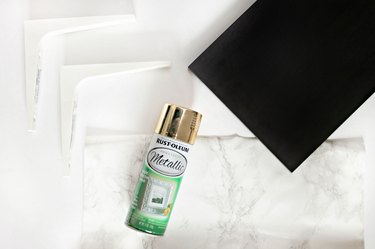
Things You'll Need
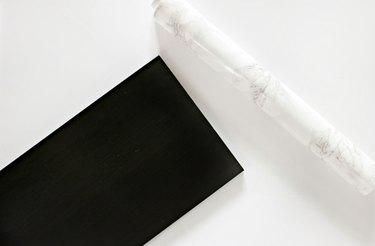
Step 1: Gather Your Supplies
This project cost me less than $5 since I already had the contact paper and the spray paint. If you don't already have these things, your total will be less than $20. Talk about budget friendly!
Video of the Day
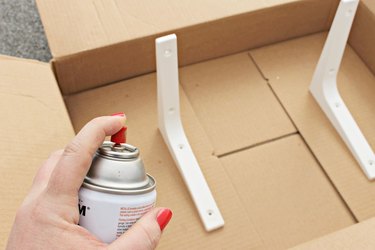
Step 2: Paint Your Brackets
Make sure your brackets are prepped by removing the stickers and wiping them down so they are free of dust. Sit them upright and hold the can approximately 12 inches away from the brackets, misting them with light layers until they're fully coated.
Tip
Do this step first so that you can apply the contact paper to the shelf while the brackets dry. This cuts down on your project time!
Step 3: Apply the Contact Paper
This step can be tricky, so if you've never worked with contact paper before, you might want to grab a friend to lend you an extra set of hands.
Tip
Wipe down the surface of the shelf so that it's free of dust. Any bit of dust of dirt will show through the contact paper and look bumpy!
I was able to cover the entire shelf without cutting an extra piece of contact paper by applying it length-wise. For larger shelves, make sure that your seam will be in the least visible spot (i.e., underneath the shelf).
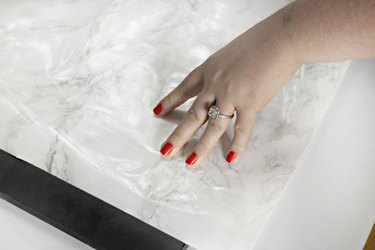
Apply the paper slowly to one side of the shelf, pushing out air bubbles as you go. If there are any bubbles left after application, you can use a credit card to smooth them out.
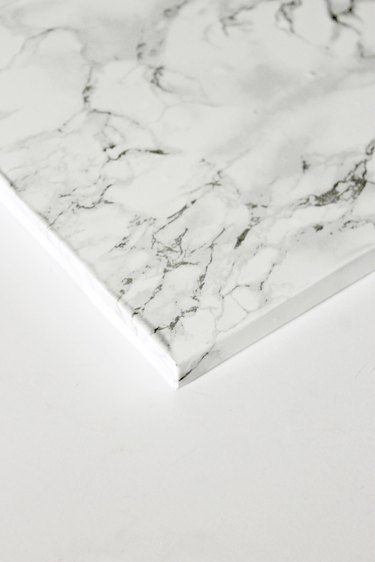
Step 4: Wrap the Contact Paper Around the Edges
This part isn't tricky, but it takes some precision. I wrapped the corners of my shelf like a present, cutting the excess off. Your end result should give you smooth corners like this!
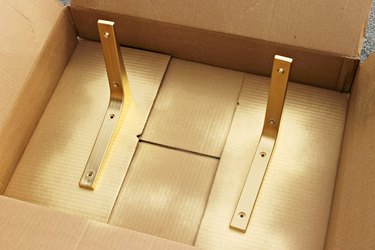
Step 5: Check to See If Your Brackets Are Dry
Your brackets should be dry and not sticky to the touch before you mount them to the wall.

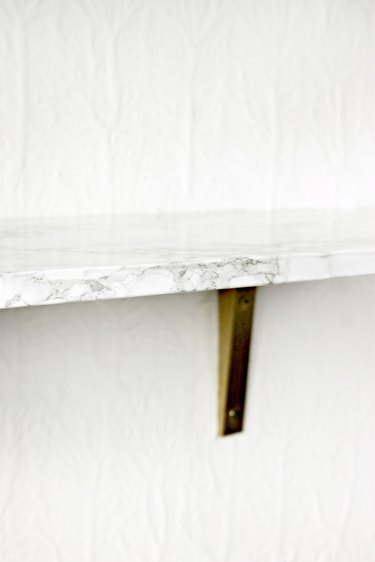
Step 6: Attach the Brackets to the Shelf and Mount to the Wall
Turn the shelf upside down and mount the brackets to the underside. There are pre-drilled holes on this particular shelf, and this helps keep it sturdy! Mount your brackets to the wall using screws, anchors, a level, and a power drill. Because this shelf is not made from actual marble, it's not nearly as heavy to hang as the original!
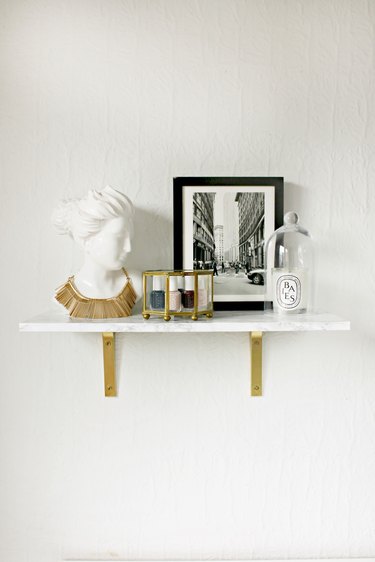
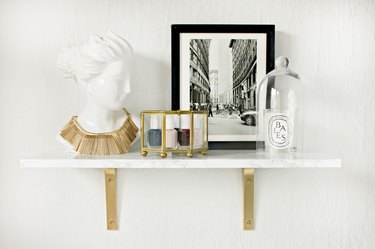
Step 7: Style to Your Heart's Content!
I mounted my shelf in my vanity area, so I use it to display jewelry and my favorite polishes. It would also look great in a kitchen or bathroom, since the contact paper is very durable and easy to wipe clean!
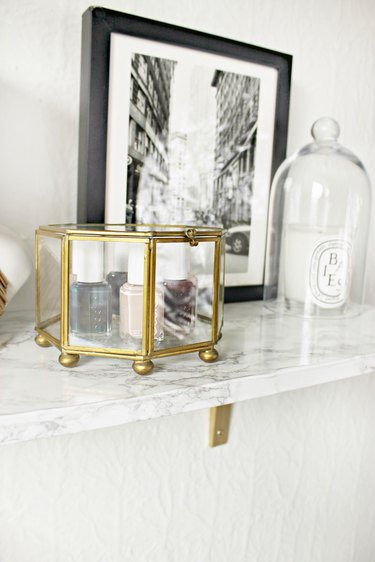
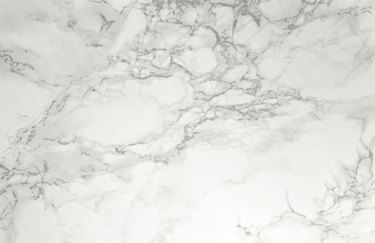
The contact paper looks so much like the real thing. You would never know that it's actually a shelf liner and not real marble!
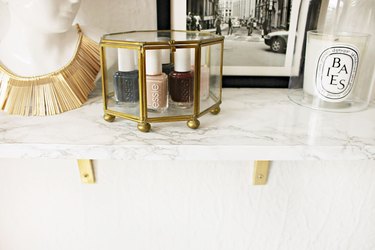
So, that's it! Sit back, pat yourself on the back for being such a genius and saving so much money, and admire your new shelf!