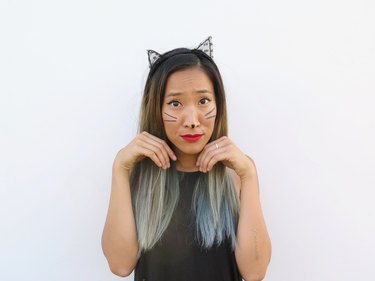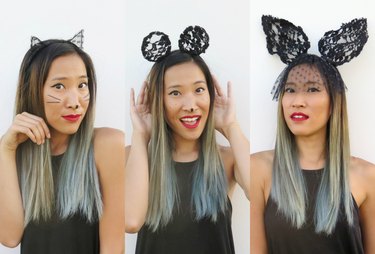
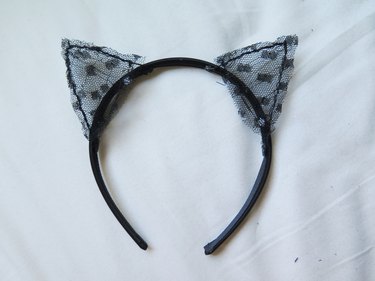
An alternative to wearing animal ears from a store is making your own lace animal ears. If you don't want to dress up in full costume, lace animal ears can easily be worn with any evening outfit for a costume or themed party. Learn to make cat, bunny or mouse lace ears with this guide.
Video of the Day
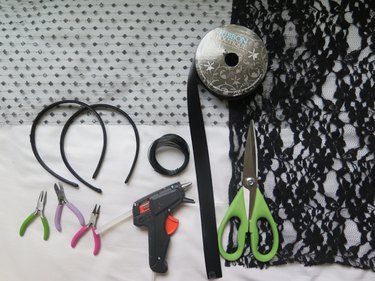
Things You'll Need
16 to 20-gauge wire (same color as the lace, 16 gauge is recommended for durability and if you're making bunny ears)
Round or long-nose pliers
Diagonal cutters
Lace (any color, but black will give a dressier look)
Shears (fabric scissors)
Needle & thread (thread the same color as lace)
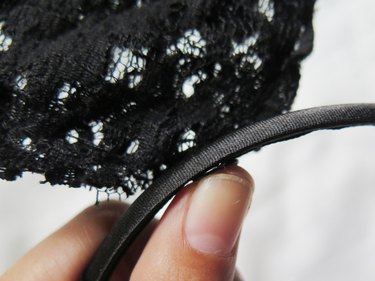
Blank headband (1/2 to 1 inch wide)
Hot glue gun & hot glue sticks
1-inch wide ribbon (same color as the lace)
Fabric stiffener (optional)
Tip
- To determine how much lace to buy for your ears, make the wire ears first, then measure the height of the ears and purchase at least double the amount of your measurement.
- You won't need that much ribbon for this project. It is your choice whether to purchase by the spool, but 1/2 yard should suffice for one lace animal ears headband.
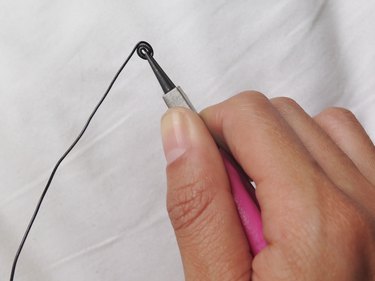
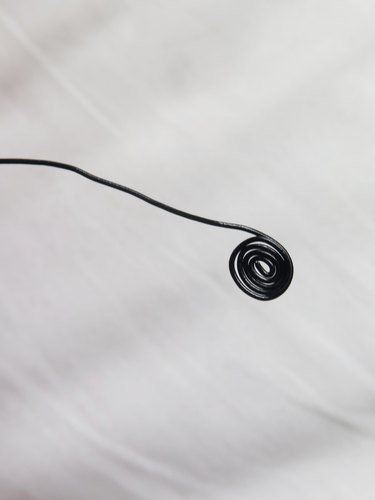
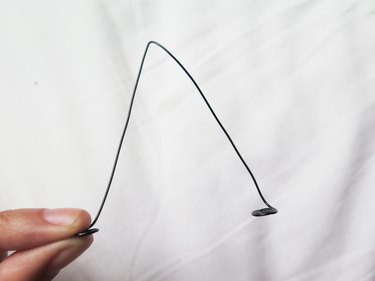
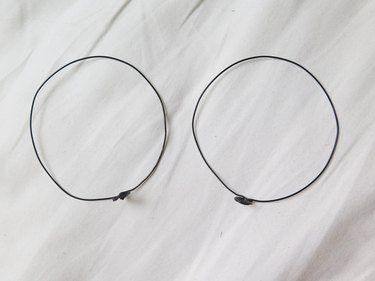
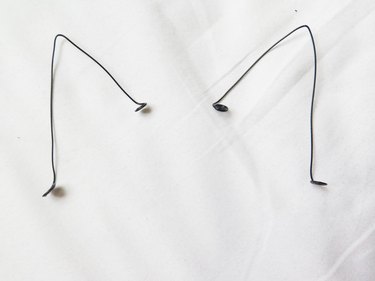
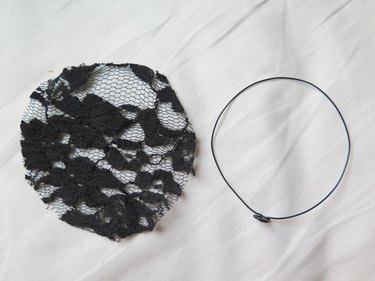
Step 1: Make One Wire Ear
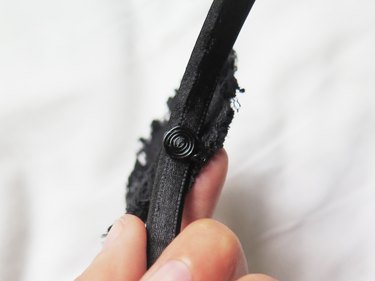
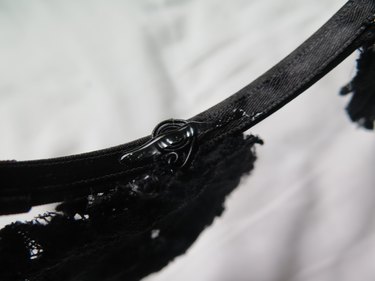
With the pliers, curl the end of the wire and keep curling the wire into a coil shape so that it is as wide as the headband you are using. The coil will be used to attach the wire lace ear to the headband.
Video of the Day
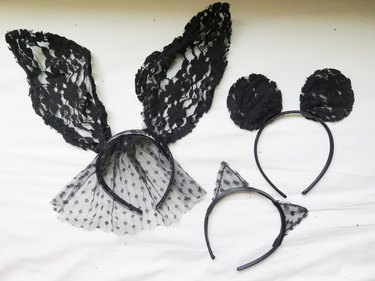
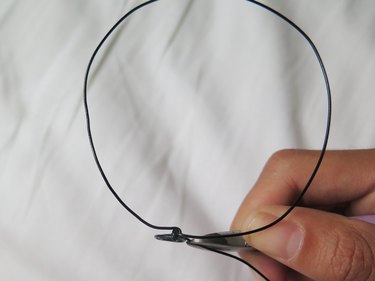
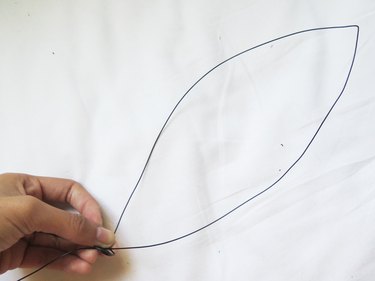
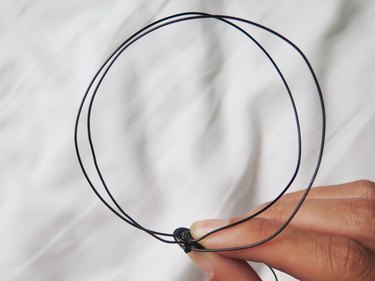
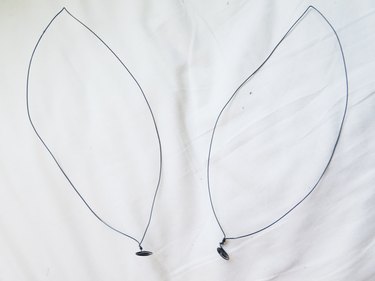
For mouse ears, create a round shape (approximately 3 inches wide), for cat ears create a triangular shape (between 2 to 3 inches high) and for bunny ears create an elongated oval shape (between 7 to 9 inches high) that comes to a point at the top.
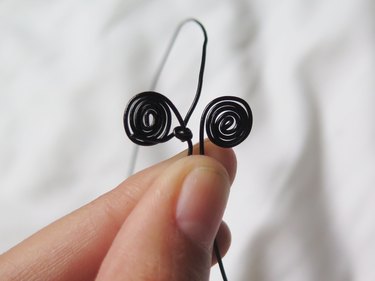
For mouse ears or bunny ears, wrap the end of the wire at the top of the coil and cut the wire off the spool with the diagonal cutters. If you created the cat ears, create a coil the end of the wire so that you have two coils, one at each end of the wire, and then cut with the diagonal cutters.
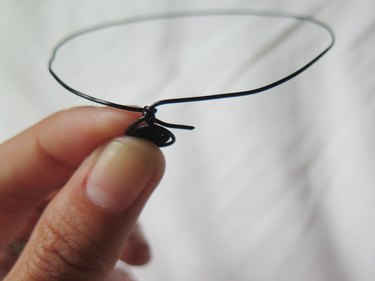
Step 2: Make the Second Wire Ear
For the second ear, take the end of the wire and curl into a coil with the pliers. Hold up the coil next to the first ear to match the size of the coil. Then repeat the steps to create the ear shape.
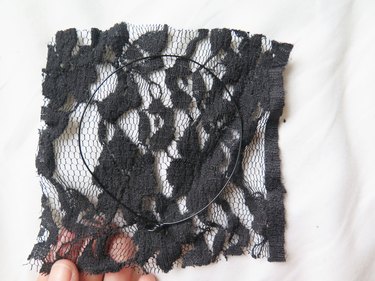
Step 3: Cut the Lace
Lay the lace on a flat surface. Then lay one wire ear on top of the lace and cut the lace in a square shape around the ear, leaving approximately a 1/2-inch border all the way around. Cut around the wire leaving at least a 1/4-inch border. Use the cut lace as a template to cut more lace pieces for the ears.
If you want front and back lace pieces to conceal the wire, cut four pieces of lace for your ears. If you don't mind that the wire will be exposed from the back of the headband, cut two pieces of lace for each ear.
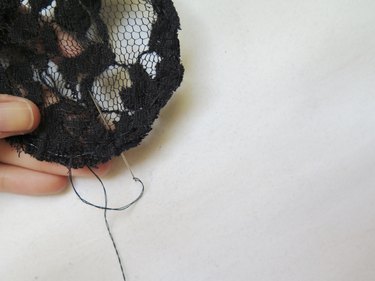
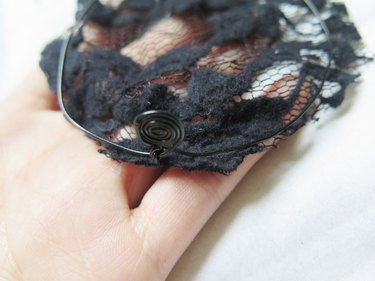
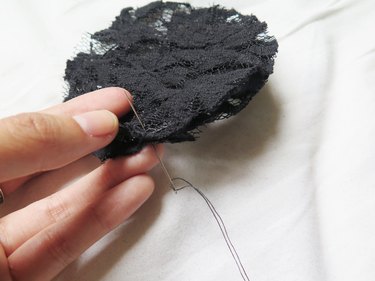
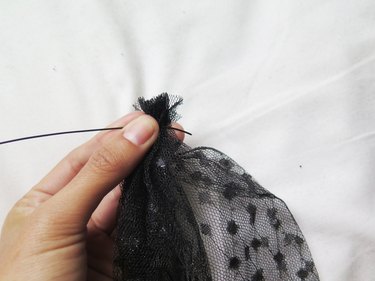
Step 4: Sew the Lace to the Wire
Position the coil at the bottom edge of the lace and keep a 1/2-inch border around the remaining wire. Place a second cut lace piece on top so that the wire is sandwiched in between the two lace pieces. Take a double-threaded needle, triple-knot the end and sew the wire onto the lace with an overcast stitch, keeping the two pieces of lace together and the wire firmly in between while sewing. When you have finished the stitch, knot the end and cut the thread.
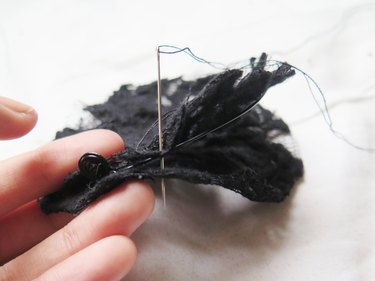
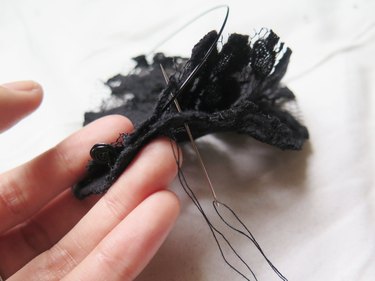
For extra durability, overcast stitch once more around the lace and wire. If you used one piece of lace instead of two to make the ear, then hold the wire in place on the lace while sewing.
Trim the lace around the ear approximately 1/4 inch to clean up the edges of the lace.
Tip
An overcast stitch is primarily used to hem an unfinished seam or edge of fabric. In this case, you will want to keep away from the edge of the lace while sewing the wire onto the lace but still pulling the needle through one side of the lace and looping the thread around the wire before piercing the front of the lace and repeating the stitch.

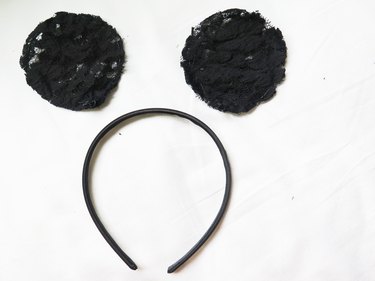
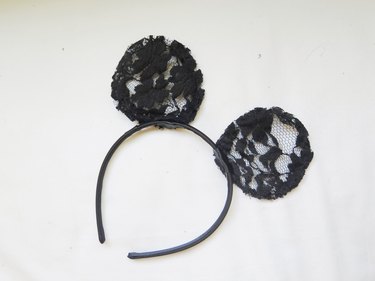
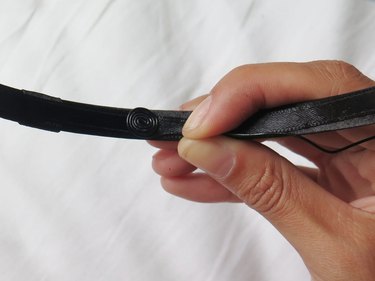
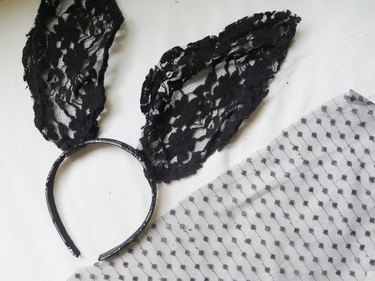
Step 5: Attach the Ears to the Headband
Add a dab of hot glue to the top of one coil. Wait 15 to 20 seconds to allow the glue to cool before pressing the hot glue side onto the headband. If you get glue on your finger, simply peel off the glue strands. Repeat this step to attach the other ear to the headband. Allow the ears to fully dry for 30 seconds to one minute.
Warning
Be careful with your hands when using a hot glue gun to avoid getting burned. Hold the glue gun close to the object you are gluing and don't press out too much glue at once.

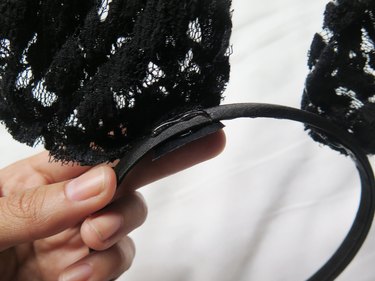
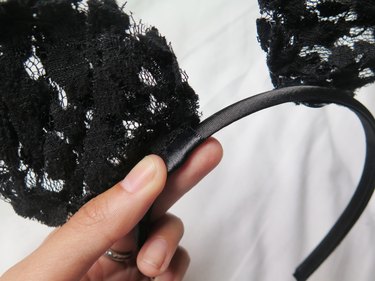
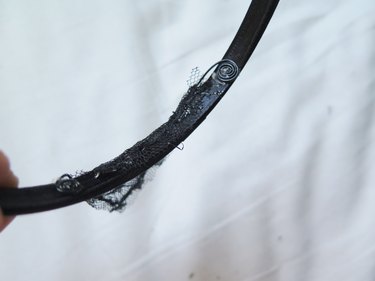
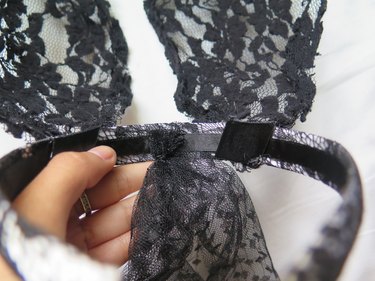
Step 6: Cover the Coils
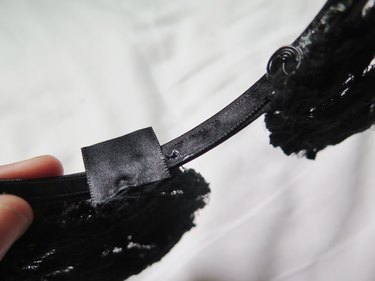
Cut a piece of ribbon long enough to cover the inside and top of the headband to cover one coil. Add a dab of hot glue to the exposed coil, waiting 15 to 20 seconds before covering the glue with the piece of ribbon. Add hot glue to the top of the headband in front of the ear, waiting 15 to 20 seconds before covering the glue with the remaining piece of ribbon. Repeat on the other coil.
To secure your ears more to the headband, add a small line of hot glue between the ears and side of the headband.
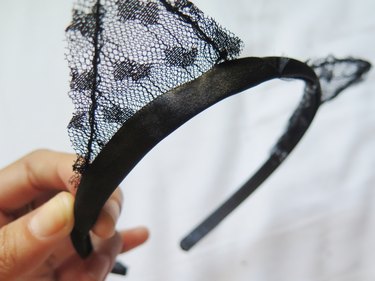
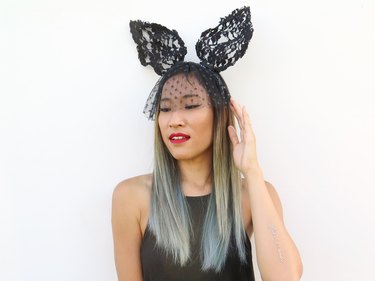
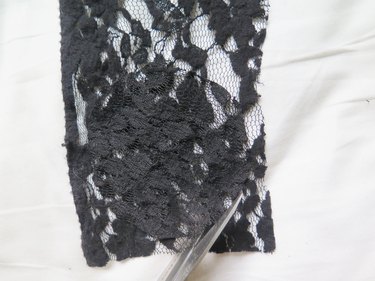
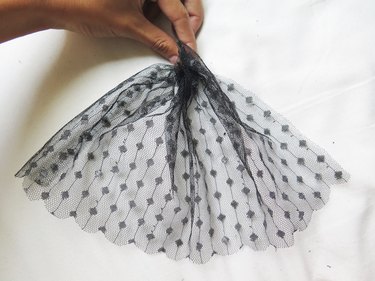
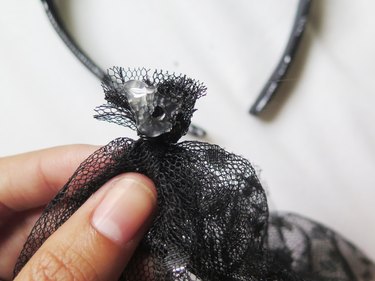
Step 7: Attach Lace Veil (Optional)
If you would like to add a lace veil to your headband to cover your eyes, cut a piece of lace approximately 16 inches wide and 8 inches long. Lay the cut piece of lace on a flat surface, and then scrunch the top of the lace starting at the center, bringing the rest of the lace toward the center, creating a fan shape. With the wire, wrap tightly two to three times around the scrunched lace, approximately 1/2 inch from the top of the lace, and cut with pliers. Apply hot glue to the lace scrunch and press firmly onto the inside middle of the headband. Cover any exposed lace or coils with ribbons.
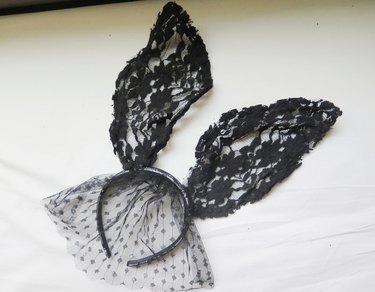
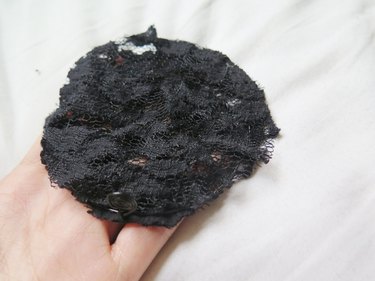
Step 8: Wearing your Lace Animal Ears
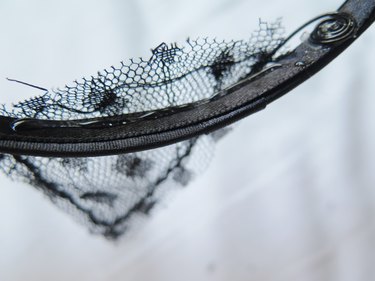
If you had sewn two pieces of lace together (with the wire ear in between) and you want the lace pattern to show up better, you can cut out the back layer of lace.
Turn your headband over so the backside is showing. With your shears cut into the center of the back layer of lace, making sure not to cut through to the first piece of lace (the front of the animal ears). Continue to cut along the stitch line, and eventually the second layer of lace will be removed. For reinforcement, sew one more overcast stitch over the current stitch. This results in covering the wire but making the lace pattern more defined.
Tip
If you made bunny ears and used a thinner-gauge wire that is causing your ears to flop, use or make your own fabric stiffener and brush onto the lace bunny ears. Allow to fully dry for 24 hours before wearing.