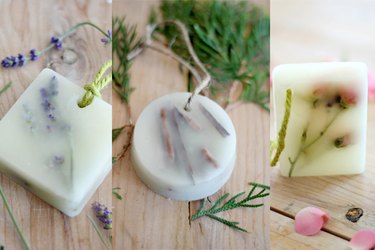
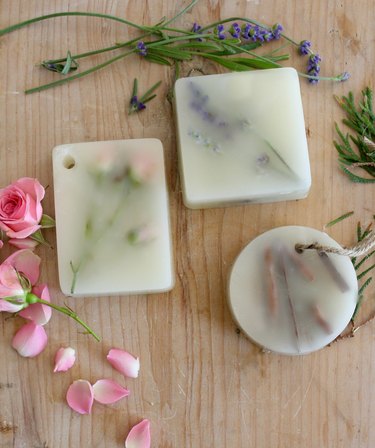
Whether it is the classic scent of rose, the soothing smell of lavender or the woodsy smell of sandalwood, aromatic wax sachets can be placed in dresser drawers to keep linens smelling fresh. They can also be hung in a closet, displayed on a bathroom vanity or even tucked under a pillow to add a hint of scent to your surroundings in a natural and beautiful way.
Video of the Day
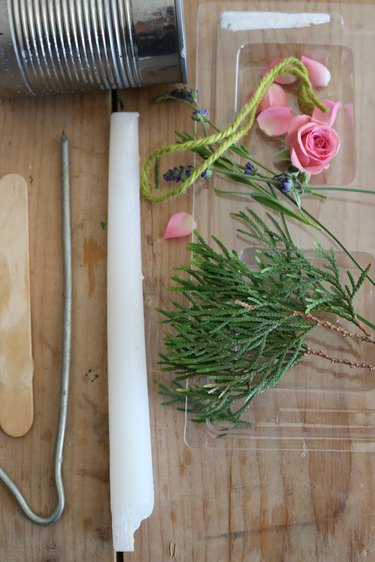
Things You'll Need
Wax paper
Beeswax sheets or beeswax beads
Stove pot
Empty metal soup can
Kitchen tongs
Chopstick or wooden skewer
Essential oils (such as rose, lavender and sandalwood)
Fresh or dried flowers or preferred adornments
Soap mold
Utility knife
Lighter or other flame source
Long nail or steel skewer (optional)
Jute twine (optional)
Tip
- The scent of lavender is known to calm nerves and reduce stress. It is also nature's repellent to moths.
- The scent of sandalwood can improve your mood and relieve anxiety.
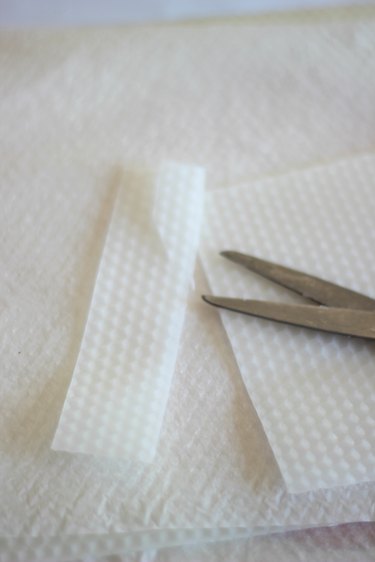
Step 1
Cover your work surface with wax paper. If using beeswax sheets, cut up into several pieces, ensuring the pieces are small enough to fit inside the soup can. Set aside.
Video of the Day
Step 2
Fill a pot with approximately 1 inch of water and place the empty soup can inside the pot. Turn the stove on medium-to-low heat.
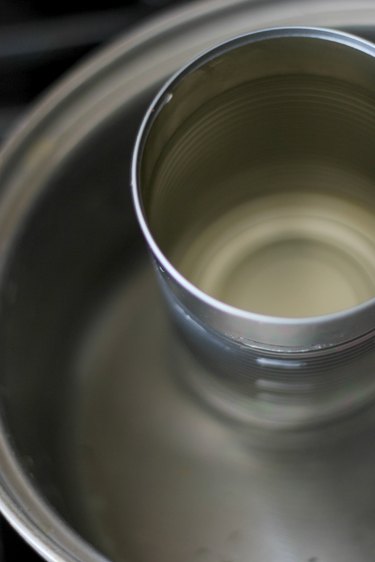
Step 3
As the water comes to a boil, hold the soup can with kitchen tongs and place pieces of beeswax into the can. The heat of the boiled water will begin to melt the wax. You can stir it with a chopstick or wooden skewer and continue doing so until it melts entirely. Add a scent by putting a few drops of preferred essential oil into the melted wax and give it a stir.

Step 4
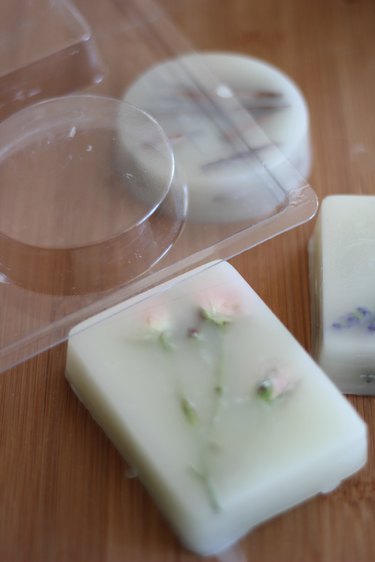
Place dried or fresh flowers or other decorative adornments into the soap mold. If using pressed flowers, place them face down as the bottom of the mold will be the front of the wax sachet.

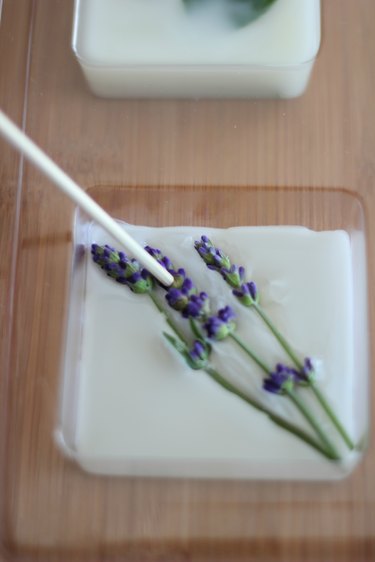
Step 5
Slowly fill each mold with wax to the halfway point and gently press the flowers into the wax with a wooden skewer.
Step 6
Place additional flowers on top of the wax, if you wish to have flowers visible from both sides.
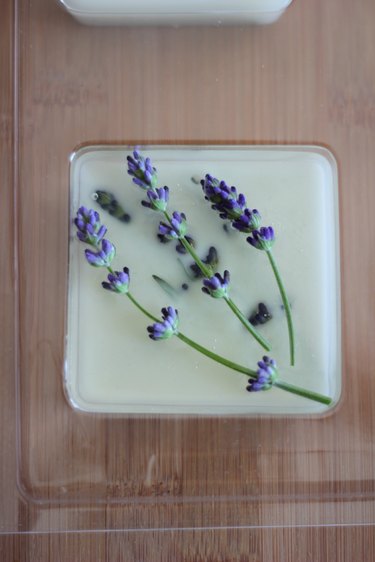
Step 7
Fill the balance of the mold with wax and place it in the freezer for approximately 15 to 20 minutes.

Step 8
Remove the mold from the freezer and flip it upside down. The wax bars should come off with ease, but if not, gently push the bottom of the mold to release the wax.
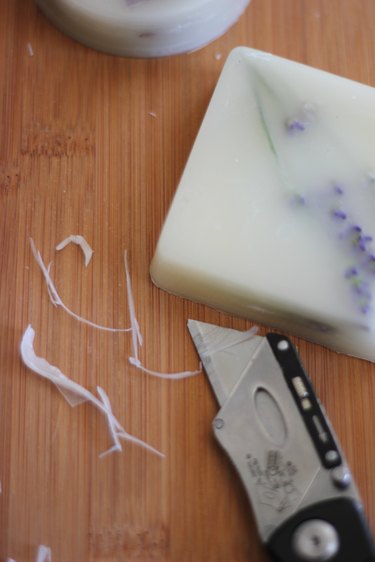
Step 9
If required, remove any excess wax from the edges of the bars with a utility knife.
Step 10
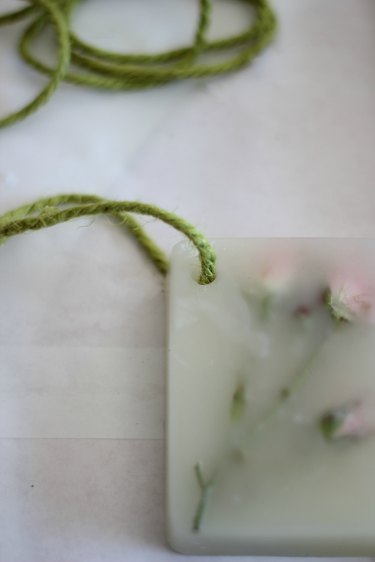
Optional: Using a lighter or other flame source, heat a nail or steel skewer and gently pierce it through the wax while the nail is still hot.
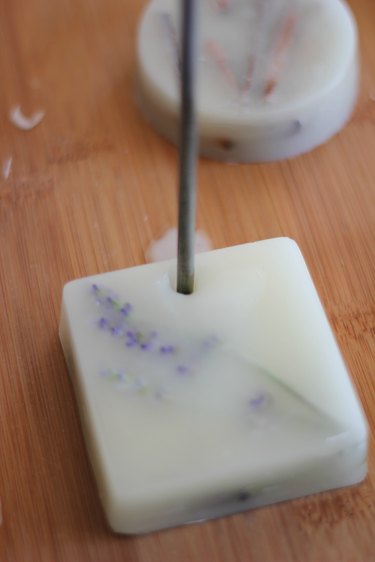
Tip
It is recommended to pierce the hole from the back of the sachet for a cleaner and smoother look.
Step 11
Optional: If you elected to pierce a hole through the wax, thread some jute twine through the hole and hang the sachet in a desired location.