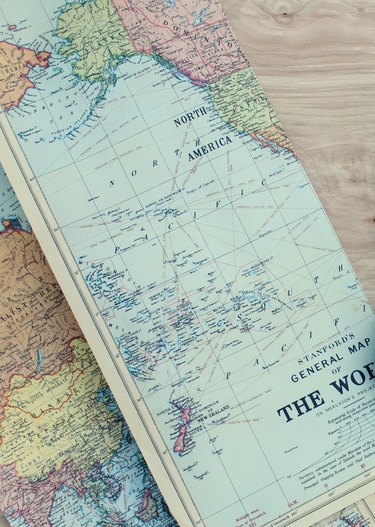
Remember maps? No, not the app on your phone—those old paper things people used to use to navigate. Odds are, you probably have a bunch lying around from your pre-digital life. Put them to a great new use and double their life span with this easy DIY. Because sometimes, once just isn't enough. With the Citi® Double Cash card, you can earn cash back not once, but twice. Earn 1% when you buy and another 1% when you make a payment towards your purchases — big or small.
Video of the Day
Things You'll Need
24-by-24-inch birch plywood board, 1/4 inch thick or another wood board of similar size
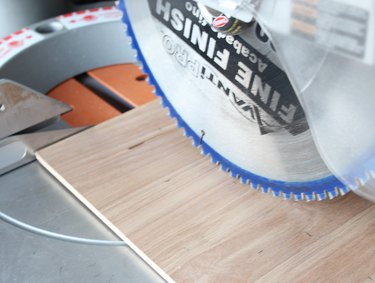
Miter saw
Vintage maps
Scissors
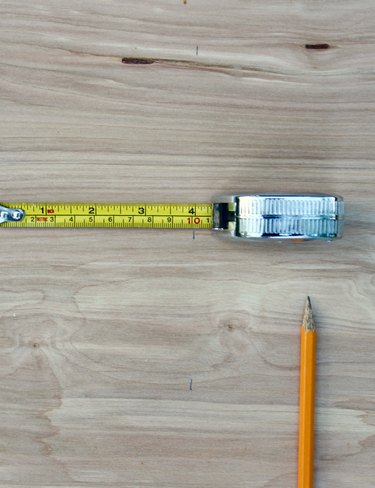
Tape measure
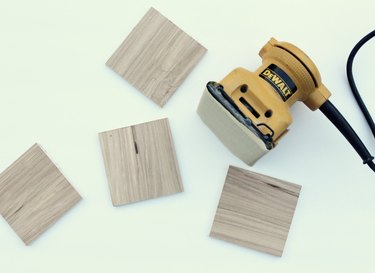
Electric sander or sanding block
Mod Podge
Sponge brush
Spray polyurethane
Hot glue gun
Twine
Tip
Make sure to pick a board that isn't warped so your coasters will lay flat and keep in mind the vintage maps you choose will be the front facing design of your coaster.
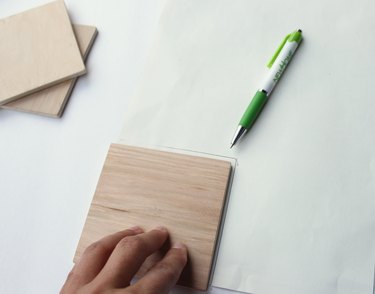
Step 1: Measure, Cut and Prep the Wooden Squares
Measure and mark 4-by-4-inch squares on your board and cut them out with a miter saw.
Tip
If you don't own a saw, or prefer not to cut the board yourself, most hardware stores will cut them for your free of charge.
Lightly sand your square boards with an electric sander or sanding block.
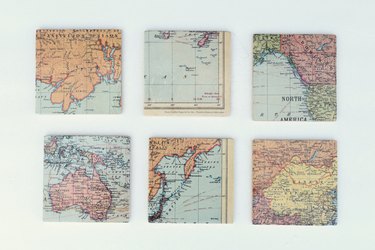
Step 2: Cut Out and Attach Maps with Mod Podge
Lay your map face down and trace your square board as close to the edges as possible. Cut out the maps so they are exactly the same size as your boards.
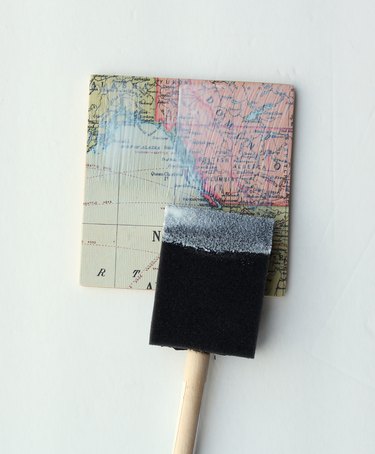
Spread a layer of Mod Podge on the boards using a sponge brush. Place the maps on top and press into place and smooth out the air bubbles. Let dry.
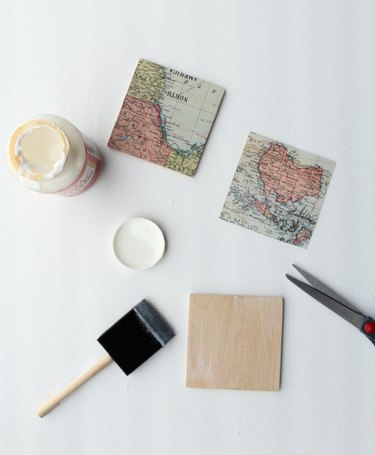
Spread another layer of Mod Podge on top of the map. Make sure you cover the edges completely. Let dry.
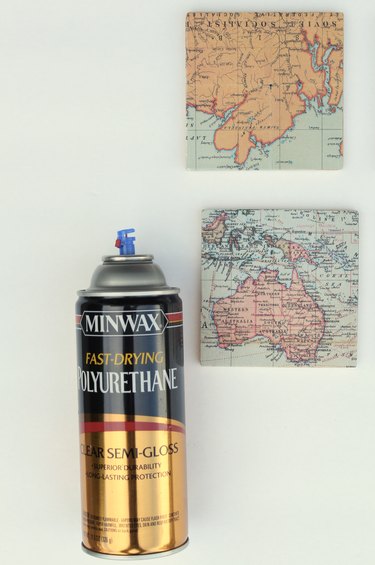
Step 3: Seal the Coasters with Spray Polyurethane
Once the coasters are dry, spray the top with two light coats of polyurethane. Let the polyurethane set between coasts until it's dry to the touch. This will give the coasters a strong finish and keep water from ruining the maps.
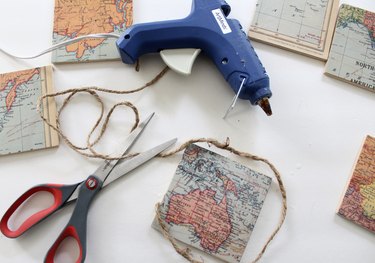
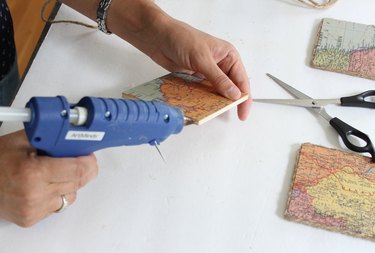
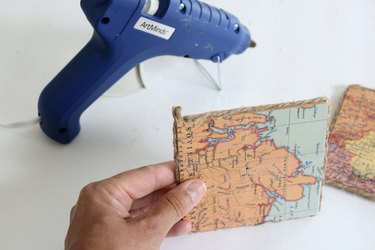
Step 4: Glue Twine Around the Edges
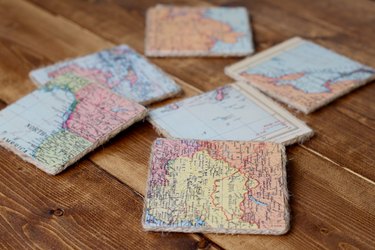
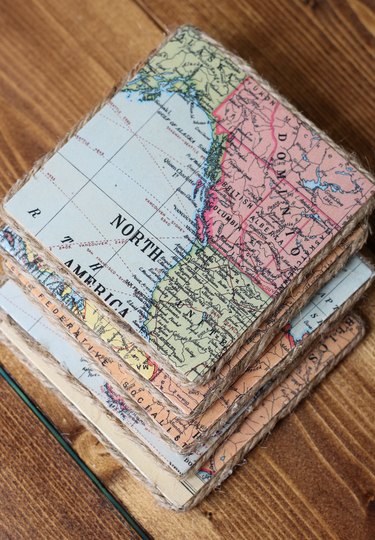
When the coasters are completely dry, hot glue twine around the edges. Trim any excess twine with scissors. The twine gives these vintage map coasters the perfect touch!
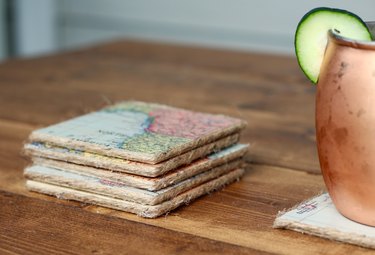
Step 5: Use Your Coasters for Serving Drinks
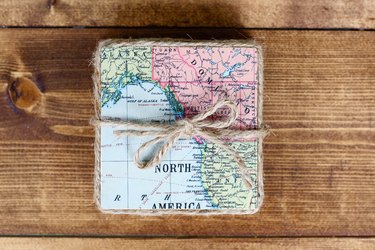
Enjoy your coasters when serving drinks at your next party or give them away as a house warming or hostess gift. Giving a handmade gift is so special and the possibilities are endless with these nautical drink coasters.