Things You'll Need
Old suitcase
Sandpaper
Hobby knife
Chalk finish paint
Creme wax for chalk paint
Paint brush
Plywood
Permanent adhesive paste
Fabric
Glue or decoupage medium
Fabric glue
Ribbed elastic
Staple gun
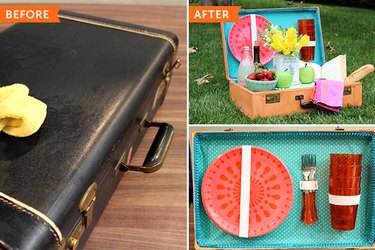
Next time you head out for a picnic, be sure to do it in style with this vintage-inspired "basket" made from an old suitcase. All it takes is a fresh coat of paint, a new fabric lining, and elastic holders for plates, cups and forks. It gives new life to your suitcase – and your picnic.
Step 1
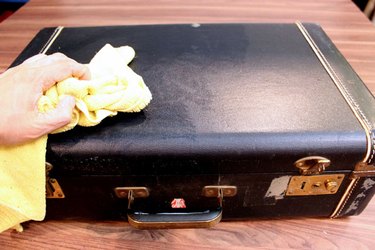
Almost any type of suitcase will work for this project, but hard-sided luggage is preferable because the rigid sides provide a stronger foundation for the picnic basket. Start by cleaning dust and dirt from the surface. Remove any stickers, and if necessary, sand off any remaining residue.
Video of the Day
Step 2
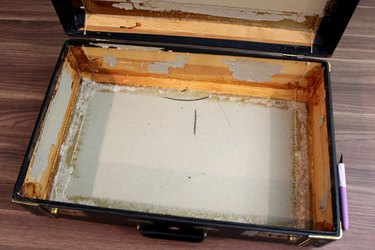
Remove the old fabric lining from the interior of the suitcase. Even if the fabric is in decent shape, it should be discarded for hygienic reasons. Most of it can simply be torn out, or excised with a hobby knife. Also, remove any old batting or paper lining.
Step 3
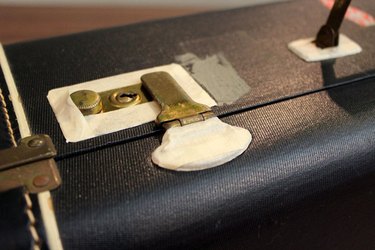
Cover any hardware on the suitcase that you don't want to paint. Apply masking tape over the hardware, extending past the edges, and then trim the excess tape with a hobby knife.
Step 4
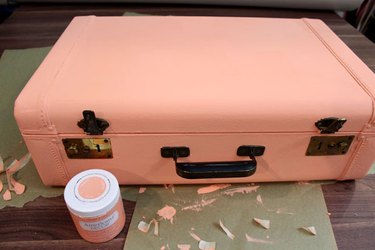
Apply two to three coats of chalk finish paint in your desired color to the exterior of the suitcase. Chalk finish paint is a versatile water-based paint that covers practically any surface without having to prime it first. It dries to a matte, chalky finish that is ideal for vintage-inspired projects.
Step 5
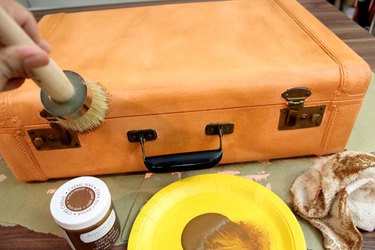
To protect the paint finish, add a layer of creme wax to the surface. Creme wax for chalk paint comes in clear, as well as brown formulations. The clear wax preserves the paint's color, while the brown wax creates an aged patina, as you can see in the photo. Apply the creme wax with a brush, and immediately wipe off any excess with a rag.
Step 6
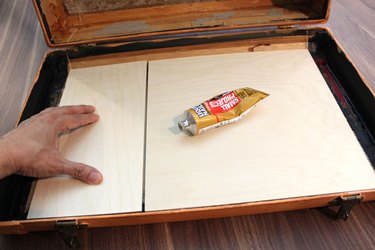
Open the suitcase and flip it over so that the top section of the suitcase is laying flat on a surface. Using heavy duty paste adhesive, glue some 1/8" plywood to the this top section. Crafts stores sell plywood in different sizes, so you can find pieces that will easily fit in this section without having to use a saw. This wood will be used to help secure the plates and cups later.
Step 7
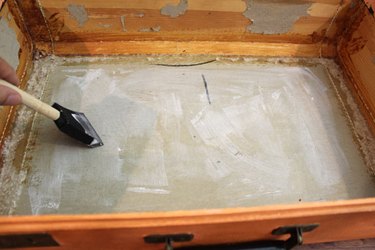
Stand up the suitcase so the bottom compartment is sitting on the surface again. Apply a layer of glue or decoupage medium to the base of the suitcase. Either will work, although decoupage medium is easier to spread with a brush than glue.
Step 8
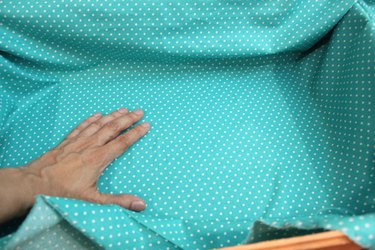
Cut a piece of fabric so it is larger than the base and sides. Center it over the bottom of the suitcase and press the fabric into the glued surface to adhere it. Smooth out any wrinkles with your fingers.
Step 9
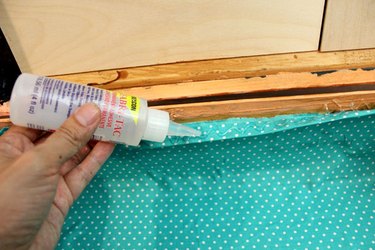
At the edges, fold back the fabric to create a hem and adhere it to the suitcase with permanent fabric glue. Once you've finished covering the bottom section of the suitcase with fabric, repeat with the top section.
Step 10
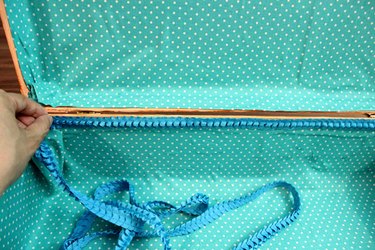
To hide any imperfections in the hem, glue some decorative trim all along the edges with fabric glue.
Step 11

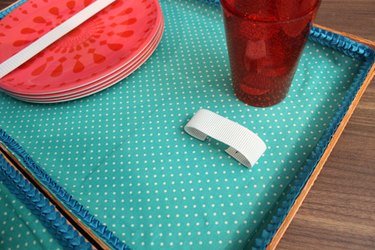
Now for the elastic strap that holds the plates. Measure the diameter of the plates you are using, and cut a length of ribbed elastic that matches the diameter. Decide where the plates will be attached to the top section of the suitcase, and staple the elastic band in place, tucking in the ends about one inch on both sides. (The plywood that was glued in the earlier step will hold the staples.) Therefore, if the plate is 10", the elastic band is cut to 10", but tucked in at both ends so the strap is only 8". We want the elastic shorter than the diameter of the plates so they stay snug and do not fall out.
Step 12
For the elastic holding the cups, measure the circumference of the cups and divide that measurement in half. Cut a length of elastic to that size, tuck the ends underneath an inch, and staple it to the top section of the suitcase where you want the cups to go. For example, if the circumference of the cups is 10", cut a piece of elastic that is 5", and then tuck both ends underneath about 1", so that the resulting length of elastic is 3".
Step 13
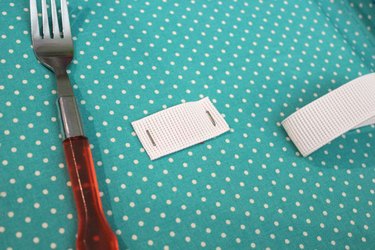
For the flatware, staple a 1-1/2" section of elastic where you want that to go. This length of elastic is enough to hold most cutlery, whether plastic or metal.
Step 14
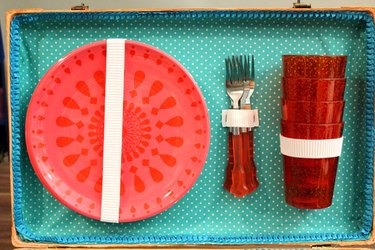
Slide plates, flatware and cups into the elastic bands. With the tableware tucked away on the top section, there is now plenty of room for food in the main compartment of the suitcase.
Tip
Use melamine plates and acrylic cups, as they are lightweight and unbreakable.
Video of the Day