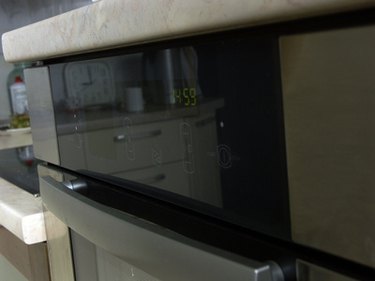
If you have ever looked at your oven display and thought that it appeared dimmer than it used to, you are not imagining things, as this is a very common occurrence. You can correct this by replacing a small part within the display, which has been damaged by the high operating temperatures in the oven. The repair is simple, but you will need to be able to take apart some of your oven, so refer to your oven's information for more details on its particular construction.
Step 1
Unplug the oven from its power source and remove the front plate holding the display in place. You will have to use a screwdriver to take out the screws holding this part of the oven frame in place.
Video of the Day
Step 2
Take out the display unit from your oven, unscrewing any screws securing it within the oven. You will also have to disconnect the wires running from it.
Step 3
Find the capacitors on the control board of the display, which looks like the circuit board of a computer. The capacitors look like small, cylindrical batteries.
Step 4
Remove the solder holding each of the capacitors in place with a soldering pump and soldering iron.
Step 5
Place the tip of a heated soldering iron against the solder you want to remove until the solder is hot and liquid. Quickly place the pump nozzle against the melted solder and release the handle to suck it up.
Step 6
Repeat this for each capacitor until they can all be easily released, then take them to the store to buy replacement capacitors.
Step 7
Insert each of the new capacitors into the holes left by the unsoldered old capacitors. Solder the new ones in place with the soldering iron.
Step 8
Reconnect the display carefully, just as it was when you took it out. Put the oven frame back together and plug it back into the power.
Video of the Day