The Honeywell RTH111 series consists of battery-powered, basic programmable thermostats suitable for controlling a number of household heating and cooling configurations. You can use the Honeywell RTH111B in a two- or three-wire configuration to control a gas, oil or electric furnace or an air conditioning system. You can also use it in a four- or five-wire configuration to control a heating system with air conditioning. However, this model is not suitable for controlling a heat pump or a system with second-stage heating or cooling.
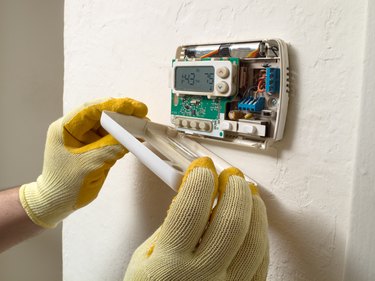
If you're replacing your old thermostat, note the terminals to which the existing wires are connected and connect the wires to the same terminals on the new thermostat. If this is a first-time installation, you may need to match the thermostat terminals to those on the system control panel. There is a color standard for thermostat wiring, but you can't always depend on it. It's best to double check by looking at the connections on the control panel. Take a picture if necessary.
Video of the Day
Video of the Day
RTH111 Thermostat Wiring – No Common Wire Needed
Although RTH111 thermostat wiring is not as complicated as that for many other thermostats, you should take the time to read the installation manual before you start. That way, you can familiarize yourself with the idiosyncrasies of this model. One of the most important is the fact that, since it gets its power from batteries, it doesn't use a common wire, which is usually blue or black and labeled C, C1 or X. If your old thermostat used this wire, simply tape off the end and push it out of the way. You don't need it.
The Honeywell RTH111 comes with a jumper wire installed between the Rh and Rc terminals. These supply power to the heating and cooling systems respectively. If you have only one power wire (which is usually red), leave the jumper in place and connect the wire to either Rc or Rh. However, if you have separate Rc and Rh wires, remove the jumper and connect each wire to the appropriate terminal.
Simple Two- or Three-Wire Configuration
If the thermostat is going to control a furnace, you'll have at least two wires. One is the power wire, labeled R (red), and the other controls the furnace. It should be labeled W (white). Connect these wires to the appropriate terminals. If the system has a separate fan control, you'll see a third wire labeled G (green). Connect it to the G terminal and set jumper JP1 on the back of the thermostat to the HE position if the furnace is electric. Leave it in the HG position for a gas or oil furnace.
If the Honeywell thermostat installation is to control an air conditioning system, you'll have an R wire for power and a W wire to control the air conditioner. You may also have a Y wire (yellow) to control the compressor motor. Attach this to the Y terminal.
Honeywell Thermostat Wiring for a Heat Pump
If the heating/cooling system includes a heat pump, you'll find at least one extra wire. It's for the reversing valve, and it's usually labeled O (orange). Connect it to the O/B terminal. If the system has a B wire (blue), and it isn't the common wire, connect it to the O/B terminal and set jumper JP2 to the B position. This ensures the system heats in the heat mode and cools in the cool mode.
When the thermostat controls a heat pump, both the Y and W terminals are used, but you may have only one of these wires. In that case, install a jumper wire between the Y and W terminals to connect them and attach the wire you have to the appropriate terminal.