Rheem manufactures gas water heaters and furnaces, and if your gas furnace is blowing cold air, the problem could be the flame sensor. This inexpensive part functions like the thermocouple in a standing pilot system sometimes used for water heaters, but instead of monitoring a pilot flame, the flame sensor monitors the burners. It has two parts: a straight or bent rod a few inches in length and an insulated base with a wire connector. When the probe gets covered with carbon deposits, it can't detect a flame, but it's easy to clean, and a replacement flame sensor, should it be needed, is inexpensive, usually costing less than $20.
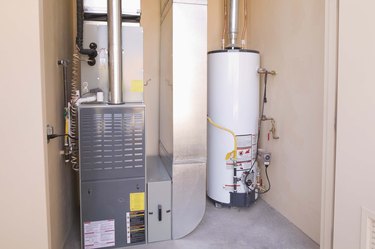
To do its job, the sensor probe must extend into the burner compartment, while the base with the wire connection must be outside, so the sensor is mounted on the wall of the burner housing. On a Rheem furnace, it's directly in front of you when you remove the access cover. Rheem doesn't manufacture gas space heaters, but if it did, the procedure for cleaning the flame sensor would be similar.
Video of the Day
Video of the Day
Things You'll Need
How to Clean a Rheem Furnace Flame Sensor
Step 1: Power Down the Furnace
Switch off the furnace switch. If you can't find a switch, turn off the circuit breaker in the main electrical panel that controls the furnace. Besides preventing shocks, this will also prevent the furnace from cycling on while you're working.
Step 2: Locate the Flame Sensor
Remove the access panel. If you're working on a furnace with an upper and lower panel, remove the upper one. The flame sensor should be right in front of you. It has a white porcelain base that may have turned yellow or brown, and it has a single wire attached to it.
Step 3: Remove the Flame Sensor
Disconnect the wire by pulling it off the terminal. The wire has a spade connector, and these sometimes get stuck, so you may have to pull hard. Loosen the screw holding the sensor to the wall of the burner housing using a flat-head screwdriver. Put the screw in a safe place and then pull out the sensor.
Step 4: Clean the Probe
Rub the probe with emery cloth or fine steel wool to remove carbon deposits. Before you start cleaning it, the probe will probably have a dull blackish color, and when you're done, it should have a shiny silver hue. The probe is fragile, so don't rub too hard. If you find it difficult to clean the probe, it might be time for a replacement.
Step 5: Replace the Flame Sensor
Insert the probe into the hole in the burner housing and drive the screw to secure it. Push the wire connector back onto the terminal.
Step 6: Test the Sensor
Power up the furnace and turn the thermostat to its highest setting to call for heat. When the furnace switches on, make sure the burners light and then watch for a while to make sure the burners stay on. If the burners won't stay lit, replace the flame sensor. If they won't light at all, the problem is something other than the flame sensor. Call for service.