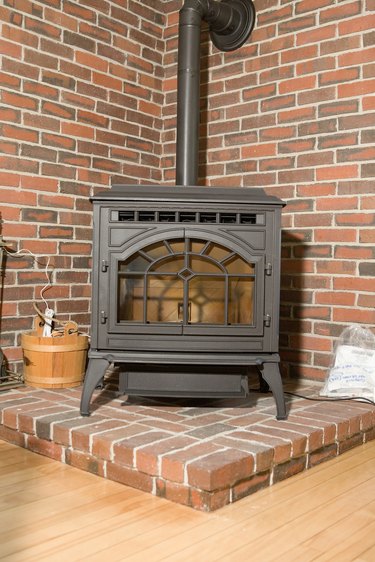
Wood stoves are one way home and property owners keep a house toasty during chillier winter months. Installing a stove is a do-it-yourself project that nearly any able bodied person can do, provided some basic guidelines are followed in regards to how the stove vents – in this case, through an adjacent basement window. In doing so, properly hooking up the unit is paramount for both safety and performance.
Step 1
Check with your local building code authority for fire code restrictions in your area regarding wood stove piping installation and placement. Guidelines vary according to jurisdiction but, generally speaking, the pipe needs to vent into a chimney that vents at least 3 feet over the roofline.
Video of the Day
Step 2
Place your stove at least 3 to 4 feet away from the closest wall to create a "safe zone" — you don't want the radiating heat to overheat the wall and increase the chances of fire. This isn't required if your masonry wall is separated from a combustible wall by at least a 1-inch gap and is vented at top and bottom. To retrofit a wall, install 24-gauge metal sheeting over the combustible wall using 1-inch non-flammable spacers to create buffer zone between the wall and metal protector. Metal-framed insulation board can be used in lieu of the sheet metal, but it too must be spaced an inch away from the wall and have gaps between wall, floor and ceiling to vent the heat.
Step 3
Measure from the top of the stove to opening in the basement's window and, provided you haven't purchased piping already precut, cut the pipe, using a saw appropriate to the material, into 3-foot segments that total the needed distance in overall length.
Step 4
Determine the best way for smoke to vent through the piping. Stove piping can be configured in a number of ways with vertical piping attached via a 90-degree elbow being the most conducive for allowing smoke to dissipate from naturally occurring air draft.
Step 5
Install the first section and attach it to the wood stove unit via screws for metal flue piping. If you're using ceramic pipes, use generous amounts of fireclay at the attachment site. Continue adding the 3-foot sections in this manner until all pipes are secured in the desired configuration.
Step 6
Cut a piece of sheet metal that measures the same dimensions as the basement window and cut a hole in the sheet that's 1/8 inch larger than the diameter of the stove pipe. Thread the metal sheet over the pipe and press it flush to the basement window on the outside of the home. Fill in the gaps between the pipe and the metal with fireclay and screw the sheet to the frame of the outside window to block outside air.
Step 7
Add another 90-degree elbow on the outside of the window and sections of chimney pipe that exhaust outside the basement and up the side of the house, above the roofline, affixing the pipe to the house with appropriate hardware.
Video of the Day