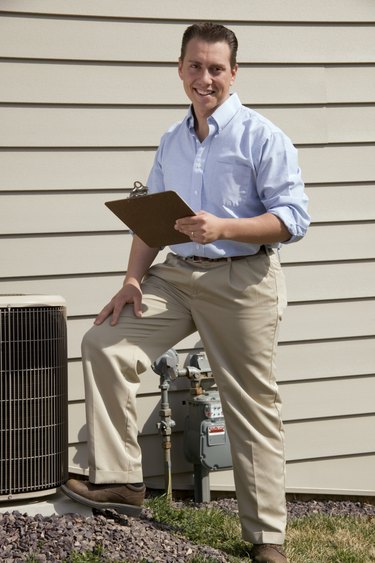
The basic preparation for air conditioner installation can be performed by most homeowners, but the finishing touches must be completed by an EPA-certified contractor. You should not handle A/C refrigerants unless you are certified to do so. But you can cut costs out of your installation by setting up the condenser and evaporator coils and running the connecting lines yourself. A contractor will need to complete the installation of wiring and refrigerant before you can begin running the system. First, do some research about the best unit size for your home, and make sure you have a 220-volt circuit that you can dedicate to the air conditioner.
Step 1
Make sure the proper duct work is installed before setting up your air conditioner. Disconnect the power before working with any electrical equipment.
Video of the Day
Step 2
Set the condenser on top of a condenser pad in an outside, level location with about 1 foot of clearance from your house's exterior wall. A cool, out-of-sight spot is ideal.
Step 3
Cut a small hole in the wall near the condenser, using a hole saw. The wires and other connecting lines will run through this hole and connect the compressor to the furnace/air handler.
Step 4
Install the evaporator coil inside the supply plenum of your furnace. This may require cutting a hole in the plenum with metal shears and constructing a shelf for placement. If you have an air handler, the coil will already be installed inside. Place the coil so the evaporator lines are facing outward.
Step 5
Connect the suction line from the condensing unit and run it through the hole along the ceiling to reach the evaporator coil. Secure to the ceiling with mounting brackets.
Step 6
Connect the suction line to the surface valve, which is located on the condensing unit. Do not create kinks in the line; use copper tubing if you need to create an angle to redirect it to the condenser.
Step 7
Connect the liquid line to the proper condensing unit valve. Use the ceiling brackets and run it through the house to the evaporator. Do not connect the lines to the evaporator, as your contractor will complete this step. The contractor will also discharge the refrigerant through the system, a step you should not complete yourself.
Step 8
Run low-voltage electricity lines from the main power circuit to your compressor and evaporator units.
Step 9
Install a thermostat and connect it to the main power line and the air handler/furnace.
Video of the Day