When it’s one of those days where you don’t feel like dealing with your hair, a messy bun takes little effort and appears prim and fun at the same time. Whether you didn't wash your hair for a while or it didn’t blow out the way you wanted, this hairstyle can save the day. Messy buns can be worn while lounging around the house, running errands or even while going out when paired with earrings and a dress.
Scrunch and Bunch
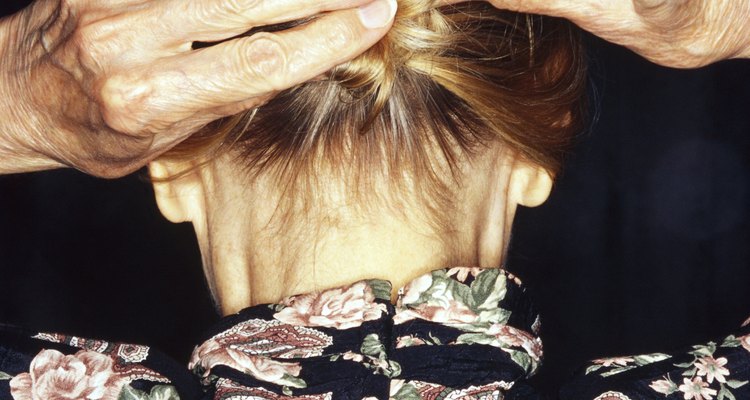
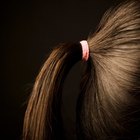
Pull your hair up into a high ponytail at the top of your crown. Hold it in one hand at your roots with your pointer finger and thumb against your scalp. This should be the hand that you keep your elastic band on. Pull the ponytail half way through and twist the elastic. Wrap the remaining hair around the loop you just made and pull the elastic over the entire clump. Lightly pull the bun apart to add extra volume and tuck any fallen pieces back into the elastic. You can add some bobby pins and hairspray for extra all-day hold. For even more volume, gently comb back the bun and any baby hairs framing your face.
Low Blow
Give your roots some oomph by back combing them. Gather your hair into a low ponytail at the nape of your neck. Use your pointer finger as a peg and continue to wrap your hair around it until you’ve reach the end. Be sure not to twist your hair, as the bun will not look as messy. Secure the bun with an elastic then lightly run your fingers through it. Bobby pin around the edges to secure the bun and pull some small face-framing strands out at the front. Spritz with hairspray.
Do the Twist
Tease your hair for added volume. Pull your hair as high as possible, holding it at the tips. Twist your hair until it reaches the roots, then wrap it around itself on the crown of your head. Pull an elastic over the bun and wrap as many times as needed to secure the bun. Run your fingers through your roots and the bun to give it some more slack. Pull out some small face-framing pieces in the front. Secure your style with some bobby pins and spray the whole 'do.
Rainbow Loop
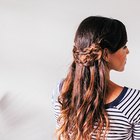
Back comb your roots and pull your hair into a very relaxed high ponytail. Secure it with an elastic one or two times depending on the thickness of your hair. Tease your ponytail with extra attention to the top of it. Pull the elastic a few inches back toward your roots and part the hair above the elastic, creating a hole. Wrap your ponytail through the hole starting from the top and pulling it all the way through the bottom. Pull back the loop you just made toward your hairline so it creates a rainbow effect across your crown. Grab the remaining hair in the back and tuck it into the elastic. Lightly fluff the bun out with a comb, secure it with bobby pins and spritz on hairspray to keep this look all day long.
Related Articles

Hairstyle Options for Growing a Perm Out
How to Do Temporary Dreads

How Do I Get Rid of Frizz in My ...

How to Do a High-Fashion Teased Ponytail
How to Do a Half Crown Braid
1965 Hairstyles

How to Do Loose Wand Curls
How to Preserve Curls Overnight

How to Put Dreads in a Bun

How to Stretch Out Curls
How to Make Gibson-Girl Hairdos
How to Put in a Drawstring Ponytail
How to Do Two Strand Twists With ...
How to Wind a Spiral Perm Rod

How to Keep Ends of Braids Closed
How to Curl Fine Hair
The Best & Easiest Way for Boys to Get ...
How to Use Sponge Rollers to Make Cheer ...

How to Do a Blow-Dry Wrap

How to Use Sponge Rollers to Make ...
References
Writer Bio
Los Angeles-based writer Elana Kluner has been writing internationally since 2008. Her work has been published in M2Women Magazine, DANZ Quarterly, Central leader, Western Leader, The Other Duck and Spa Violet. Kluner graduated with a Bachelor's degree in creative writing from Auckland University of Technology and studied fashion design at the Fashion Institute of Design and Merchandising.
Photo Credits
Creatas/Creatas/Getty Images