Things You'll Need
1 sheet of smooth-sheet styrene
Super glue
Wood glue
Jigsaw
X-acto
Wooden block
Drill
Acrylic craft paint in black, gray, blue and silver
1/2 inch diameter dowel rod (12 inches long)
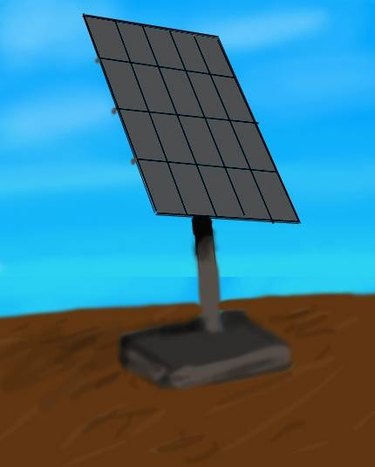
A model of a solar panel can be a great visual aid for your science projects. Models help people to visualize how an object works. You can create labels that denote each part of the solar panel or you can point them out and name them during a presentation. Every science project needs a visual aid and a handmade model can really set your work apart from others.
Step 1
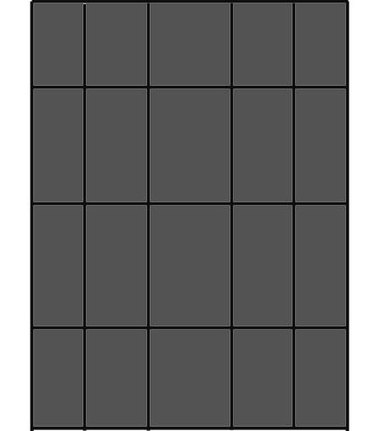
Cut out a 4-inch-wide, 6-inch-long rectangle from a sheet of smooth-sheet styrene. Draw small rectangles across the front surface of the shape. Draw four vertical lines spaced evenly apart. Draw three horizontal lines across the shape. Space these evenly apart as well. Using an X-acto, cut grooves into the sheet styrene with the pencil lines as your guide. This will create the individual sunray solar collectors for the solar panel.
Video of the Day
Step 2
Cut a wooden dowel so that it is 6 inches long. Cut the top of the dowel rod diagonally with a jigsaw so that you can glue the dowel rod to the back of the solar panel. Drill a 1/2-inch-diameter hole in a block of wood that is 4-by-4 inches wide and 1 inch deep. This hole should go only 1/2 inch into the wood and should be in the center of the block.
Step 3

Place a bead of wood glue on the bottom of the dowel and insert it into the wooden block. Place a bead of super glue on the diagonal tip of the dowel rod and glue the solar panel to the tip. Let this dry for 30 minutes.
Step 4

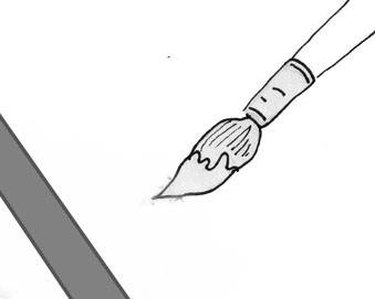
Paint the entire model gray with acrylic craft paint. Let this dry for one hour. Mix one brush load of blue acrylic paint with one brush load of black and one brush load of silver. Add 1/8 cup of water to the mixture. This will create a "wash" that will add only a translucent layer of color. Apply this to the front of the solar panel to create a realistic looking color inside the solar panel sections. Let this dry for 30 minutes and add a thin silver frame around each rectangle.
Tip
You can add construction worker figures around the base of the solar panel using model train-set figures.
Warning
Always wear safety glasses when cutting or drilling wood.
Video of the Day