When baseboard made of medium-density fiberboard sustains water damage (whether it's from flooding or high humidity), your best solution is to replace it. However, if the damage is not significant, you can attempt a DIY repair. MDF in its undefiled manufactured state is stable and consistent. When it gets wet, it swells and distorts. Swells can be sanded down if the MDF hasn't crumbled or separated to any extent. If the baseboard is profiled -- dips, curves or lines -- replicate the profile using ordinary hand tools.
What is MDF?
MDF, or medium-density fiberboard, is a composite wood product manufactured from broken down hardwood and softwood. The wood fibers are molded together to form MDF boards that are often used in the construction of baseboards, kitchen cabinets, and more.
Video of the Day
Things You'll Need
Hair dryer or heat gun
Electric sander (optional)
Paint brush
Paint
How to Repair Water-Damaged MDF Baseboards
1. Dry the MDF
Allow the MDF baseboards to dry completely. If you allow them to air dry naturally, keep in mind that the process could take several hours. Use a hair dryer to speed up the drying process, but make sure the heat is relatively low to avoid igniting the material.
Video of the Day
2. Sand the Baseboard
Sand the baseboard thoroughly with 80-grit sandpaper attached to a hand block or an electric sander. Remove all the paint if damage runs the length of the baseboard. If the damage is integrated in small areas, sand only the area needed.
Slide the sandpaper along the length of the damaged area to remove high spots. Change sandpaper as needed when it fails to remove material.
3. Fill Cracks With Resin Glue
Mix powdered resin glue with water according to the instructions printed on the manufacturer's package. Fill small separations and cracks with the resin glue using a brush and allow the glue to dry overnight.
4. Fill Remaining Cracks With Wood Filler
Fill any remaining pits, gouges or seams where the resin glue shrank. Use wood filler and a putty knife. Sand the molding smooth using 100-grit sandpaper when the putty is dry.
5. Cut New Lines in the Baseboard
Fold a piece of 100-grit sandpaper into thirds. Use it like a knife to replicate lines in the molding. Slide the edge of the sandpaper along existing lines to form new lines. Wrap the sandpaper around dowels to sand shallow curves.
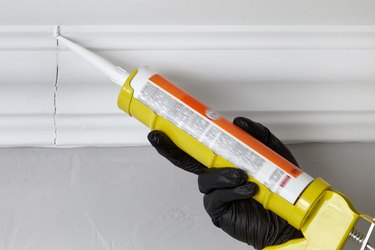
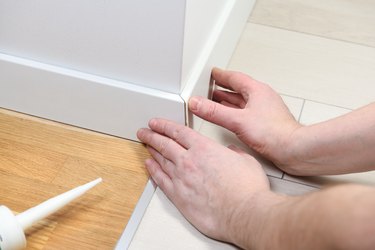
6. Apply Sealant and Paint
Apply a base coat of moisture-resistant sealant to the sanded areas with a brush. Apply two coats of water-resistant paint to match existing paint.
Tip
Use chemical strippers to remove paint if you wish. Place drop cloths on the floor. Apply the stripper and allow it to work on the finish. Scrape the paint off using small flat-bladed tools such as putty knives. Use caution when working with strippers; they're caustic. Wear gloves, breathing and eye protection. If your baseboard continues to get wet or is an area with high moisture, replace it with plastic or vinyl molding. This type of molding isn't affected by moisture.
Warning
MDF contains formaldehyde and produces a fine, powdery dust when sanded. Wear breathing and eye protection when working with MDF.