
Gradient fills are a quick way to add some variety to blank backgrounds and solid colors. To add a gradient fill in Adobe Photoshop CC, use the Gradient Tool available in the Toolbox, which is usually hidden under the Paint Bucket Tool. Adding a gradient fill to a background is a simple matter of dragging the cursor over the canvas. To apply a gradient to only part of the image, select an area first using one of the selection tools. If you want to add a gradient to text, use a gradient fill layer and a Clipping Mask.
Creating a Gradient Fill
Video of the Day
Step 1
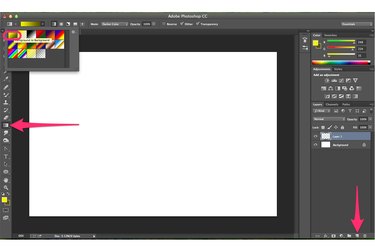
Select a layer in the Photoshop Layers panel to use for the gradient. If you want to apply additional effects or don't want to destroy a layer, click the "New Layer" button at the bottom of the Layers panel to add a new layer. Select the "Gradient Tool" from the Toolbox. Select a preset gradient fill by clicking the "Triangle" beside the "Gradient Sample" icon in the Options bar.
Video of the Day
Step 2
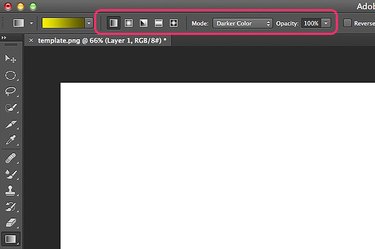
Click any of the icons in the Options bar beside the Gradient Fill, such as the Linear Gradient, Radial Gradient or Angle Gradient icon, to specify the gradient style. You can also change the Opacity and Mode from the Options bar.
Step 3
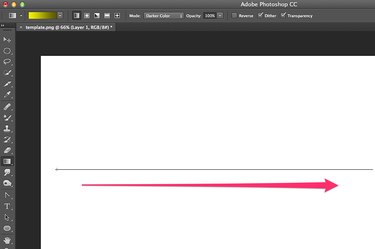
Drag the cursor across the canvas to specify which direction you want the gradient to appear. A short arrow spreads out the gradient, while a long one compacts the gradient. Regardless of how long the arrow is, the gradient will cover the entire canvas.
Step 4
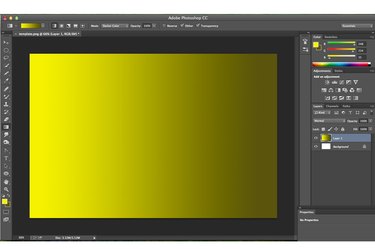
Release the mouse button and the gradient is applied to the layer. If you want to change the direction or select a different fill, just press "Ctrl-Z" to undo your last action and try again.
Using a Gradient Fill in a Selected Area
Step 1
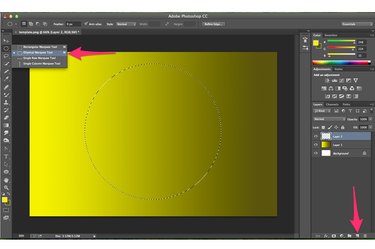
Add a new layer by clicking the "New Layer" button in the Layers panel. Use the Lasso Tool or any of the marquee tools, like the Elliptical Marquee Tool to select the area where you want to apply the gradient fill.
Step 2
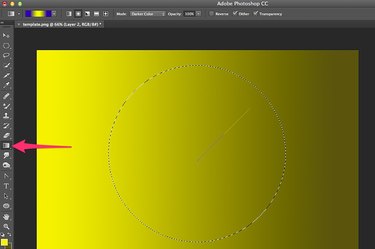
Click the "Gradient Tool" in the Toolbox and specify how you want the gradient to appear using the Options bar. Drag the cursor across the selected area.
Step 3
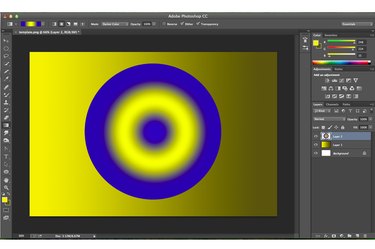
Release the mouse button to apply the gradient fill to the selected area. The area outside of your selection is unaffected.
Using a Gradient Fill Clipping Mask
Step 1
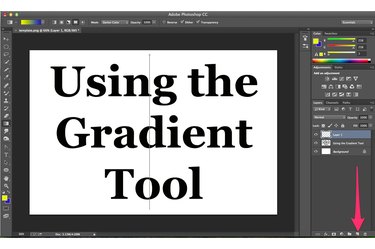
Add text to your Photoshop project using the Horizontal Text Tool from the Toolbox. Select the font size and style you want from the Options bar.
Step 2
Insert a new layer above the Text layer in the Layer's panel. Select the "Gradient Tool" from the Toolbox and create any gradient fill you want using the Options bar.
Step 3
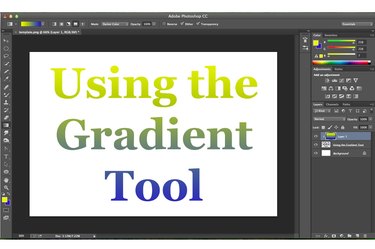
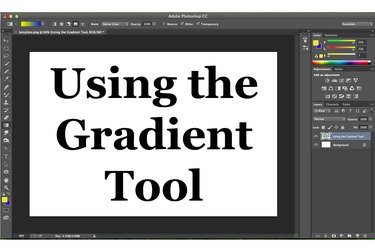
Select "Create Clipping Mask" from the Layer menu. The gradient is clipped to the shape of the text, resulting in gradient-filled letters for your project.
Customizing Gradient Fills
Step 1
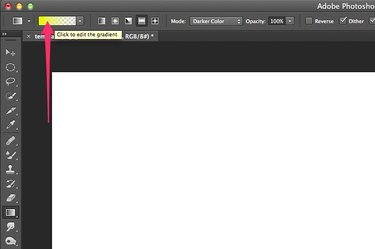
Click the "Gradient Tool" in the Toolbox and then click inside the "Gradient Sample" icon in the Options bar to open the Gradient Editor dialog box.
Step 2
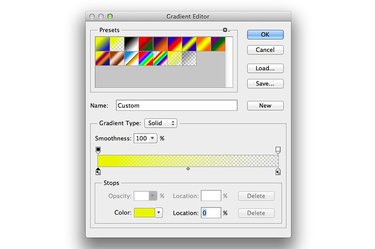
Select a Gradient Preset to use as the basis for your own customized gradient. Specify a Gradient Type, its Smoothness and Color as desired. To change how the gradient transitions across the canvas, drag the "Color Stops" on the corners of the gradient preview. To change the midpoint position for the gradient, move the "Midpoint" Color Stop in the center of the gradient preview.
Step 3
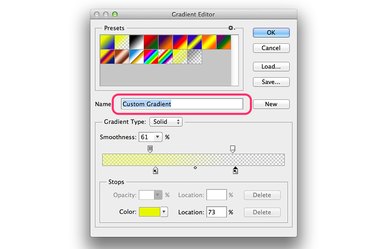
Type a name for the custom gradient in the "Name" text field and click "OK" to begin using the gradient on the current project. Click "Save" to save the gradient for use on other projects. Click "Load" to use a gradient that you saved previously.