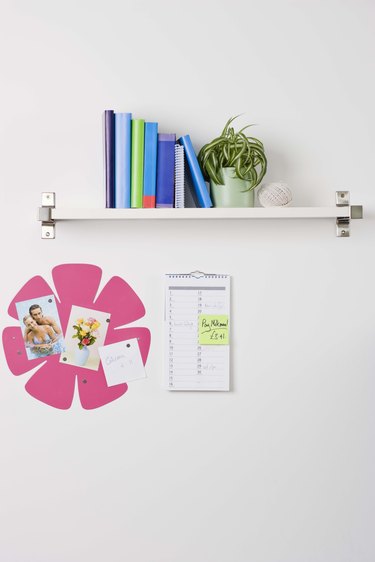
One of IKEA's most successful and attractive products has been its distinctive LACK floating shelf. A LACK shelf is relatively inexpensive in relation to other products that serve a similar function. The structure is also extremely useful for storing lighter items or for adding storage in tight areas that don't have additional space for brackets. A kitchen is a place in which these shelves are extremely functional, as are the spaces above windows. These shelves are relatively simple to install due to their basic interior support, and are just as simple to remove when changing their location.
Step 1
Remove all items from the top of the shelf. Stand on a ladder if necessary to ensure that there are no items hidden at the rear of the shelf, as these items can fall during the removal of the shelving, potentially causing damage.
Video of the Day
Step 2
Locate the two hidden screw supports on the underside of the shelf, which will be equally spaced and about 2 inches from the wall. Loosen the screws with a drill or a screwdriver until they're completely removed.
Step 3
Slide the LACK shelf off of its internal bracket carefully and set it down. Lift the shelf up slightly when removing it from the bracket, as gravity will pull down on the end of the bracket and make it stick tightly. Lift the shelf in this way and it will slide right off the internal bracket.
Step 4
Loosen the screws that hold the internal bracket against the wall, loosening each screw somewhat until they've all been loosened halfway. Wiggle the bracket back and forth until it detaches from the wall, which it may do with some paint chips still attached. Remove the screws fully and set down the bracket.
Step 5
Fill the exposed holes and chipped paint areas with drywall putty and smooth out the surfaces with a putty knife. Allow plenty of time for the putty to dry before repainting.
Video of the Day