Lightweight, durable, simple-to-move resin and fiberglass plant pots have the appearance of heavy, expensive clay or ceramic containers. They make container gardening easier, but they may become stained, somewhat scuffed or worn-looking. Instead of stacking them out of sight or banishing them to the recycling bin, give them new life by repainting them. Use paints meant for plastics. Both resin and fiberglass pots contain epoxy plastics, and paints meant for non-plastic items don't stay on them.
Clean and Prepare
Video of the Day
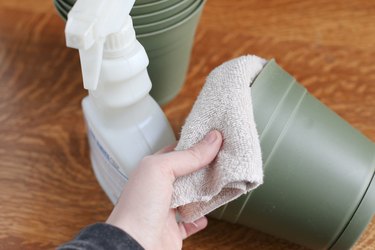
Preparing the plant pots you want to repaint, assembling your equipment and finding a good spot to work are essential tasks before you start painting. The pots need to be clean for paint to adhere well to them. So remove all dirt, hard-water stains, rust, wax, grease, oil and old paint from the pots. If you want to wash the pots, do so a few days in advance to give them a chance to dry completely before they are repainted. Choose a well-ventilated area in which to paint, and protect its work surface and the nearby areas from paint with layers of old newspaper or sheets of plastic. Wear gloves, safety glasses and a dust mask to protect your skin, eyes and breathing passages. Depending on the paint product, its label instructions may advise you to sand each plant pot's surface with sandpaper or to wipe the pots with paint thinner before painting them or to put a layer of plastic primer paint on them before applying a finish paint.
Video of the Day
Apply Spray Paint
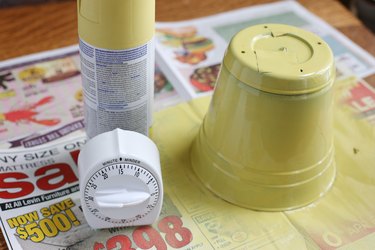
Plastic paint is made in a number of decorator colors. Use the color of your house's trim, or use a tint that contrasts with or complements the colors of the plants you'll grow in the pots. If you use spray paint, shake its can well, and then hold the can about 8 to 10 inches from a pot while using sweeping, side-to-side motions to apply a thin layer of paint over the pot's surface. After you wait for the first coat of paint to dry, you can spray another thin layer of paint on the pot. Repeat this procedure as many times as needed to give the pot total, smooth, paint coverage. Follow the same paint process for each pot you repaint. Although a pot's last coat of paint dries in about 15 minutes, it may not cure completely to resist chips and scratches until after seven days.
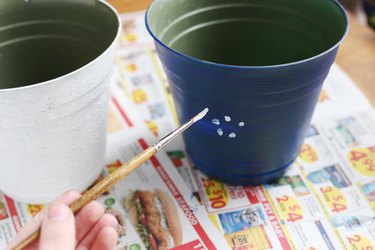
Apply Brush-On Paint
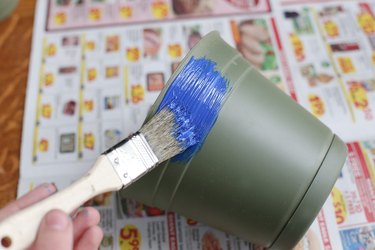
Brush-on paint designed for plastics comes in multiple colors and provides faster, thicker coverage than spray paint. Also, brush-on paint doesn't require special preparations such as sanding or priming the plant pots. Just start with clean pots, and use paintbrushes that are sizes appropriate for the paint effect you want. Protect your skin from contacting the paint by wearing gloves, but the danger of inhaling paint or of paint getting into your eyes decreases when you use brush-on paint instead of spray paint. If this thicker paint threatens to clog the plant pots' drainage holes, then remove it from the holes while it is still wet.
Create Special Effects
Spray-on paint comes in several special-effect finishes, such as metallic, hammered and textured, which help lend variety to repainted pots. Add designs by taping parts of the pots and using different colors of spray paint to create stripes, squares and other patterns on them. If you want to create more complex designs, use stencils with either spray-on or brush-on paint for single or repeated motifs.
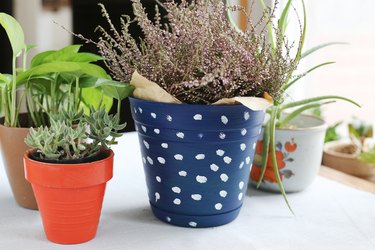
Brush-on paints allow for creative, freehand designs made with paintbrushes of various widths and/or tools such as pencil erasers and sponges used to stamp on colors. If a pot has raised designs on its sides, try highlighting them with a color different from the rest of the pots' color.