
Yellow Tongue Installation

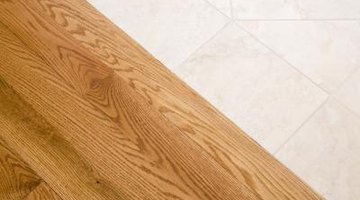
Flooring materials must provide not only a protective, insulated barrier for a home's floors, but also an even surface upon which you can lay more decorative floor layers. Yellow tongue particleboard, so named for its plastic yellow tongue connectors which indicate its 19 mm thickness, provides a lightweight, even surface effective for sealing a subfloor to which you can attach additional floor layers. While yellow tongue attaches in a similar manner to regular particleboard, it requires a few special techniques for proper installation.
Step 1
Lay a sheet of yellow tongue particle board perpendicular across the floor joists so that the plastic yellow tabs or "tongues" face away from the wall.
Step 2
Apply a bead of flooring adhesive to the plastic yellow tongue sticking out from the sheet.
Step 3
Slide the grooved side of a second piece of yellow tongue against the first sheet so the adhesive covered tongue from the first sheet fits into the groove of the second. Lay a row of sheets in this fashion until you reach the opposite wall.
Step 4
Measure the remaining space between the last sheet and the wall with a tape measure.
Step 5
Mark the measurements on a sheet of yellow tongue, starting from the groove side of the sheet.
Step 6
Put on safety glasses and cut the measured piece of the yellow tongue sheet with a circular saw.
Step 7
Slide the grooved edge of the cut yellow tongue piece over the yellow tongues of the last piece. Ensure that all the sheets fit evenly and not too tightly or too loosely.
Step 8
Drive 10-by-50 mm screws through the yellow tongue sheets and into the floor joists approximately every six inches with a power drill and driver bit. Repeat this process until you have covered the floor joists with yellow tongue.
References
Photo Credits
- Jupiterimages/Creatas/Getty Images
More Articles