Things You'll Need
Card stock
Construction paper
Scissors
Glue
Stamps
Stencils
Stickers
Scrapbook embellishments
Acrylic paint
Paintbrushes
Paint markers
Glitter glue
Colored ribbon
Bottle caps

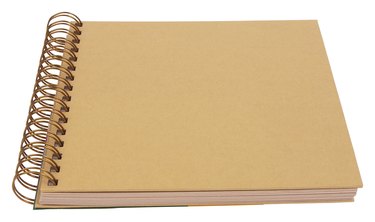
Decorating your own journal cover allows you to add your personality and interests directly to the book to make the journal more personal. Making an old-fashioned journal cover at home is possible by getting creative and using traditional household and craft items, allowing you to complete the project without the expenses of purchasing new materials. Regardless of your arts and crafts skills, decorating a journal yourself is possible with a bit of creativity and direction.
Step 1
Gather the materials you need to begin creating your journal cover, including card stock, construction paper, scissors and basic adhesive such as glue. Stamps, stencils, stickers and other scrapbook embellishments (including rhinestones, sequins and additional adhesive decorations) are all suitable for adding colors and designs to your homemade journal cover.
Video of the Day
Step 2
Brainstorm a theme idea to base your journal's look on, whether you would like the colors of your journal to match your bedroom or to be decorated with stencils of your favorite animals. Choose a few colors to stick with when working on the journal to begin organizing your decorations. Use online websites such as Colour Lovers (colourlovers.com) or Color Combos (colorcombos.com) to browse for inspiration on color themes and ideas.
Step 3
Measure the base of the journal or whatever surface you plan to place your journal cover over (whether it is another book or a writing notebook). Cut a piece of colored card stock or construction paper equal to the size of the base.
Step 4
Use letter stencils to create a title of your journal, using acrylic paint and paintbrushes, along with paint markers. Title the journal based on the contents you plan on including, such as "My Diary" or "Favorite Recipes." Add glitter glue on top of the letters to make the appearance of the title pop and then allow it to dry.
Step 5
Apply decorations to the journal cover using stamps and stickers that are relevant to the journal's contents or match the colors and theme of the book. Use craft and super glue to apply colored rhinestones, sequins and traditional scrapbook embellishments to add variety to the cover.
Step 6
Glue the journal cover to the top of your book. Press the cover down to secure it into place and allow the glue to dry before finalizing the design with any additional decorations, such as ribbons and bows.
Tip
Super glue various old and colorful bottle caps to the top of the journal cover for a vintage look.
Video of the Day