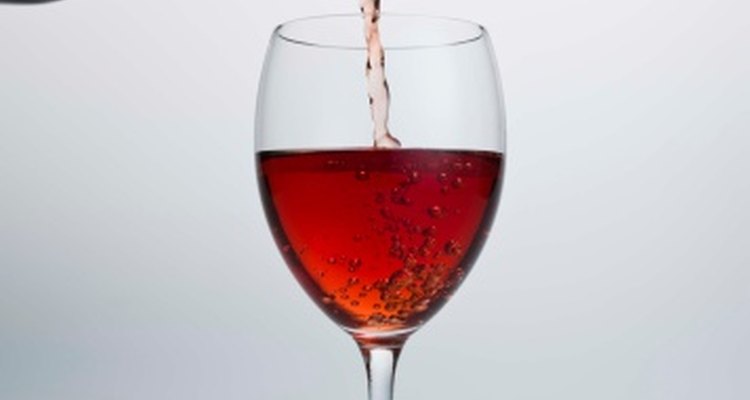
Knowing the alcohol content of your homemade wine can save a night from being disastrous. If you have produced your own homemade wine, then you may want to know the alcohol content. The alcohol content in wine can range from as little as one percent to 20 percent. You can determine the alcohol in your wine with a simple tool called a hydrometer. Knowing the amount of alcohol in your wine can give you the heads up you need when it comes to how much you can drink.
Drop the hydrometer into your wine before fermentation. Once the hydrometer has settled and is floating, record where the surface of the liquid crosses the gravity scale.
Place the hydrometer in your wine at the end of fermentation and record the specific gravity. The reading will be different, because as yeast metabolizes sugar, it produces ethanol and carbon dioxide. The carbon dioxide is released and the liquid that is left behind become less heavy.
Calculate the amount of alcohol in the wine by using this formula.
Percentage of alcohol = ((1.05 x (OG – TG)) / TG) / 0.79
OG is the original gravity reading that you took. TG stands for terminal gravity or the reading you took at the end of fermentation.
For example, if the original gravity was 1.06 and the terminal gravity 1.01, the equation would read:
Percent alcohol = ((1.05 x (1.06 – 1.01))/1.01) / 0.79
Therefore, the wine’s alcohol percentage is 6.6.
Related Articles
How Much Is a Single Serving Size of a ...
How to Use Wine Conditioner
How to Make Alcohol at Home

How to Use Bentonite for Clearing Wine
How to Reduce Wine With Sugar to a Glaze
How to Make Wine in a Gallon Jug
How Long Should a Wine Collector Keep a ...

Alcohol Content: Proof vs. Percentage ...
How to Make Apples Into Wine in 21 Days
How to Measure the Acidity of Homemade ...
Types of Bacteria in Wine

Homemade Sweet Red Wine

How to Make Merlot Wine

Does a Chilled Champagne Bottle Need to ...

Should I Store Red Wine Horizontally or ...
What Is the Difference Between 80 & 100 ...

The Calories of Pacifico Beer
How to Pasteurize Homemade Wine
Why Does Wine Not Expire?
How to Make Cherry Bomb Shots
References
Writer Bio
Damian Rossi has been a freelance writer since 2008, specializing in fitness and wellness. He graduated with a bachelor’s degree in exercise science from Texas Tech University. Rossi is pursuing his master's degree in sport psychology from Texas Tech University.
Photo Credits
Jupiterimages/Comstock/Getty Images