Things You'll Need
Worsted weight yarn
Scissors
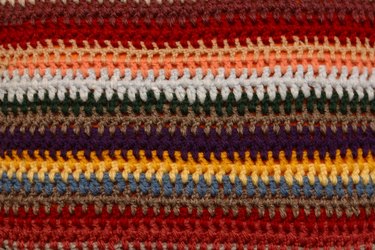
Finger crochet is the same as standard crochet, but your finger becomes the hook. The stitches are a bit wider because your fingers are larger than a small crochet hook. For an airy and open looking project, one strand of yarn makes a light crochet with open spaces between the stitches. For a thicker, fuller result, stack several strands before finger crocheting the project. You can do the same stitches with the fingers as with a hook, making a blanket with just yarn and your own personal tool kit: your fingers. First, determine the size of the blanket. Worsted weight yarn is a medium sized, chunky yarn that is easy to work with. The amount of yarn needed depends on the size of the blanket. For a carriage blanket that is 20 inches by 30 inches, buy 3 skeins of yarn.
Step 1
Pull out a length of yarn from each ball. Lay the ends together so they are even.
Video of the Day
Step 2
Pick up the three strands together in a bunch, and draw up a loop by crossing the yarn over itself. Reach through the loop with your thumb and forefinger and pull the yarn through. Tighten. This is a slip knot that always begins crochet work.
Step 3
Place your right (if you are right handed) index finger and thumb into the loop. Reach through and grasp the yarn. You are still working with the three strands, but bundled together, they are treated as one strand as they are all worked at the same time.
Step 4
Pull the yarn through the loop. Hold the end of the strands as you pull with your right to keep tension with your left hand. When the yarn is through the loop, drop the thumb, keeping the index finger hooked through the loop. Pull the yarn so the loop shrinks, to tighten the loop to the desired tension with your left hand.
Step 5
Repeat the stitch, pulling the yarn through the loop with the index finger and thumb, reduce, tighten. Don't over tighten your stitches, but make them uniform. Continue the chain until it reaches the length you need.
Step 6
Turn the chain so you will be working in the opposite direction.
Step 7
Reach the index finger and thumb through the top loop of the first stitch in the chain below your fingers. You now have two loops on your finger, the original loop, plus the top of the lower row loop. Hook the yarn strand with your index finger, and pull through loops with your finger and thumb.
Step 8
Work each stitch across the top of the first chain in the same way, making your second row. When you reach the end, turn, and work another row. Continue until the blanket is as long as you need.
Step 9
Cut off the yarn strand 6 inches from the last stitch to finish off. Pull the yarn through as usual, but this time pass all the yarn through the loop and close it, making a knot. Weave the ends of the yarn down into the stitches on the side of the blanket so they are secured.
Video of the Day