Things You'll Need
Polymer clay
Air dry clay
Oven baked clay
Parchment paper
Aluminum foil
Baking sheets
Clay tools
There are several types of modeling clay on the market, including: clay that air dries; fine art clay that must be fired in a kiln; oven baked clays; and polymer clays that require oven baking to cure them. Knowing what type of clay you are working with is essential to determine how to cure the project.
When working with fine art clay, find a community center, community college or local art store that offers the service of kiln firing clay. There is no substitute for the high-temperature curing that this clay requires.
Video of the Day
How to Bake Clay in the Oven
Step 1

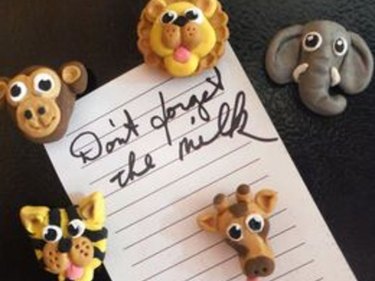
Determine which type of clay will work best for your particular project. Polymer clays work well for small pieces and pieces that are no more than 1/2 inch in thickness. Air dry and fine art clays work best for larger and thicker pieces. Please see the last slide for an itemized list of tools and materials.
Step 2
Air Dried Clay
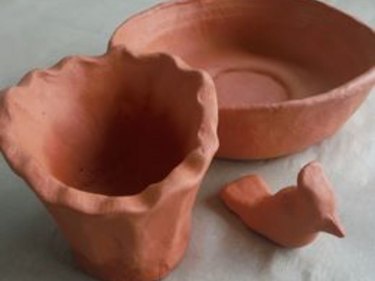
Be patient and trust time to do its work. Place the piece in an out-of-the-way space where air circulates freely and away from direct sunlight -- like the top of the refrigerator. Wait 7 to 10 days for the piece to completely dry out depending on its thickness. Trying to rush the drying process in the oven can result in cracks.
Step 3
Oven Baked Clay
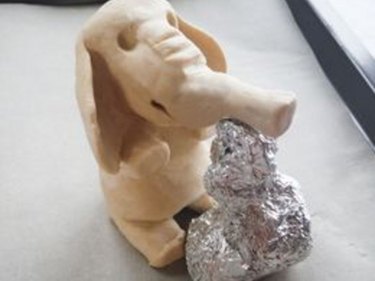
Preheat the oven to 350 degrees Fahrenheit. Place a sheet of parchment paper on a baking sheet and arrange the pieces on it with plenty of room surrounding them. Use balls of aluminum foil to support fragile components of a piece. Bake approximately one hour. Watch the baking process closely as the pieces can burn just like baking cookies. Remove the baking sheet from the oven and let the projects cool to room temperature, usually about 30 minutes, before moving them.
Step 4
Polymer Clay
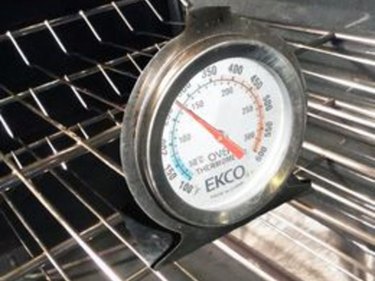
Check the oven temperature with an oven thermometer. Adjust the oven settings until you can maintain the temperature closely to the temperature on the package directions. Each brand of polymer clay has specific baking temperatures that must be followed. Use the lowest temperature recommended if you combine types of polymer clays.
Step 5
Place the items on a baking sheet lined with parchment paper. Preheat the oven according to package directions or 265 degrees if you don't have specific temperature recommendations. Bake 15 minutes for every 1/4-inch of thickness in the piece. Cool in the oven.
Tip
You may use a toaster oven if the temperature can be maintained and it can be a dedicated-purpose appliance.
Never bake food at the same time as curing clay.
Keep the room well ventilated. If fumes are noticeable, the temperature is too high.
Cover the piece with an aluminum foil tent to control fumes.
Clean an oven used to bake clay before using it again for food.
Video of the Day